

Want to make something for Mum this Mother’s day but not sure what? Why not make her a Cosmetic bag?
Featuring some decorative stitching, waterproof fabrics, and a zipped closure, this is a gift Mum will surely use and enjoy every day.
We used the new Limited Edition PFAFF quilt ambition 635 for this project, but if you have a different PFAFF sewing machine you can use that too!
Let’s get started!
Requirements:
Here is what you need to get started!
- 2 x (10 ½”x 9”) or (25.4cm x 23cm ) (A) Printed Vinyl (Outside)
- 2 x (1 ¼” x 1 ½”) or (3.5cm x 4cm) (B) Printed Vinyl (Zipper Ends)
- 1 X (½” x 3 ½”) or (1.5cm x 9cm) (C) Printed Vinyl (Keyfob detail)
- 2 x (10 ½” x 9”) (27cm x 23cm)(D) Water Proof Canvas (Lining)
- 1 x (10 ½” x 2 ½”) or (27cm x 6.5cm) (E) WaterProof Canvas (Front Detail)
- 1 x (12” x 3”) or (30.5cm x 8cm)Tearaway Stabiliser
- 8 ½” or (22cm) Size 5 Zipper with 1 Zipper Pull
- 1 x Parrot Clip
- Rasant Thread for construction of the project
- 1 x Embroidery Thread for detail
- 1 x Bobbin Fill
- 22” or (56cm) of 3mm Piping Cord
- Marking Pencil
- Double Sided Soluble Tape
- Wonder Clips
Machine Requirements
- PFAFF quilt ambition 635
- Foot control and power lead
- Standard Accessory Feet
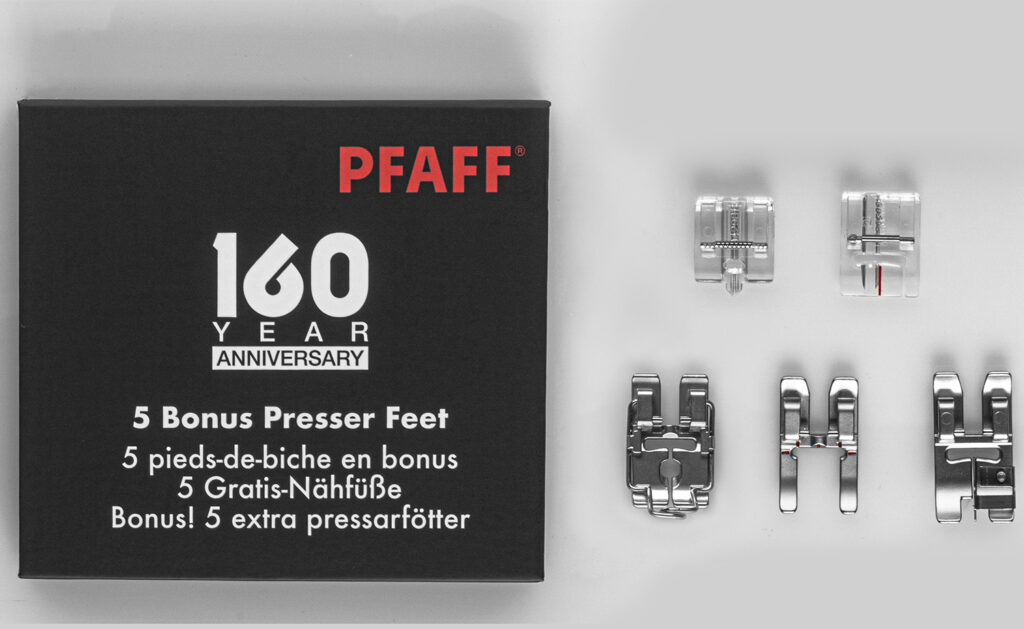
- Bonus Accessory Feet (included with the PFAFF quilt ambition 635)
- Piping Foot P8205320-96
- Narrow Edge Foot P8211420-96
- Open-Toe Applique Foot P8202130-96
- Couching/Braiding Foot P8206070-96
Instructions
1 – Draw a line through the centre of Fabric E.
2 – Place the tearaway stabiliser behind the fabric.
3 – Put the Open-Toe Applique Foot P8202130-96 (from the Bonus Feet Kit) onto the machine.
4 – Select stitch 159 and change the Elongation to 2. To get to Elongation, touch the density icon.
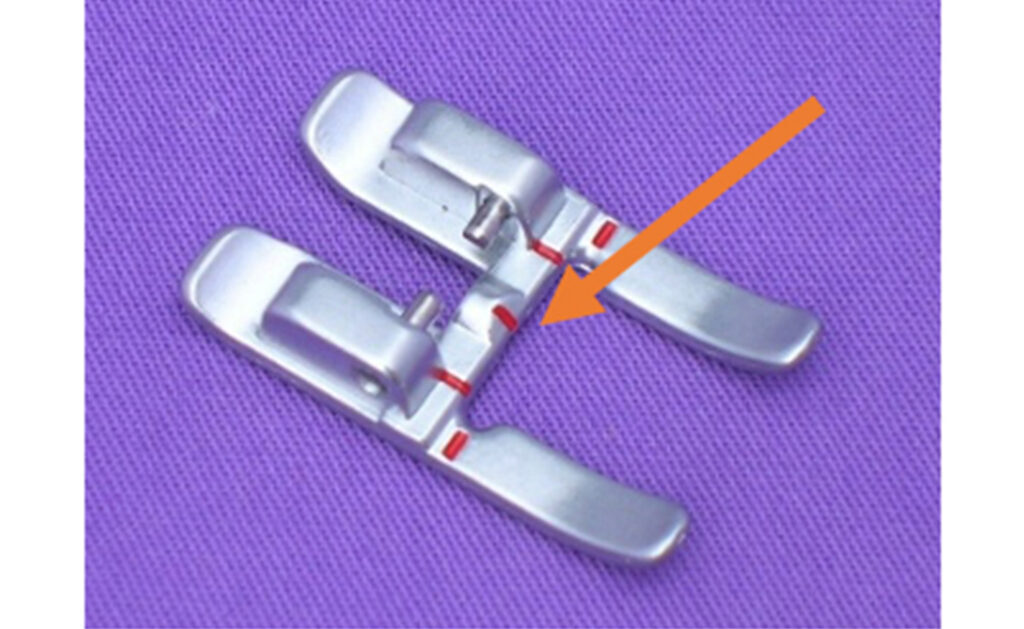
5 – Line up the red centre marking on the Open-Toe Applique Foot P8202130-96 with the drawn line.
6 – Stitch along the line.
7 – Put the Couching/Braiding Foot P8206070-96 (from the Bonus Feet Kit) onto the machine and select stitch 7. This is designed specifically as a satin stitch.
8 – Change the Width to 5.5 and leave the Length as 0.8.
9 – Feed the Piping Cord through the front of the foot into the hole and take it underneath and behind.
10 – Using the left edge of the Couching/Braiding Foot P8206070-96 as a guide, run this along the right edge of the satin stitch. Continue to the end of the row. Make sure to watch the left edge of the foot and not the needle as this will keep the stitching straighter.
11 – Repeat this process for the left side of the satin stitch.
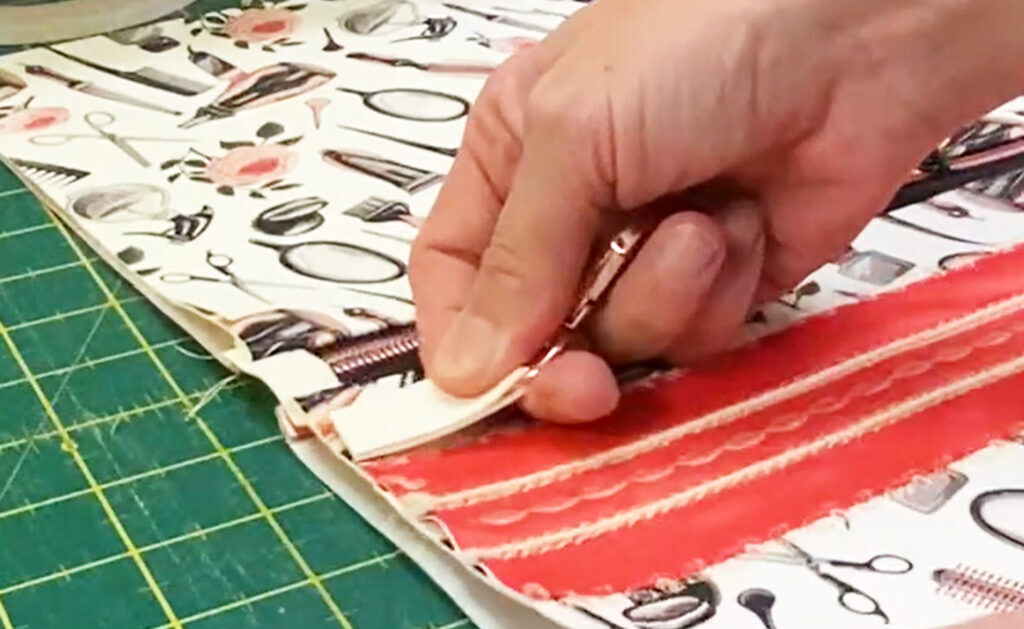
12 – Remove the excess stabilizer from behind Fabric E.
13 – Place two pieces of double-sided soluble tape on the back of Fabric E on each long edge.
14 – Measure 1 ½” down from the top of one piece of Fabric A. Stick the decorative Fabric E to the top of Fabric A at the 1 ½” mark.
15 – Change to the Narrow Edge Foot P8211420-96 and select stitch 153, reducing the Stitch Length to 20.0. Use the centre mark on the foot to line up with the edge of Fabric E and stitch. Repeat this on both edges.
16 – Place the Piping Foot P8205320-96 onto the machine and select stitch 2, triple straight stitch. Do not change the settings.
17 – Line up the raised cord underneath the groove of the foot. The needle will be to the right of the corded satin stitch. Stitch the triple straight stitch letting the raised stitch flow under the groove of the foot. The triple straight stitch will lie directly beside the satin.
18 – Repeat this process for each side of the corded satin stitch.
19 – Place the zipper pull onto the zip.
20 – Take the zipper tabs and lay the right sides down on the end of the zip.
21 – Using the ¼” Foot, included with the PFAFF quilt ambition 635, stitch the zipper tab with a ¼” allowance. Repeat this on either end.
22 – Open out the zipper tab and top stitch in place. Use stitch 1 with a length of 3.0.
23 – Find the centre of the zipper and measure 5 ¼” from either side of centre and mark. Trim back each end to a measurement of 10 ½”.
24 – Layer Fabric A vinyl piece right side up with the zipper right side down along the top. Lay Fabric B, lining right side down and use clips to keep in place.
25- Place foot 0A, standard foot onto the machine and select stitch 1.
26 – Move the straight stitch to the far left.
27 – Line the edge of the foot against the zipper teeth and slowly stitch the layers in place.
28 – Open out the layers so the zipper is visible on top.
29 – Change the Foot Pressure (found on the left side of the machine head) to a setting of 2. This will reduce the amount of pressure the foot exerts on the fabric allowing all the layers to feed through more freely.
30 – Place the Narrow Edge Foot P8211420-96 (included with the Bonus Presser Feet) onto the machine. Reselect stitch 1 to bring it back to default settings.
31 – Change the stitch length to 3.5 and move the needle position so the needle is 2mm away from the centre line. Line up the centre blade of the foot with the seam and slowly top stitch the layers in place. Ensure the lining is taut while sewing.
32 – Repeat the process from Step 24 with the other side of the zipper, including the topstitching.
33 – Open out the project so the front vinyl pieces are right sides together and the lining pieces are right sides together. Place hoop clips around the edges to hold in place.
34 – Place the keyfob vinyl through the parrot clip and slip into the seam just under the zipper area with the parrot clip on the inside. This will be attached when the seams are stitched.
35 – Fold the zipper tabs up towards the lining side and match up the seam lines.
36 – Cut ½” off the lining along the bottom section. This will allow the lining to fit into the bag snugly.
37 – Mark a 1 ½” square on each of the four bottom corners. Cut out along the lines.
38 – Using the 0A Standard Foot, with a straight stitch of 2.5mm length, stitch around three long edges. Leave the bottom edge and corner cutouts open.
39 – Stitch 1” in from the bottom corner on each side. Ensure to reinforce the start and end seams.
40 – Open out each of the bottom corners and match the seam lines. This is also called bagging out. Clip in place.
41 – Stitch along the edge. Make sure to reinforce at each end.
42 – Turn the project through with the lining side still outside of the bag. This will expose the hole in the base of the lining.
43 – Turn in the seam allowance and place the Narrow Edge Foot P8211420-96 on the machine.
44 – Select a straight stitch and place the blade along the edge of the lining. Move the needle to the left to catch the lining closure by approximately 1-2mm. Stitch the lining closed.
45 – Push the lining into the bag and position.
46 – Fill with perfumes, powders & brushes to complete this water-resistant make up bag. Mess it up, wipe it up and you are good to go!
Conclusion
Now you have made Mum her very own cosmetic case, why not make one for yourself as well! You will find them super easy to make with your PFAFF sewing machine thanks to the IDT system.
If you have a PFAFF embroidery and sewing machine, why not try adding some personalised embroidery, or monogramming?
Don’t forget to share your completed project with us! Follow us on our Facebook page, Pfaff Australia or Instagram, tagging @pfaff_sewing_australia and using the hashtag #pfaffingaround