

The sun on your face, the salty breeze in your hair, who else loves warm summer days at the beach? We sure do!
Do you know what we don’t love about beach trips? Losing track of our things and the trail of sand that seems to follow us for days. That’s why we’ve created this guide on how to sew a tote bag so that all of your belongings can be safely tucked away (sand-free) for your next beach trip.
This tote bag is cute and spacious enough for packing all the essentials, including your towels, thongs, sunscreen, and, of course, plenty of snacks.
Want to learn how to sew a tote bag? Let’s get started!
Requirements:
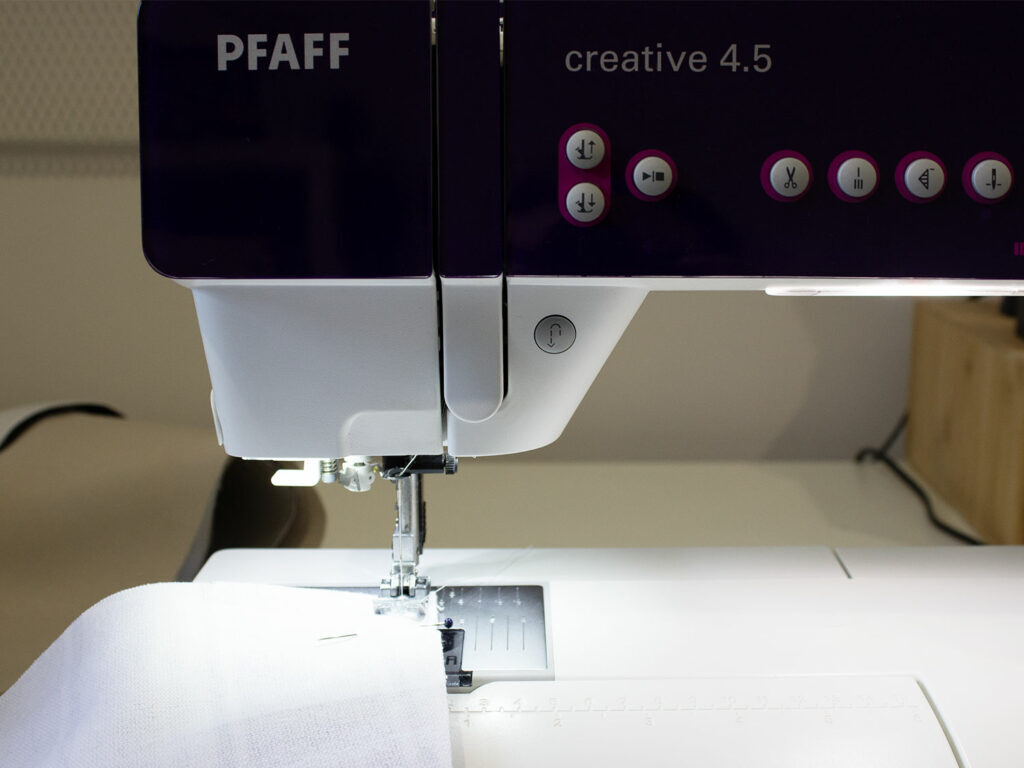
- PFAFF Sewing and embroidery machine (we used the creative 4.5)
- 1m Canvas or Duck neutral coloured e.g. white, cream.
- ½ m Canvas or Duck in blue. We used a striped pattern.
- OPTIONAL: Fusible interfacing, if you want the tote to have some extra structure.
- OPTIONAL: (feel free to omit the embroidery if you want a plain tote!) Embroidery design From Urban Threads Beach Beauty UT14567 in size 7.76” x 6.85” and in the .vp3 format.
- Embroidery threads
- Coordinating threads
- Bobbinfil
- Scissors
- Ruler
- Fabric marker
- Tear-A-Way Stabiliser
- Embroidery needles
Cutting Instructions:
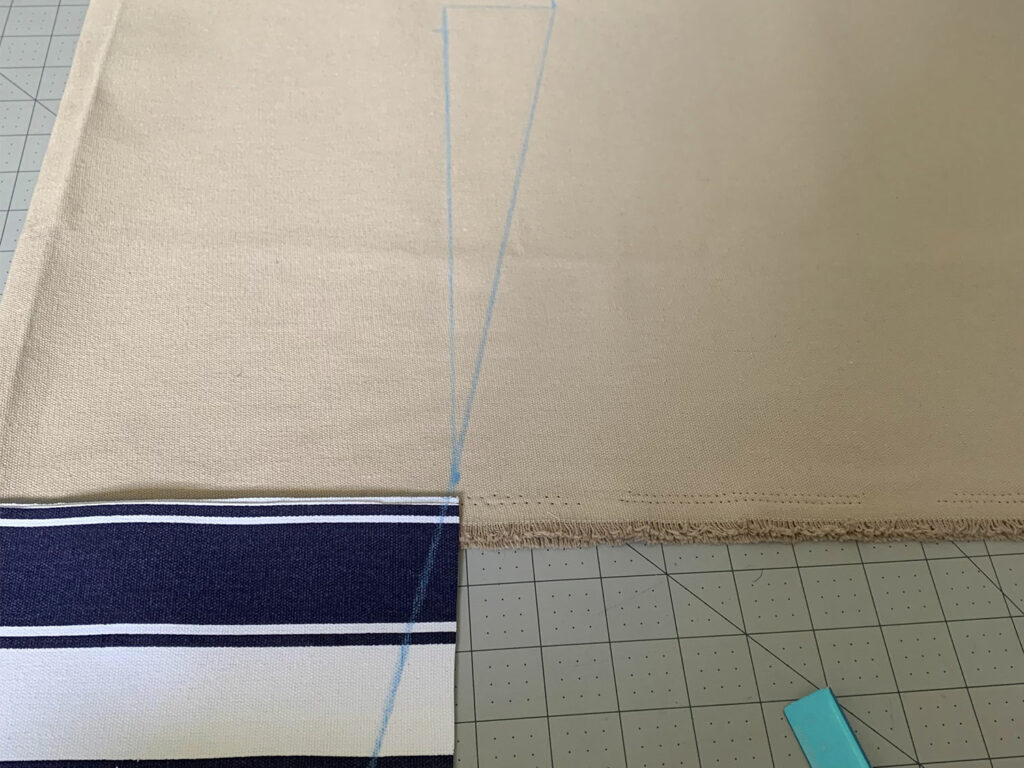
1- Fold the blue fabric in half and cut it so that the side angles are outwards. The bottom straight edge in total is 38cm in length (19cm when folded). The width is 14cm. Cut x2 of these strips. This will be the bottom portion of the bag.
2- Grab your neutral coloured fabric. Create more strips, as above, but with a width of 28cm. The bottom of this strip should match the top of the blue one. Also, continue the same angle up Top create the angle, we added 5cm to the top of the rectangle and lined up both pieces to ensure it matches. The top of this portion is approximately 54cm across
3- Cut (2) 11x84cm rectangles out of your neutral fabric.
Sewing Instructions:
Seam allowance is 1cm unless otherwise stated.
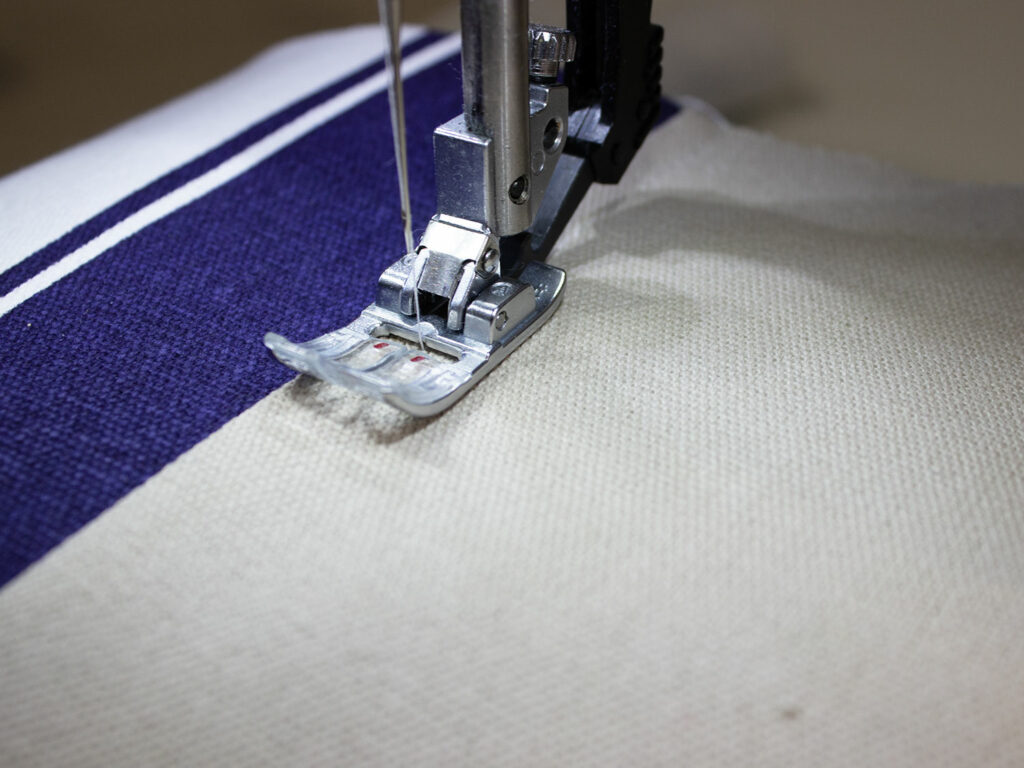
1- Pin and sew the blue strip to the bottom of your neutral strips so you have 2 matching pieces (one for the back and front of the tote).
2- Top-stitch the seam on both front and back pieces to your neutral side.
3- Change your machine to the Embroidery unit, attach the 6D foot, and change to an embroidery needle.
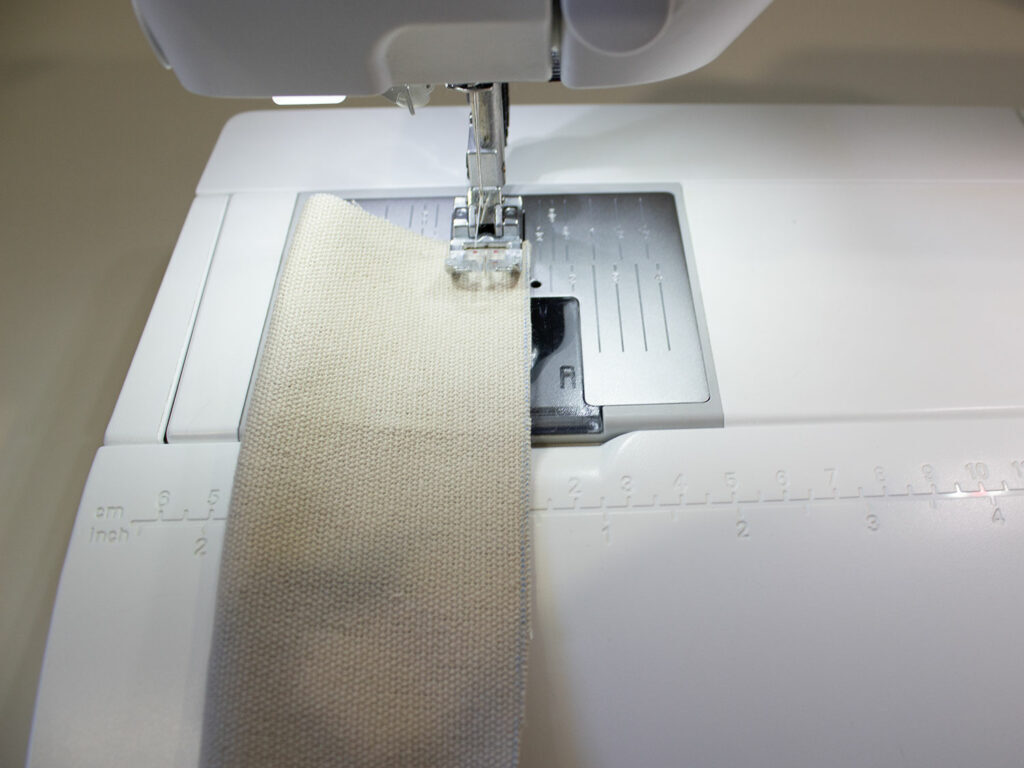
4- Fold in half and stitch along the long edge of the 11x84cm rectangles. Turn out, and press. These will become your handles.
5- Insert the USB containing the Beach Beauty UT14567 into the machine.
6- Hoop the Tear-A-Way Stabiliser in the 300 x 250mm hoop.
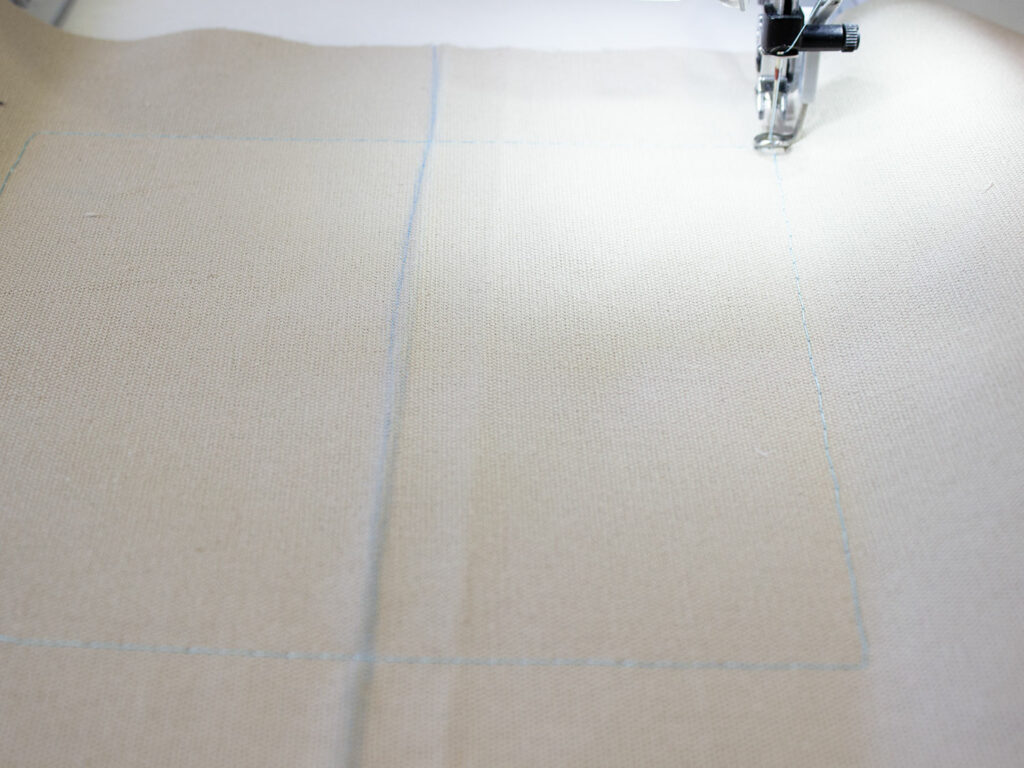
7- Mark onto the front of the bag, with a fabric mark, the centre line. This will help you place the design.
8- Insert the hoop into the Embroidery unit, and initiate embroidery stitch-out mode. As we will be “floating” the front of the bag, select the basting stitch, so it will secure the fabric to the stabiliser.
TIP: Run the machine at half speed here, so you can ensure it stitches the front of the bag down in the correct position and without any fabric puckers, and ensure it is flat.
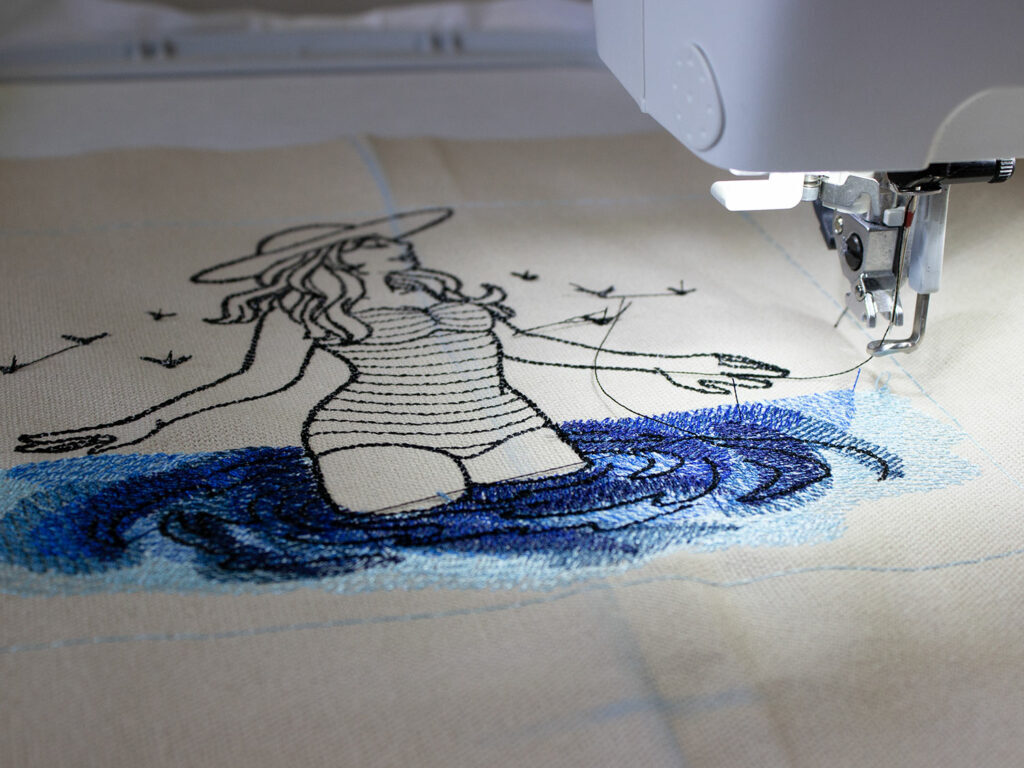
9- Proceed to stitch out the design following the colour change prompts in the design.
10- Once your design is complete, remove the front of the bag from the hoop. Tear away the stabiliser from the back and snip any jump stitches.
11- Remove the embroidery unit, 6D embroidery foot and change back to your universal needle, ready to sew the rest of the bag.
12- Using the front piece as a pattern for the lining, cut 2 pieces of your blue fabric.
13- With the right sides together, stitch the sides and bottom of the bag. Repeat for the lining.
14- Turn the lining right side out and slide it into the outer bag (Right sides should be facing).
15- Sew around the top of the bag, but leave approx 10 cm for turning.
16- Clip corners and turn right way out.
17- Tuck your lining back into the bag and press. Increase your stitch length to 3.0 and top-stitch around the top of the bag.
18- Pin straps about 13cm from the edge of the bag, with about 4 cm of the strap overlapping the top of the bag. Sew a square around this and also sew an X through it to keep the straps extra secure to hold your items.
19- Your bag is now complete and ready to go on all of your beachy adventures!
Now you know how to sew a tote bag for the beach
We hope you’ve enjoyed learning how to sew a tote bag. Now that you’ve made yourself this fantastic tote, now you know how much fun they can be to make! Of course these also make a great gift for friends and family, but you can also use the tote bag as a base for any occasion or personalise it to you! The possibilities are endless with this canvas tote.
Be sure to share your results from this How To Sew A Tote Bag project with us on social media by tagging @pfaffsewingaus and #pfaffsewingaustralia