

Project originally posted on mySewnet by Becky Hanson
Applique is a great way to embellish and customize a wide range of projects. These “birdie” and “tree branch” appliques can be used to add a personal touch to a store-bought apron or one you can make yourself.
Requirements:
- 1 yard (90cm) apron fabric
- 8” x 6” (20cm x 15cm) fabric for bird body applique
- Small fabric scrap for bird wing applique
- ¼ yard (23cm) fabric for tree branch applique
- ⅜ yard (35cm) fusible web
- All-purpose thread to match apron (for construction)
- All-purpose thread in contrast colour (for applique)
- Lightweight tear-away stabilizer
- Ruler
- Removable fabric marking pen
- Point-turning tool (chopstick, stiletto, etc)
- Hand sewing needle & large safety pin
- Applique templates
Cutting Directions:
1 – Main apron fabric cut one 66cm (26”) for width, by 53cm (21”) for length
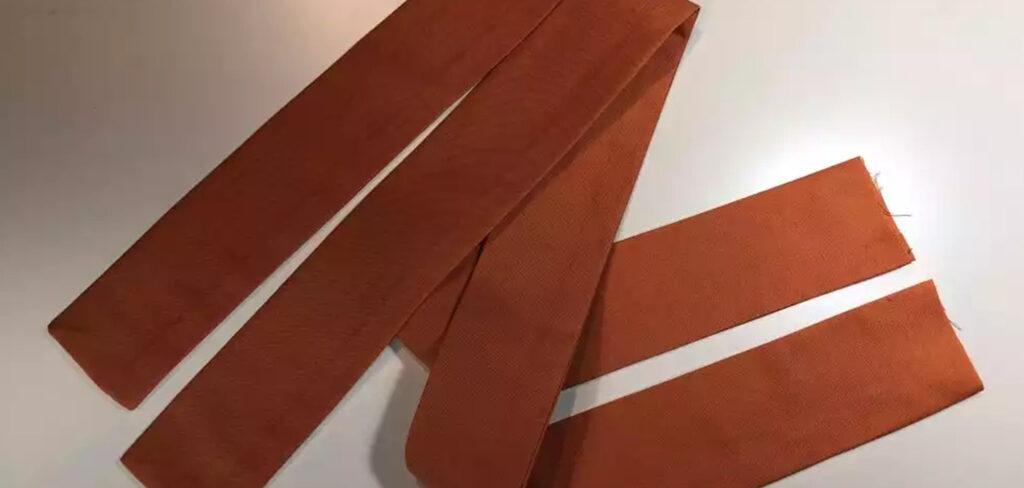
2 – Apron ties cut two pieces 81cm x 13cm (32” x 5”)
3 – Apron waistband cut two pieces 53cm x 7.5cm (21” x 3”)
4 – Bird body applique fabric cut one-piece 20cm x 15cm (8” x 6”)
5 – Fusible web for body cut one-piece 20cm x 15cm (8” x 6”)
6 – Bird wing applique fabric cut one piece 7.5cm x 7.5cm (3” x 3”)
7 – Fusible web for wing cut one piece 7.5cm x 7.5cm (3” x 3”)
8 – Tree branch applique fabric cut one-piece 56cm x 18cm (22” x 7”)
9 – Fusible web for tree branch cut one-piece 56cm x 18cm (22” x 7”)
Sewing Directions:
1 – Thread the top of the machine and bobbin with all-purpose thread to match the apron fabric. Set the machine for straight stitch with a medium stitch length setting.
2 – Prepare the skirt of the apron first. To begin, fold up the bottom hem 25mm (1”) and press. Fold up 25mm (1”) again and press. Pin in place. Stitch the bottom hem, then press again when finished.
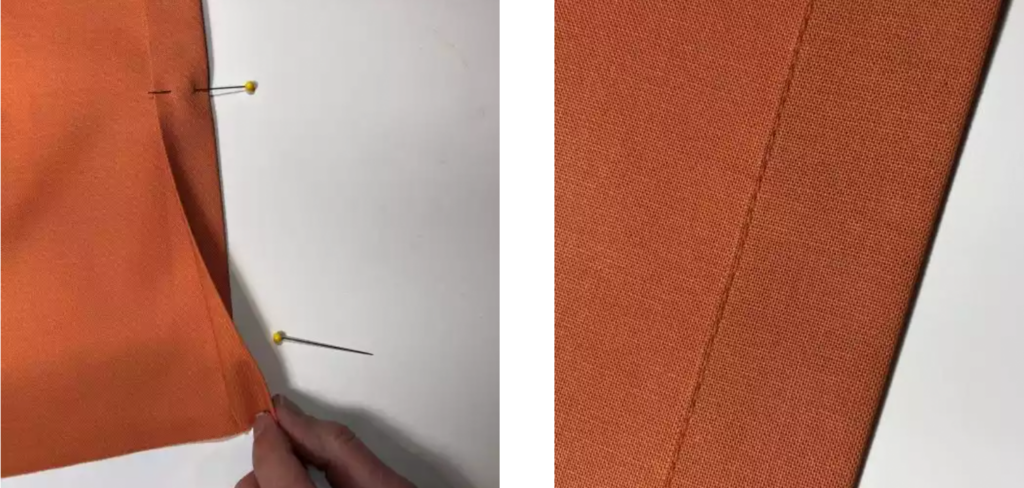
3 – Next, sew the apron side hems. Fold over and press ½” (13mm) on each side, then fold and press ½” (13mm) again. Stitch the hem on each side of the apron, then press.

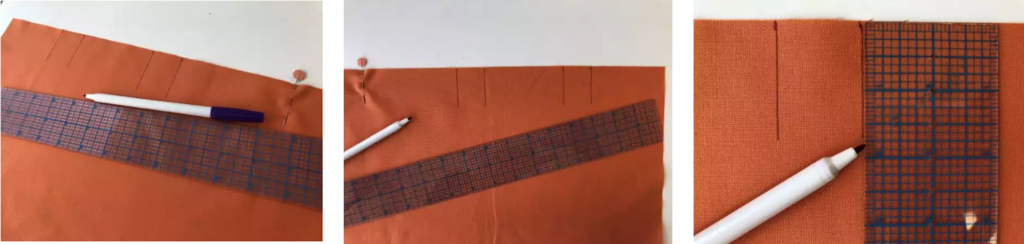
4 – To make the pleats at the top of the apron, first mark the center of the fabric with a pin, for reference. Using a removable fabric marking pen and ruler, draw guidelines on the fabric front side. These drawn lines will be used for creating the pleats.
The first 10cm (4”) from center, the second is line 13.3cm (5 ¼”) from center, the third line is 22.2cm (8 ¾”).
Repeat for the opposite side of the center pin mark until you have a total of 8 lines drawn (4 on each side of the center pin).
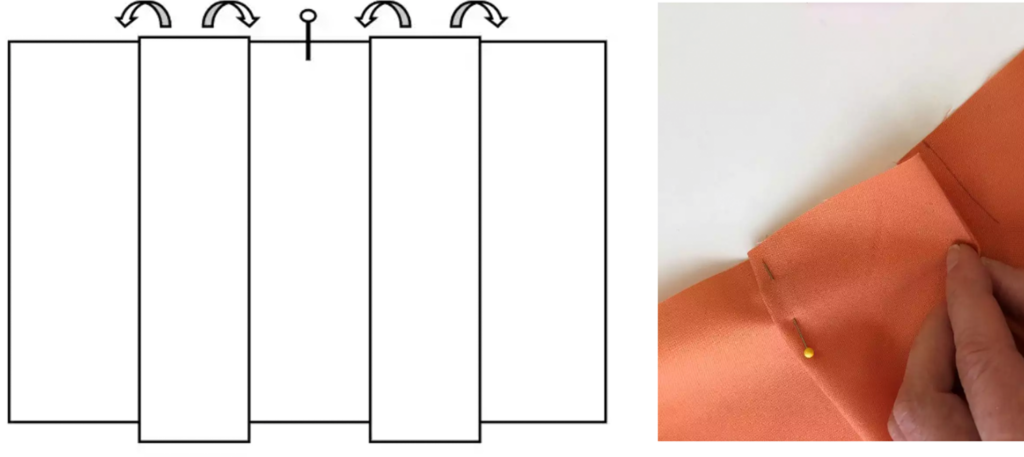
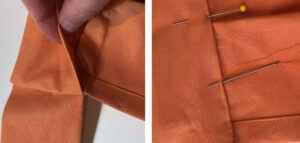
5 – For each “pair” of pleat lines, finger press one pleat and fold it to meet the other line, as shown in diagram below. Pin pleats in place.
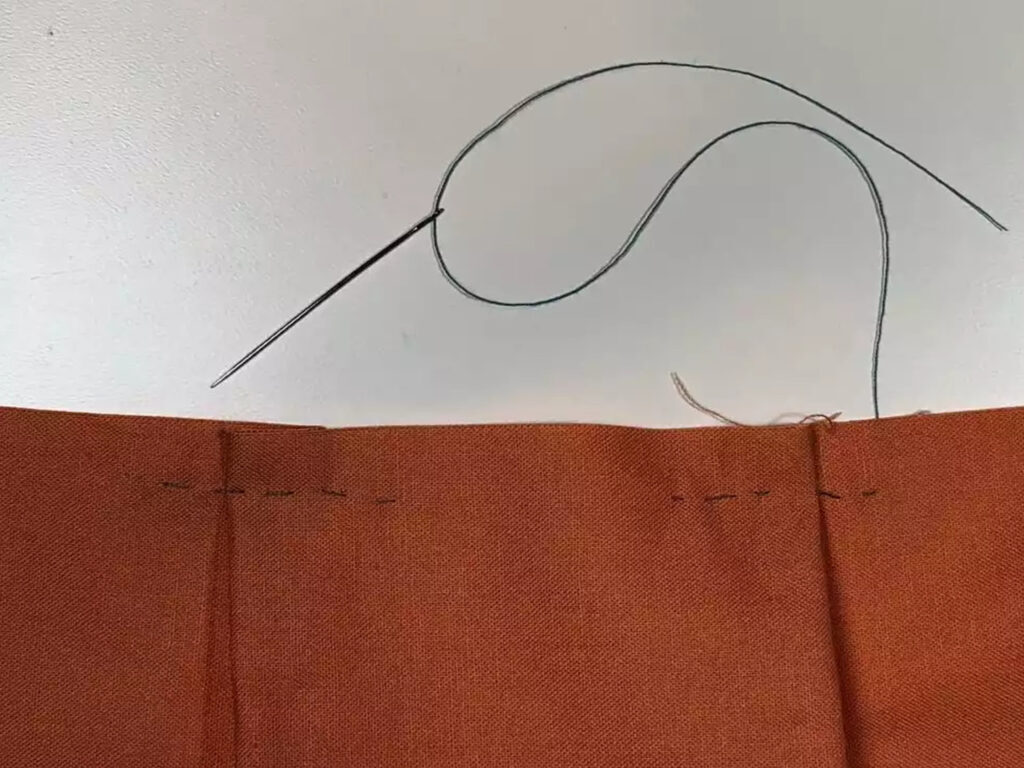
6 – Hand or machine baste each of the pleats in place and then remove the pins. Set aside for now.
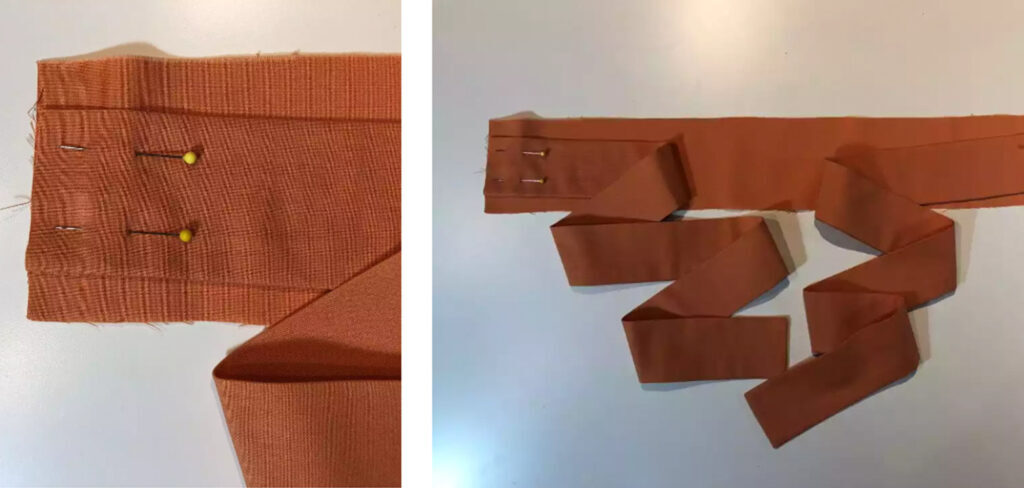
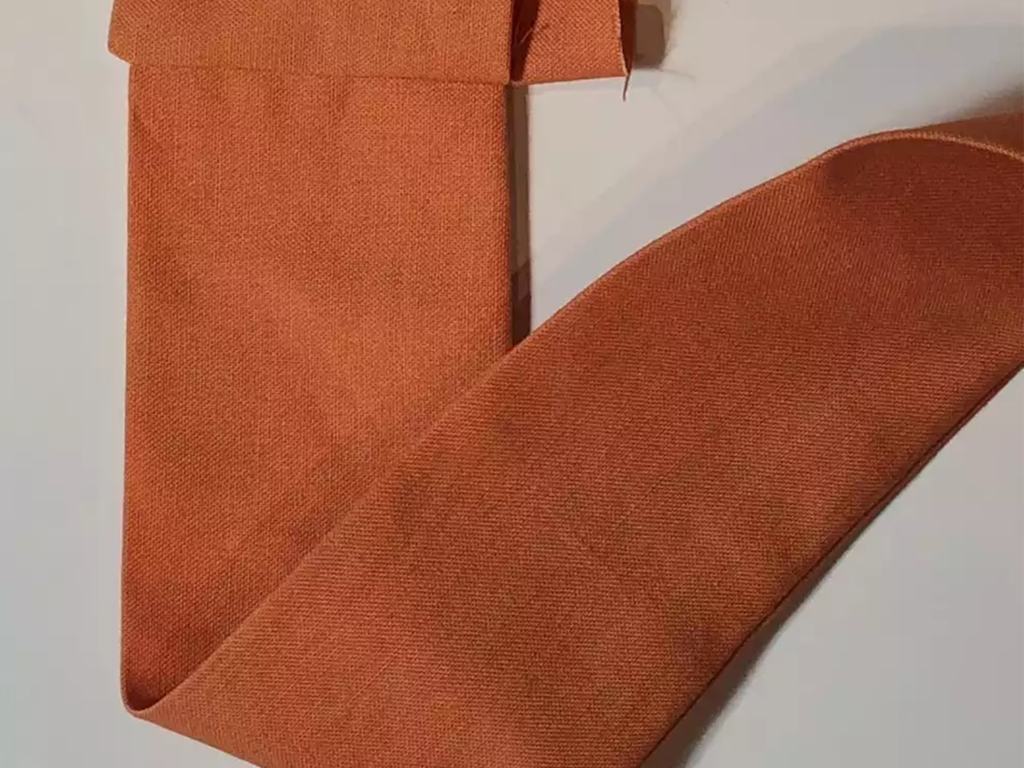
7 – Prepare the apron ties next. Start with one of the 81cm x 13 cm (32” x 5”) pieces, folding in it in half lengthwise and pinning all the way across.
Stitch across one short end of tie, pivot, and sew along the whole length of the fabric, leaving the opposite end unstitched and open for turning.
Repeat for the other tie fabric. When both pieces have been stitched, clip the corners at the sewn end of both ties to reduce bulk in the tie ends.

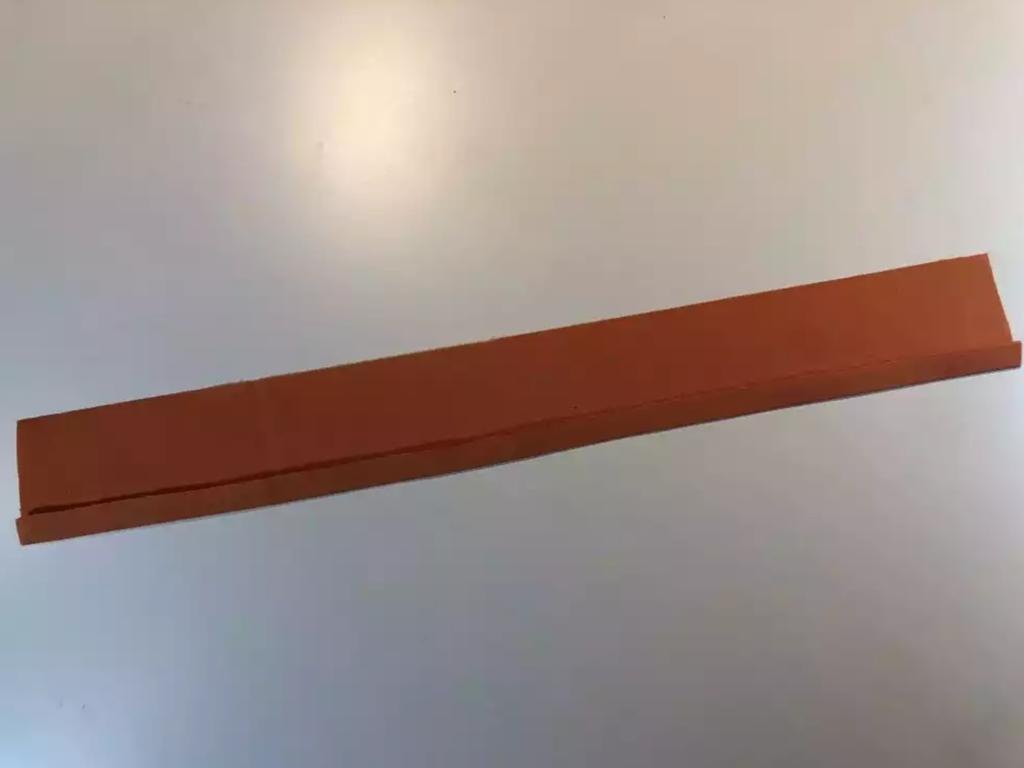
8 – Turn the ties right side out using a safety pin and point-turning tool. After the ties are turned right side out, press.
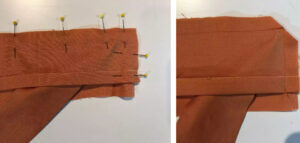
9 – Pin the ties to the right side of one 53cm x 7.5cm (21” x 3”) waistband piece, centering the tie ends of the waistband piece. Hand or machine baste the ties in place, then remove pins.
10 – Prepare the other waistband piece by turning up one long side ½” (13mm) and press.
11 – Pin the two waistband pieces together with right sides facing one another. Stitch, starting by sewing one short end, ten pivot and continue across the long side. Pivot again and finish at the opposite short end, making sure to keep the ties free from the stitching area. When finished stitching, clip the corners on each side of the waistband to help reduce bulk at the corners.
12 – Turn the waistband piece right side out and press.
13 – Fold the waistband seam up and press. Tuck in the seam allowances and hand sew the waistband facing in place on the wrong side.
Set the finished apron aside to prepare the appliques next.
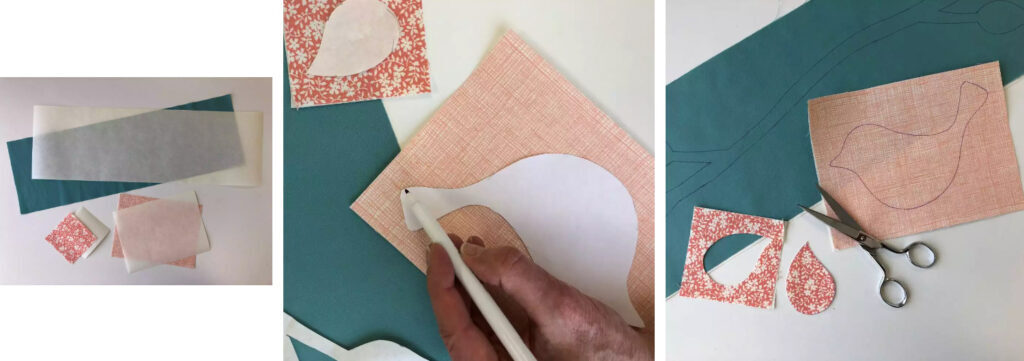
14 – Apply the fusible web to the wrong sides of the applique fabrics, following the fusible web manufacturer’s recommendations. Trace around the applique shapes (see last pages of these instructions), then cut out the appliques.
Note: Print the appliques before tracing on the fabric. Increase or decrease the size ratio on your printer to make any desired size adjustments desired before cutting out the fabrics.
15 – Try on the apron to determine where you would like to place the appliques. Fuse the “leaves and branches” applique and “bird body” applique in place, but don’t add the wing just yet. Thread the top of the machine and bobbin with the contrast thread colour that you want to use for the applique stitching.
Set the machine for a narrow zig-zag stitch and decreased stitch length setting. Place a piece of lightweight tear-away stabilizer underneath the areas to be appliqued, as this will help prevent the dense stitches from puckering the fabric.
Note: Try your applique stitch settings on fabric scraps first, so you can adjust stitch width and length until you get the look you want for appliques.
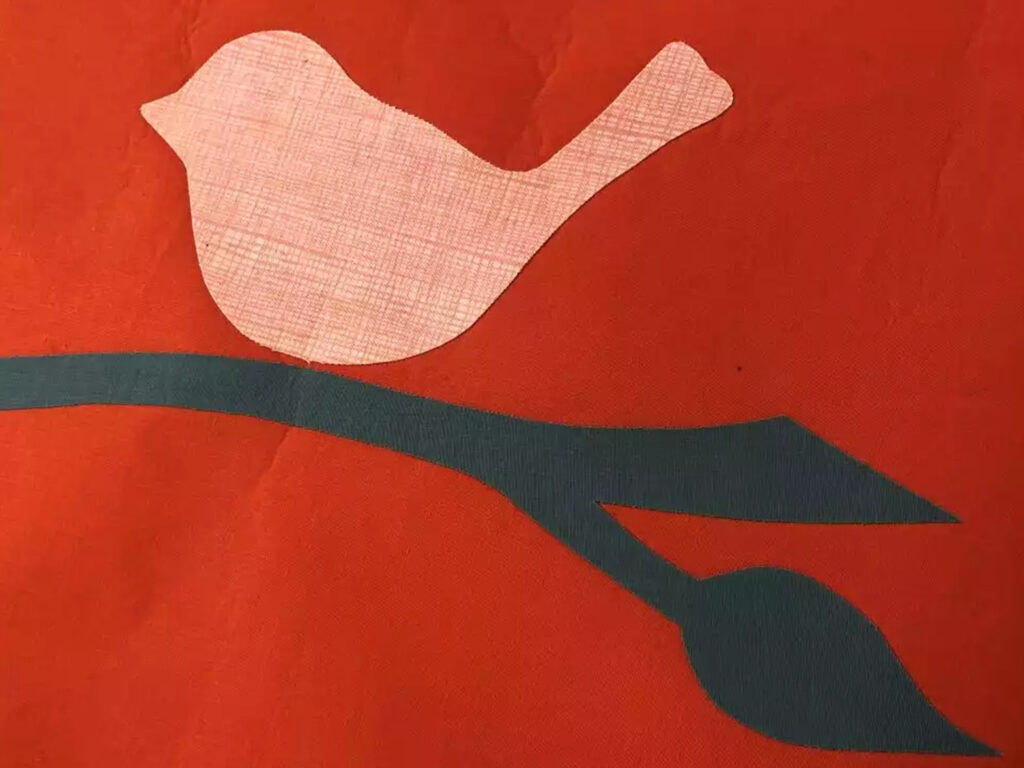
16 – Stitch around the “leaves and branches” applique, then stitch around the “bird body”. After this is done, apply the “wing” onto the bird and then stitch around the wing.
When stitching is finished, remove the excess tear-away stabilizer from the back side of the apron. Press to finish.
In conclusion, creating a sewn applique birdie apron is a fun and fulfilling project that allows you to showcase your creativity and sewing skills. Throughout this blog post, we have covered the step-by-step process of making this adorable apron, from selecting the fabric and applique design to sewing and finishing touches.
Don’t forget to share your completed project with us! Follow us on our Facebook page, Pfaff Australia or Instagram, tagging @pfaff_sewing_australia and using the hashtag #pfaffingaround