

One of the great joys of sewing is seeing someone’s face light up when you’ve made something just for them. I made this library bag for my Son, and his reaction was just that!
Here’s how to make a simple library bag.
Cutting:
Start by cutting two rectangles for your front and back. These can be any size you like, I went for 45cm x 38cm, which fits most large books.
You’ll also need two strips for your straps. These can be any length you like and should be tailored to fit the height of the intended user, so the bag isn’t dragging on the floor when it’s on their shoulder.
I cut two pieces 70cm x 6cm (this provides a finished strap width of 3cm)
Embroidery:
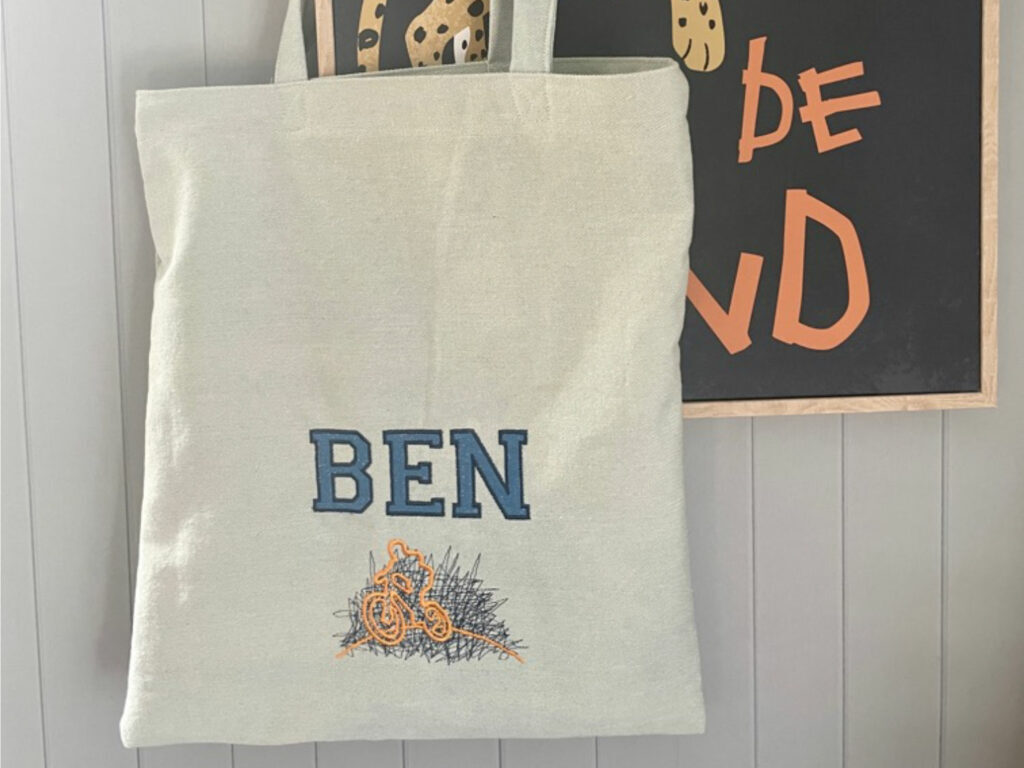
To personalise the bag I added my son’s name in a varsity font found on Etsy
and a picture of a bike rider he chose from the inbuilt designs on the PFAFF creative 3.0
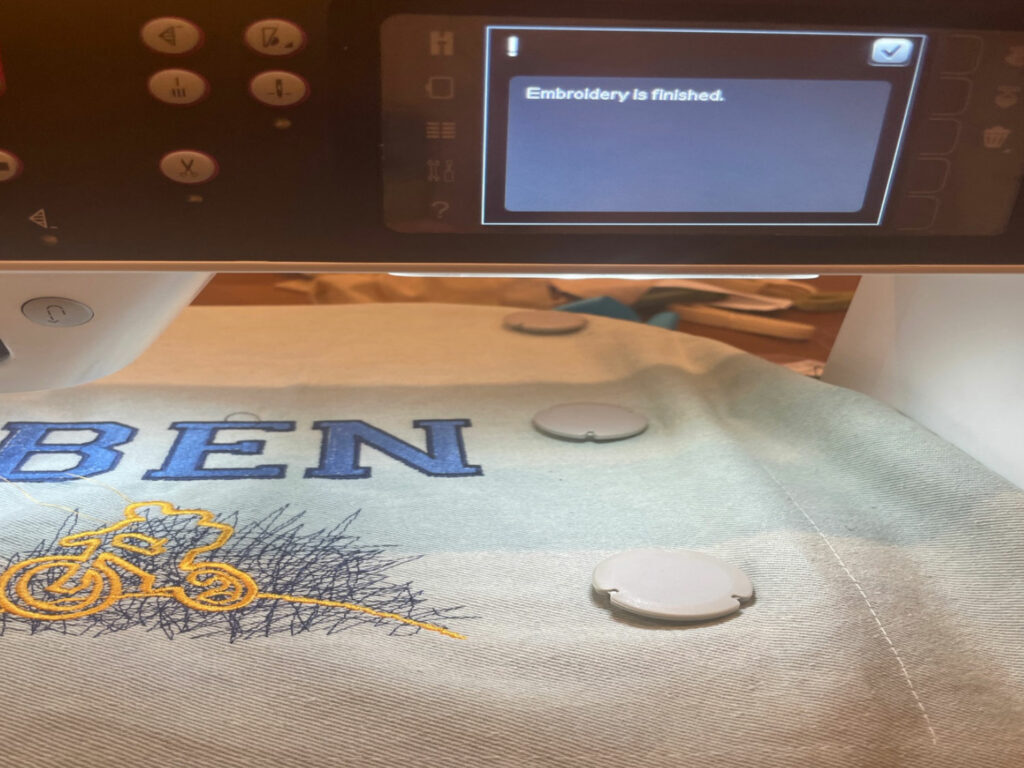
The fabric I used is a stable, mid weight denim and I used one layer of Inspira Tear-A-Way stabiliser
Once you have selected your desired design, lay your fabric over your stabiliser and fix it in place with a basting stitch.
I used the PFAFF Grand metal hoop for this project, which makes hooping up a breeze with thick fabrics. Simply lay your fabric over the hoop and secure it in place with the magnets.
Sewing:
1 – With your embroidery complete, it’s time to assemble the bag.
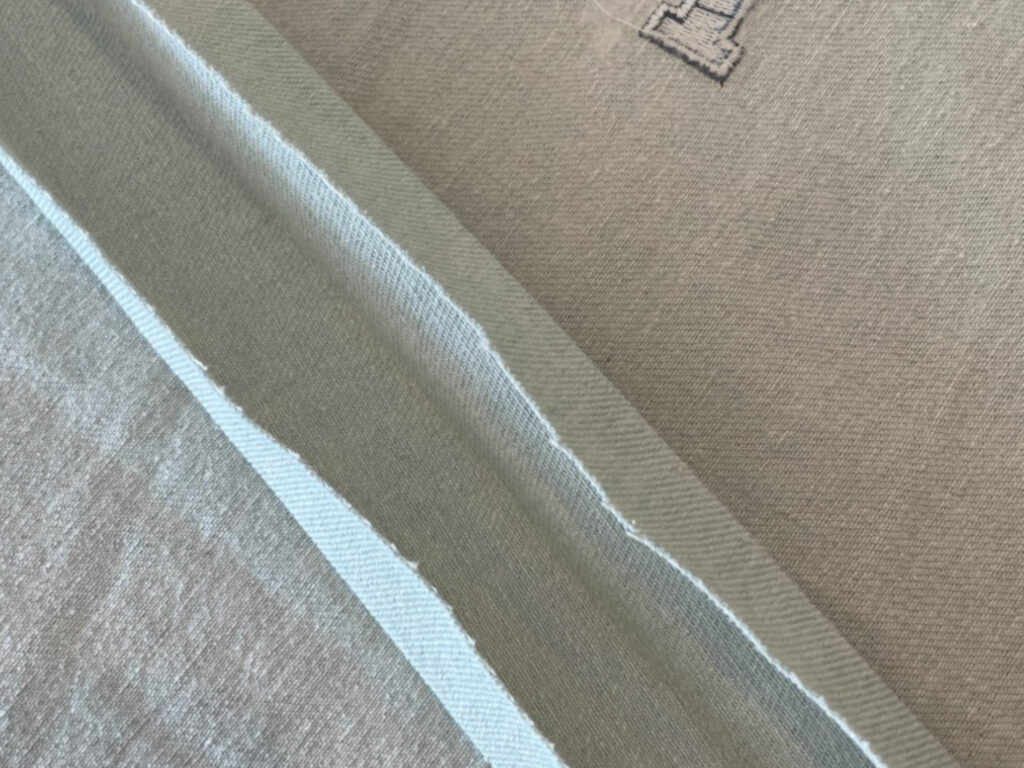
2 – Sew the front to back, right sides together, using a 1cm seam allowance. Finish the edges with an overlocker or overlocker stitch.
3 – Finish the top edge with an overlocker or overlock stitch. Turn the top edge down 4cm and topstitch.
5 – Create the straps.
6 – Fold the fabric to the centre as shown and press.
7 – Fold in half again so the two folded edges meet and press
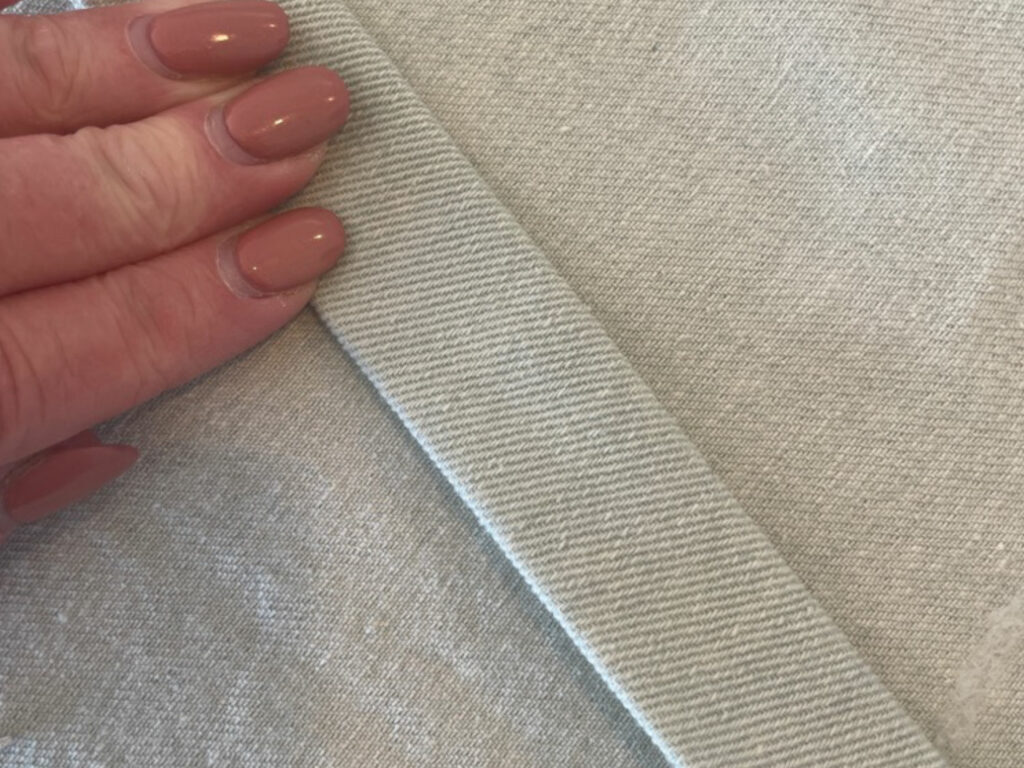
8 -Topstitch the straps closed.
You could also sew the raw edges together, right sides together and turn. My fabric was quite thick, so this method worked best.
9 – Pin your straps to your bag in your desired location. I have placed mine 10cm from the side seam.
10 – Stitch in place securely using a cross stitch
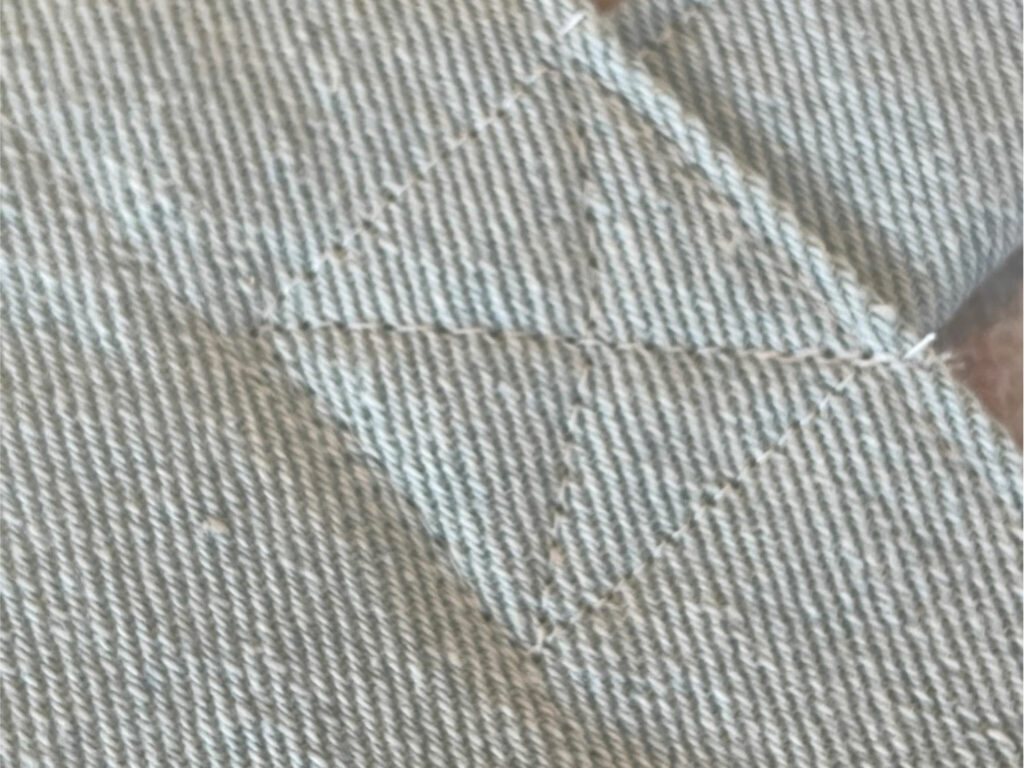
11 – Repeat for the 4 strap attachments
Your library bag is done!
Until next time, happy sewing.
Julia x