As a mum of 5, one of the things that makes my life easier is having a dedicated bag for sporting activities. Somewhere to store all the relevant shoes, uniforms, drink bottles… the list goes on!
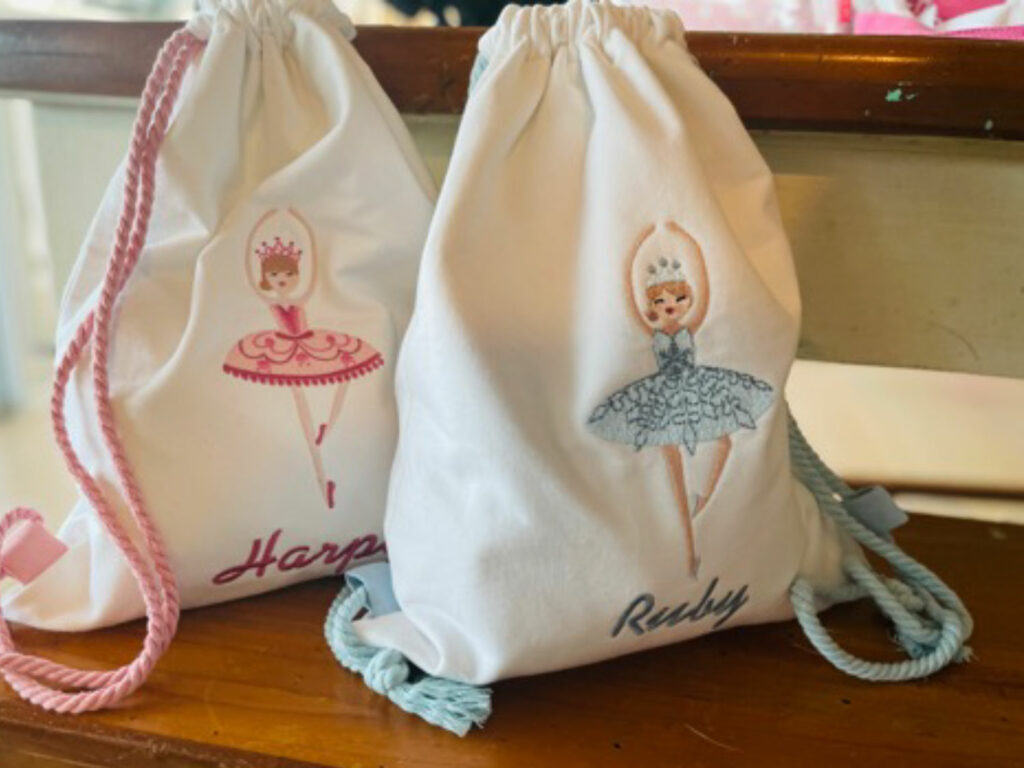
That way when it comes time to head to that activity everything, we need is in one place. I’ve made these backpacks for my twin girls to use for dancing, but you could personalise them for any sport or activity.
What you will need:
- 1 metre of mid-weight cotton. Drill or broadcloth works well
- 3-4 metres of 6mm cotton cord (the length will vary depending on the age of the backpack wearer and how long you need the straps to be. My twins are 4 years old and I used 3 metres of cord)
- 50cm quilters pellon
- 50cm Tear-away Stabiliser
- 50cm cotton poplin
- Small scrap of plain cotton fabric
- 30cm cotton webbing, 25mm wide
- 30cm cotton webbing, 25mm wide
Select your design:
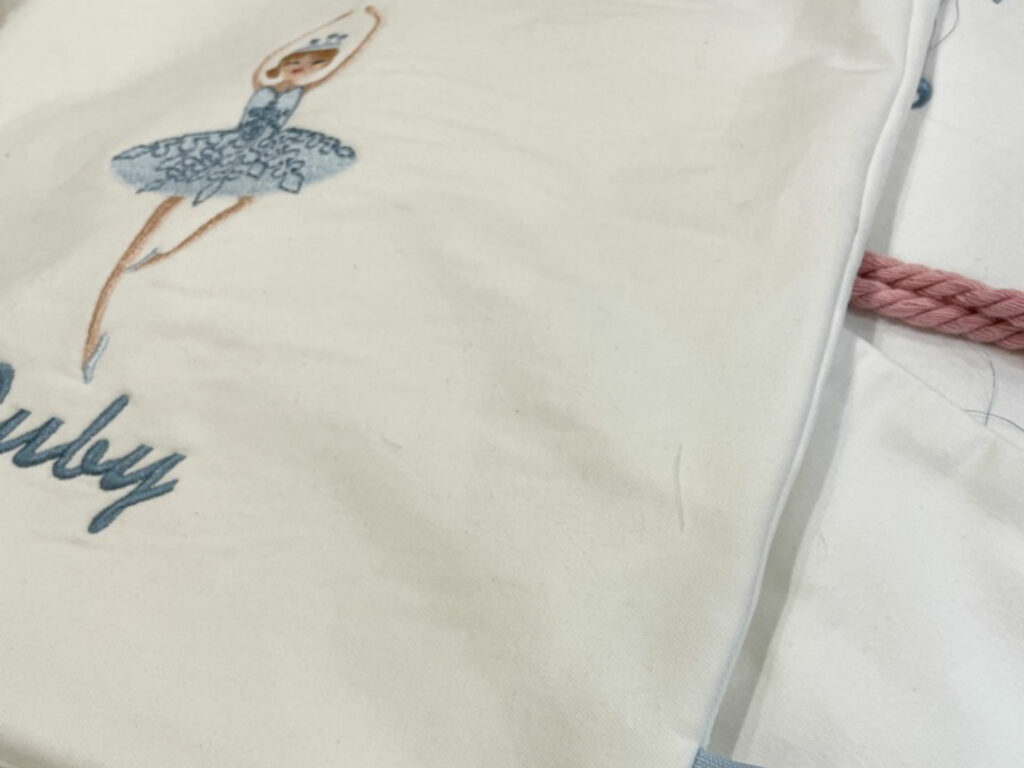
I chose a ballet girl design I found on Etsy and coupled it with a script font with their names. You can take creative licence here and go where your imagination takes you! Explore the inbuilt designs on your machine or If you are lucky to own a mySewnet enabled machine, the mySewnet library contains over 8500 designs to choose from. Get creative!
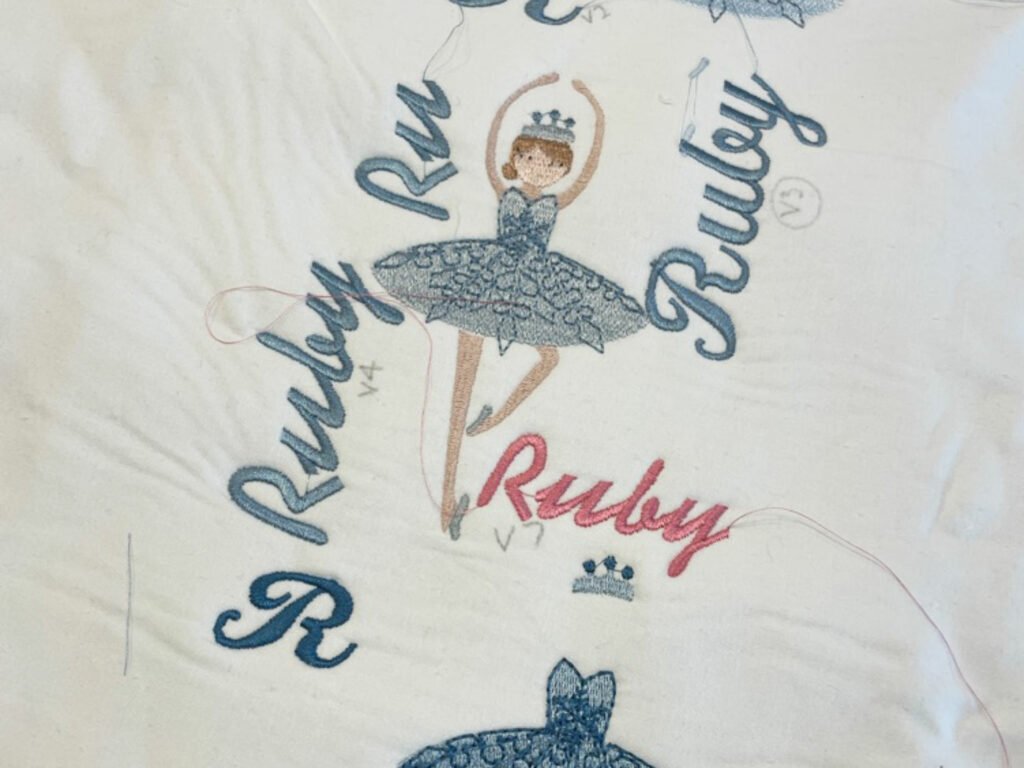
When working with a new design a little experimentation is always necessary. Don’t be afraid to dedicate a piece of fabric solely to experimentation. Play around with colours, sizes, placement and design selection.
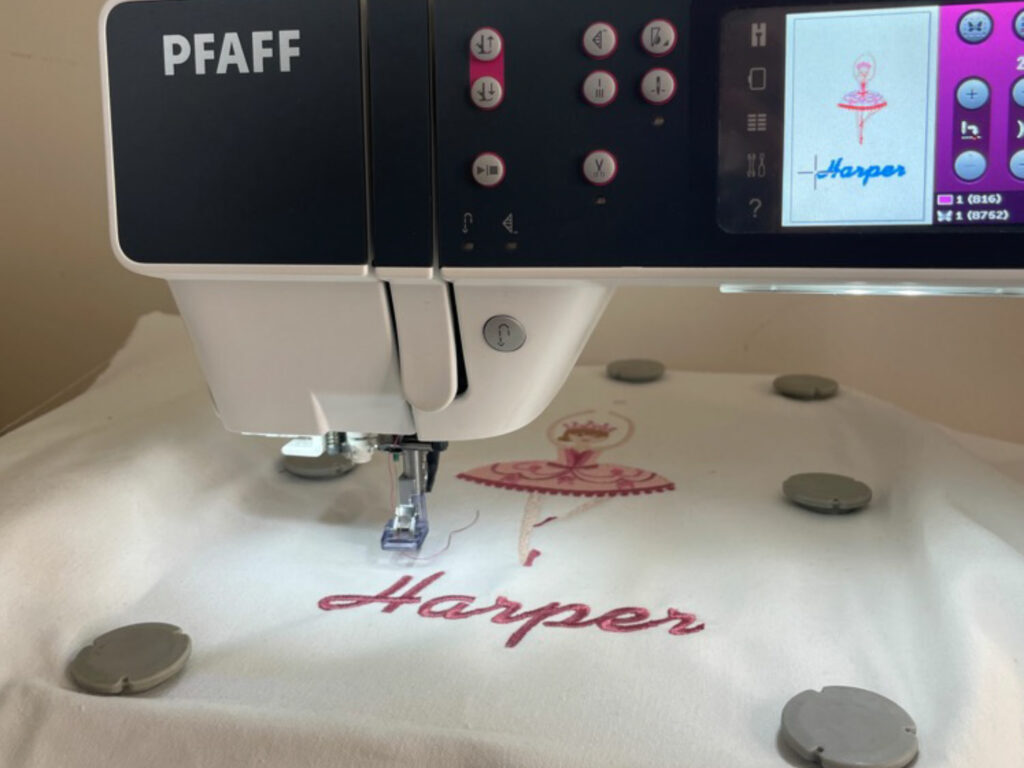
I used a layer of quilters pellon behind the main fabric and tearaway as the stabiliser.
Cutting:

- 2 pieces main fabric 37 x 44cm
- piece poplin 37 x 44cm
- 1 piece pellon 37 x 37cm
- 2 pieces plain cotton 11cm x 7cm
- 2 pieces cotton webbing 15 cm long
Embroidery:
- Fuse or baste your pellon to the wrong side of one piece of main fabric, leaving a space without pellon at the top (this will become the cord channel)
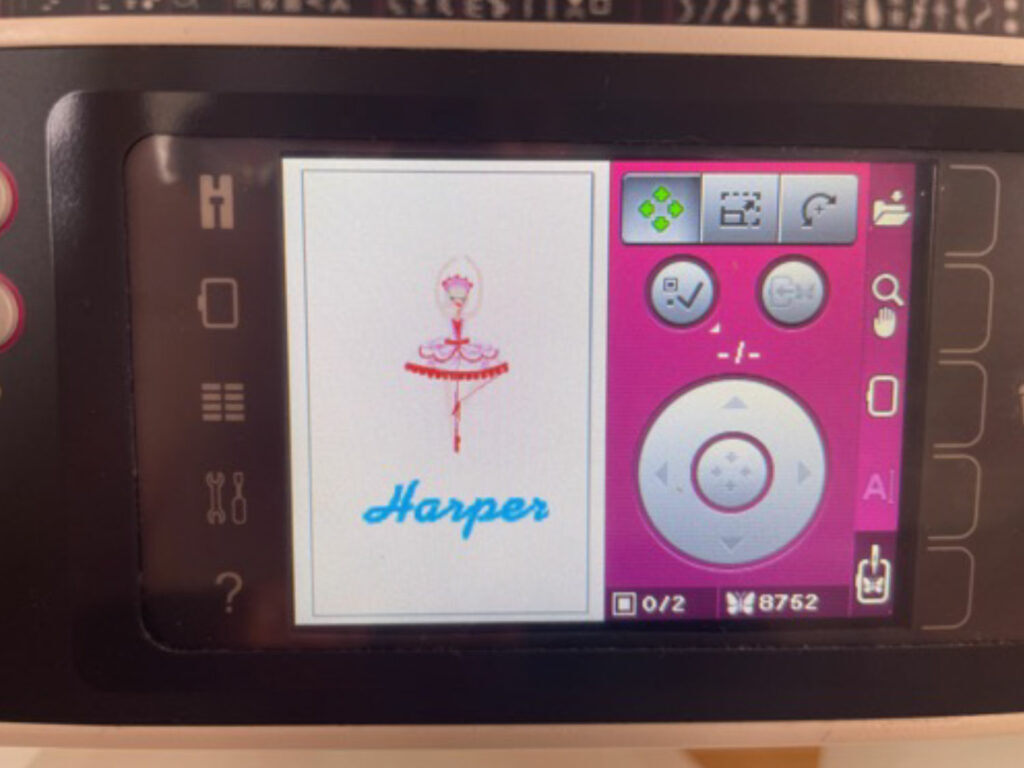
- Centre your design on the bag front and complete as desired
Sewing:
1 – Assemble the tabs.
2 – Sew each tab piece right sides together, lengthwise with a 1cm seam allowance.
3 – Turn and press with seam to centre back
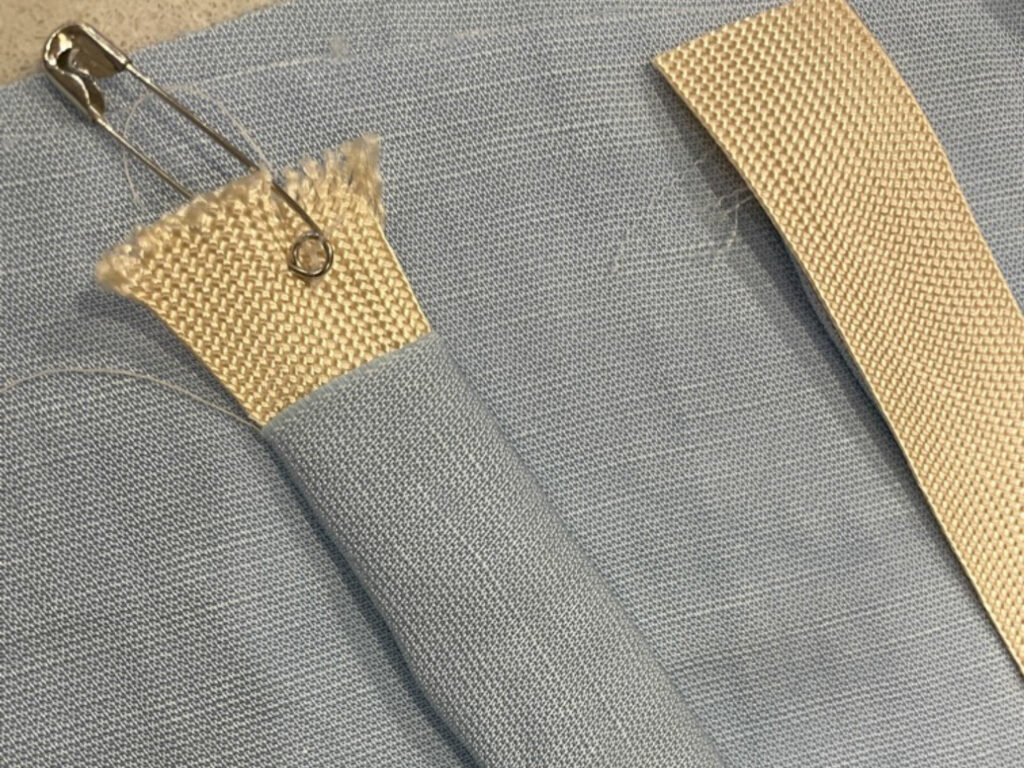
4 – Thread your webbing into the channel and stitch in place both ends
5 – Pin your bag layers together.
6 – Place front and back, right sides together, sandwiching the tabs in the side seam 4cm from the bottom edge.
7 – Lay the poplin piece over the front piece (this will act as a lining to protect the back of your embroidery and stop items catching on the stitching)
8 – Sew your side seams, stopping 7cm from the top on each side
9 – Sew your bottom seam
10 – Finish edges with an overlocker or overlock stitch
11 – Turn right sides out and press
12 – Finish top edge with an overlocker or overlock stitch
13 – Press top edge down 3.5cm and stitch in place
14 – Cut 2 pieces of cord to your desired length. I used 1.5 metres per piece, you may want to make them a little longer if you’re making the bag for an older child or adult.
15 – Thread one piece through the tab, up to the top, through the casing, through the casing on the other side and back down to the tab.
16 – Tie to secure. Repeat for other side
Your bag is finished !
Now that I’ve made these bags, I know I will make plenty more! They are a great organisational tool and would also make a great gift.