

So you are new to the world of machine embroidery and feel a little bit overwhelmed by the selection of hoops and stabilisers? This article is aimed to assist you to get started on the right foot and on your way to creating beautifully embroidered projects of all kinds! Keep reading to learn how to use an embroidery hoop.
Choosing the right hoop for your project
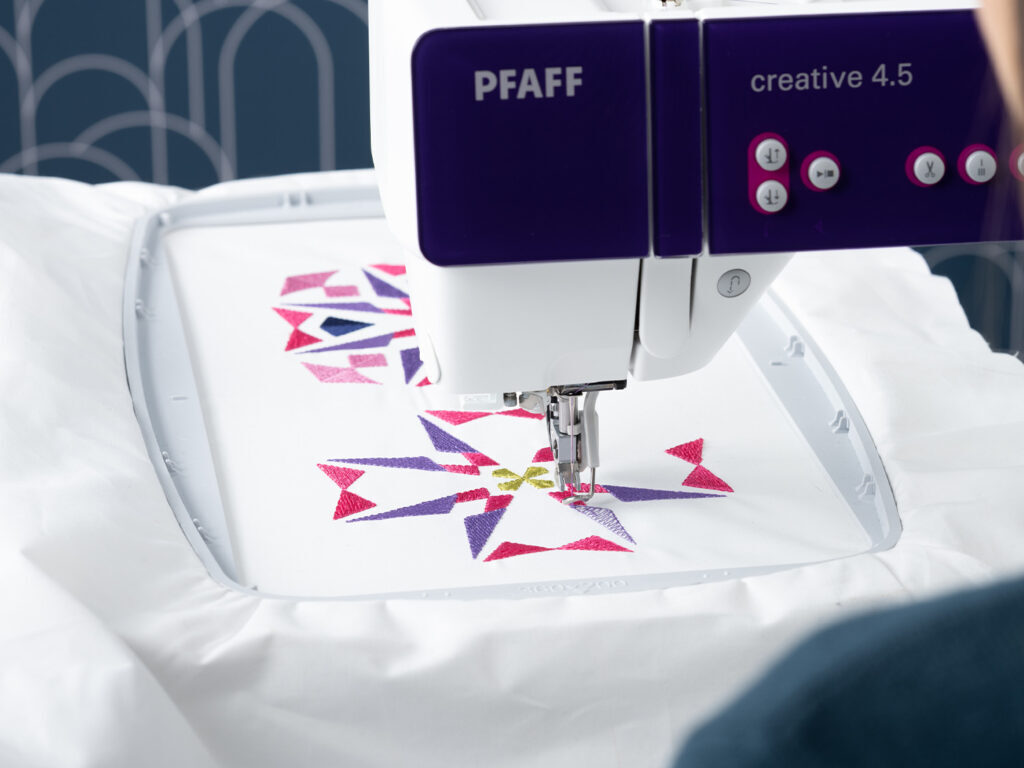
There are many hoops you can choose from, to help select your PFAFF Sewing and Embroidery machine will have a list of hoops that are suitable with it. From this list it is then recommended to choose the smallest hoop that the project will fit in. By choosing the smallest hoop for your chosen embroidery design it will ensure the maximum amount of stabilisation the hoop is able to provide to your project.
Are you looking to expand the collection of hoops you have? Check out the PFAFF creative embroidery hoops
![]()
Choosing the right stabiliser for your project
So what is Stabiliser and why is it important?
An embroidery stabiliser is a piece of material available in different types such as paper, fibre, or even water soluble material, that is used on the back or on the top of fabric you are intending to embroider on. When you are learning how to use an embroidery hoop, this is a very important aspect that should not be missed when you are preparing your hoop. It acts as the foundation of your embroidery and is a very necessary support for the fabric and thread in the design. Without the proper stabiliser, the embroidery design may stretch, pucker, and the fabric you are embroidering onto may distort.
For most embroidery projects a tear-away stabiliser is ideal. This type of stabiliser supports the designs and stitches when embroidering. Once the design is complete, simply tear away the excess.
If you want a more permanent stabilisation a cut-away stabiliser is a great choice. What if you have a sheer fabric or want to embroider lace and don’t want any visible stabilser in the design? The answer to this is water-soluble stabiliser! Once your embroidery design is complete simply, wash away the stabiliser, to leave just the stitching of the embroidery design.
To get your stabiliser for your next project shop our selection of INSPIRA Stabilisers
Hooping Tips
Below are a handful of tips for how to use an embroidery hoop to help you get the best results out of your machine embroidery!
Don’t Stretch your fabric!
When you are learning how to use an embroidery hoop, this is a common mistake. Whilst you want a taught surface to embroider on, you don’t want to stretch the fabric as this will result in a distorted embroidery design, once the hoop is released. When the fabric is stretched, it is then frozen in a stretched state for the machine to embroider onto. The embroidery will look great while hooped, but when the fabric is relaxed, you will usually get puckering around the embroidery design.
Hoop or float your fabric?
You will usually get the best results when you hoop your fabric with the stabiliser. However, some projects and fabrics are not suitable to be hooped. The solution for these projects is to float the fabric.
Floating your fabric means to hoop only the stabiliser fabric and then “float” the fabric on top of that. The fabric is more likely to shift when using this method, so be sure to pin the fabric to the stabiliser where possible. Also, use a basting stitch to further secure it to the stabiliser before proceeding with your embroidery design stitch out.
Don’t over tighten Hoop Screws
Don’t over tighten the hoop screws! This can end up damaging the hoop and also can cause hoop burn on your fabric. A simple finger tight is adequate to hold your fabric snug in the hoop while embroidering.
Using a Hoop Template
The INSPIRA Hoop templates are a great way to trace and position your designs. Simply trace the design onto the template, position your design on the garment as desired, use the template to mark the hoop placements on the garment and match the marking to the hoop and hoop up!
We hope the tips in this guide on how to use an embroidery hoop are helpful. Armed with these tips, you are now ready to embroider all the things with your PFAFF sewing and embroidery machine. If you still have questions or need more help, feel free to reach out to our team! We are more than happy to assist. Contact us