

Piping! My favourite trim – for garments, home furnishings and quilted projects! Your projects will take on a professional finish with just the easy addition of piping. The beauty of making your own is that the colour choices are unlimited because you use your own fabric stash to create great colour ways. This project is using the piping as the facing – a light and cool option of summer!
Machine Requirements:
1 – All PFAFF machines
2 – PFAFF Overlocker
3 – Narrow Piping foot, part number P8209180-96
4 – Standard OA foot
Requirements:
1 – .3m of Christmas cotton fabric
2 – Contrast fabric to create 2m of bias
3 – Pattern for garment – I used Kwik sew 2681 with a simple bodice and gathered skirt
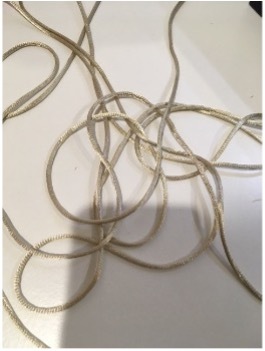
4 – Narrow piping cord- 2 metres I usually use rat tail as seen in. It is smooth, and makes a perfect piping – and cheaper than white cotton piping cord.
5 – 30cm zipper for back of dress – or buttons if you prefer.
6 – Construction thread to match garment
7 – 4 Reels overlocker thread to match piping
8 – Usual sewing requirements
Cutting Instructions:
1 – Lay pattern onto fabric and cut out, without the usual neck and armhole facings.
2 – Place chosen fabric for piping on the cross (bias) and cut enough to make 1.2 metres in length – 3 cm wide. If choosing to put bias in waistline – cut another 70cm at 2.5cm wide.
Sewing Instructions:
1 – Take your bodice pieces and using OA foot, sew across the shoulder seams with 1.5 seam allowance.
2 – Press open, and overlock the edges, plus your side seam edges with 3 thread overlocking
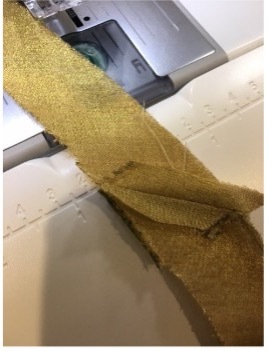
3 – Take your 3cm wide bias cut and join as below
4 – Now overlock this down one side only, with 4-thread overlock function.
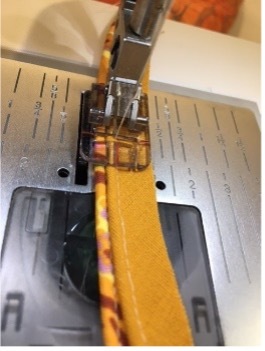
5 – Attach narrow piping foot onto machine – no IDT required. Lay your bias fabric wrong side up on the machine and place the piping cord (rat tail) to the left of bias fabric, rolling the left edge over the top. Your foot will sit neatly over the top of the cord, and the red mark on the foot shows you where the stitching will be.
6 – Next, take your bodice and lay the prepared piping right side uppermost with the narrow edge lining up with the raw edge of the neckline.
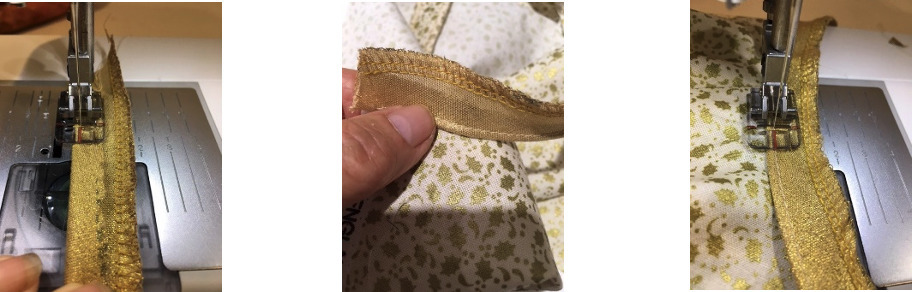
7 – Place the groove of the foot over the previously sewn stitching line, and stitch again, watching as you sew, that the raw edge of your piping is matching the raw edge of your neckline. Press the piped edge so that the overlocked edge is sitting nice and flat against the neckline. You may need to clip the seam a little if this is not curving as well as it should.
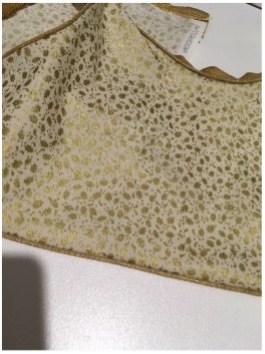
8 – Repeat the same process with the armholes, and when complete, sew down the side seams with 1.5cm allowance. How easy is that! No facing, no double bodice!
9 – If you decide to put piping in the waistline, use the remaining 1.5cm piece bias cut. Lay the piping cord in the centre of your strip and fold over so that the raw edges are meeting, Repeat the previous process. This makes a beautiful finish.
10 – Make up the dress as per instruction to complete.
Double Piping
Take two fabrics of contrasting colours or patterns. E.g. one plain, one patterned, and cut the desired length for the project.
Make up each colour in the same way as described when putting the piping in the waistband. Now nest the two pieces so that they sit together. Place the narrow piping foot so that the groove is sitting over the right-hand cord. Sew together.
Now take the main piece of fabric that is to be attached, lay the piping wrong side up along the raw edge. Change stitch length to 3.0, the foot groove over the right-hand cord, and sew onto the main fabric.
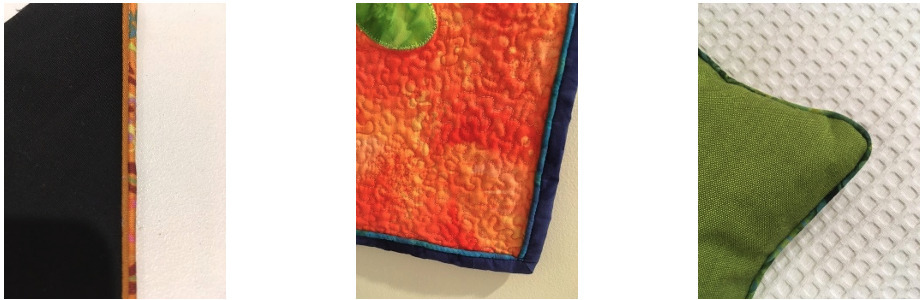
This is such a smart finish for a garment and so easily done!
Congratulations on finishing your project!
We can’t wait to see what you create! Don’t forget to share them with us on Instagram, tagging @pfaff_sewing_australia and using the hashtags #pfaffingaround or our Facebook page Pfaff Australia