

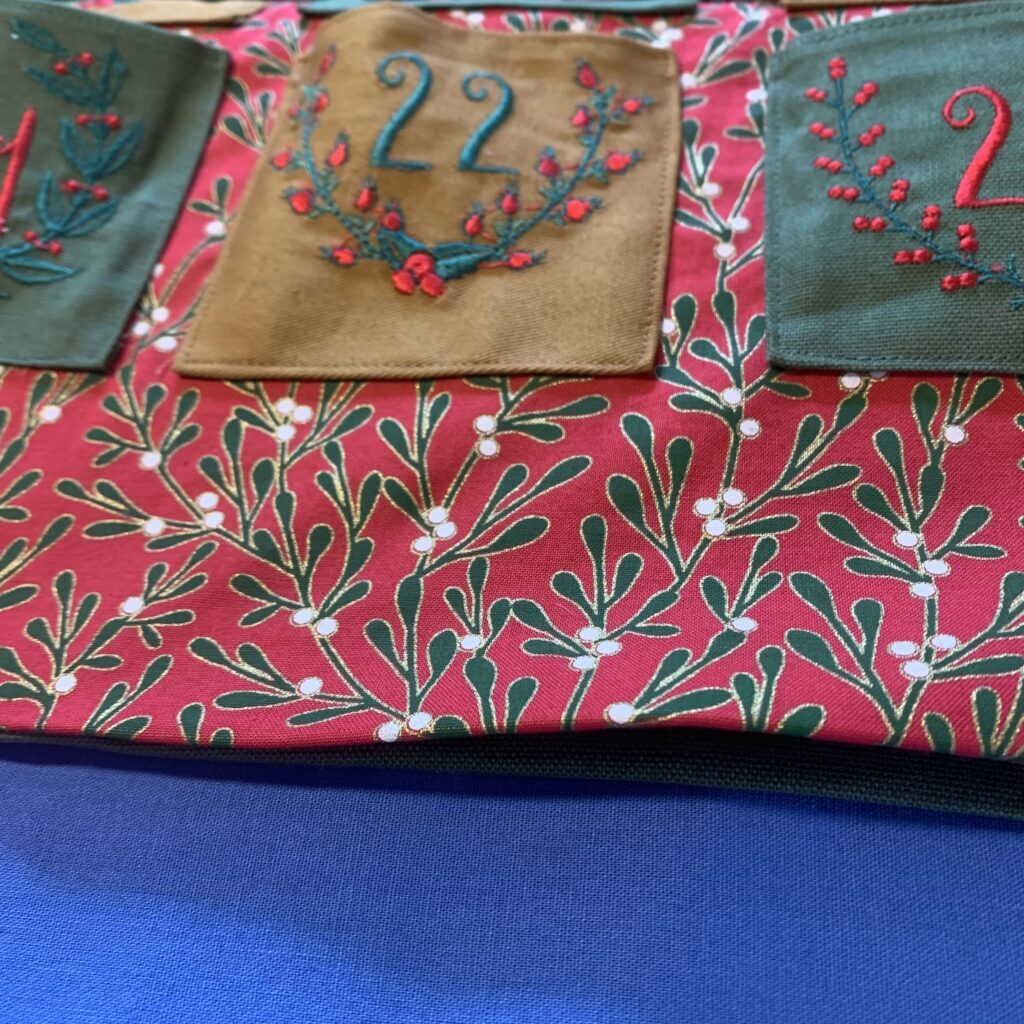
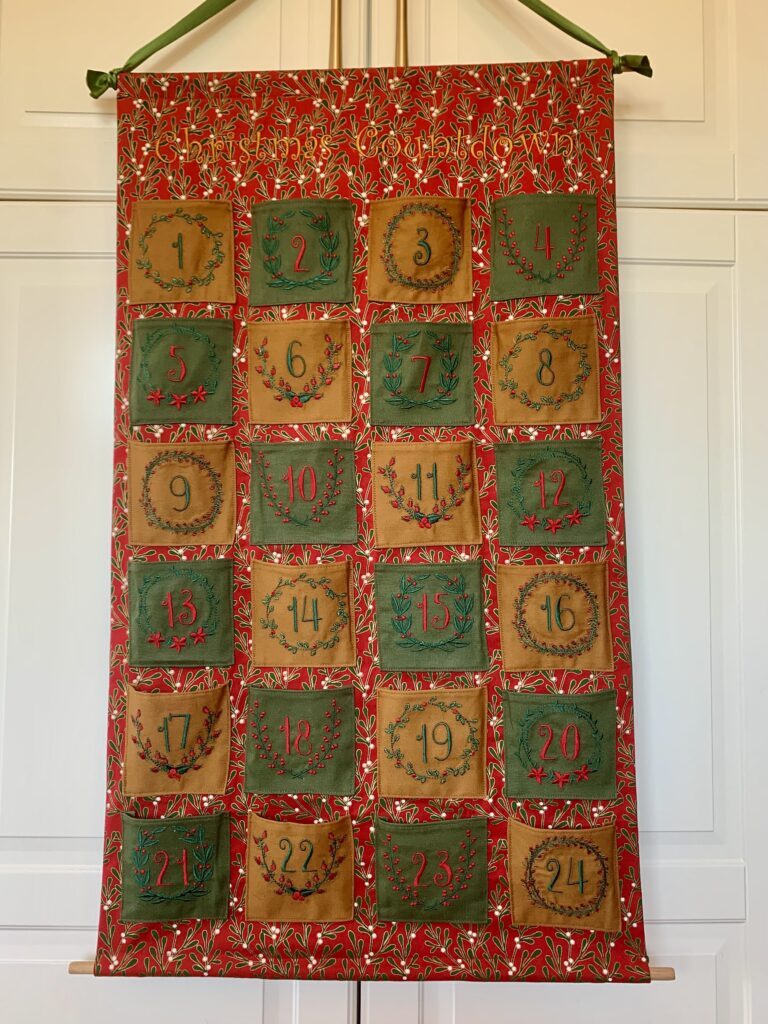
Make a Christmas Countdown Calendar!
A countdown calendar is the perfect way to get excited for Christmas, and this gorgeous sewing and embroidery project is bound to bring holiday joy for generations to come. Featuring 24 embroidered 9x9cm pockets, there’s plenty of space for treats and presents to enjoy in the lead up to Christmas. Now let’s get making
You will need:
- PFAFF® Sewing and Embroidery machine
- PFAFF® Narrow Edge Foot for IDT™ System
- PFAFF® Bi-Level Topstitch Foot for IDT™ System
- PFAFF® Embroidery Needles
- Front of advent calendar fabric – 90cm cotton (min 50cm wide)
- Back of advent calendar fabric – 90cm cotton (min 50cm wide)
- Pocket fabric – 120cm cotton (145cm wide) fabric (you may want some extra to spare in case of mistakes)
- Thread to match pocket and front fabrics
- Embroidery thread (dark green, light green, and red), plus (optional) yellow or gold
- Wooden dowel x 2 (50cm long)
- String or ribbon (approx. 70cm)
- Digital number embroidery files (I purchased these numbers and wreaths from Etsy)
- Basic sewing tools
Notes before you begin:
- Pockets have been made with 1cm seam allowance.
- Calendar back and front have been made with 2cm seam allowance.
- The pockets are made larger at the top to fit larger presents in them (see step 4c). If you want to keep your pockets simple you can make flat pockets by cutting square pockets and sewing them on flat.
- I used a Christmas patterned cotton for the front calendar and cotton canvas for the pockets and backing fabric.
- This project was made on a Pfaff Creative Ambition 640
Instructions:
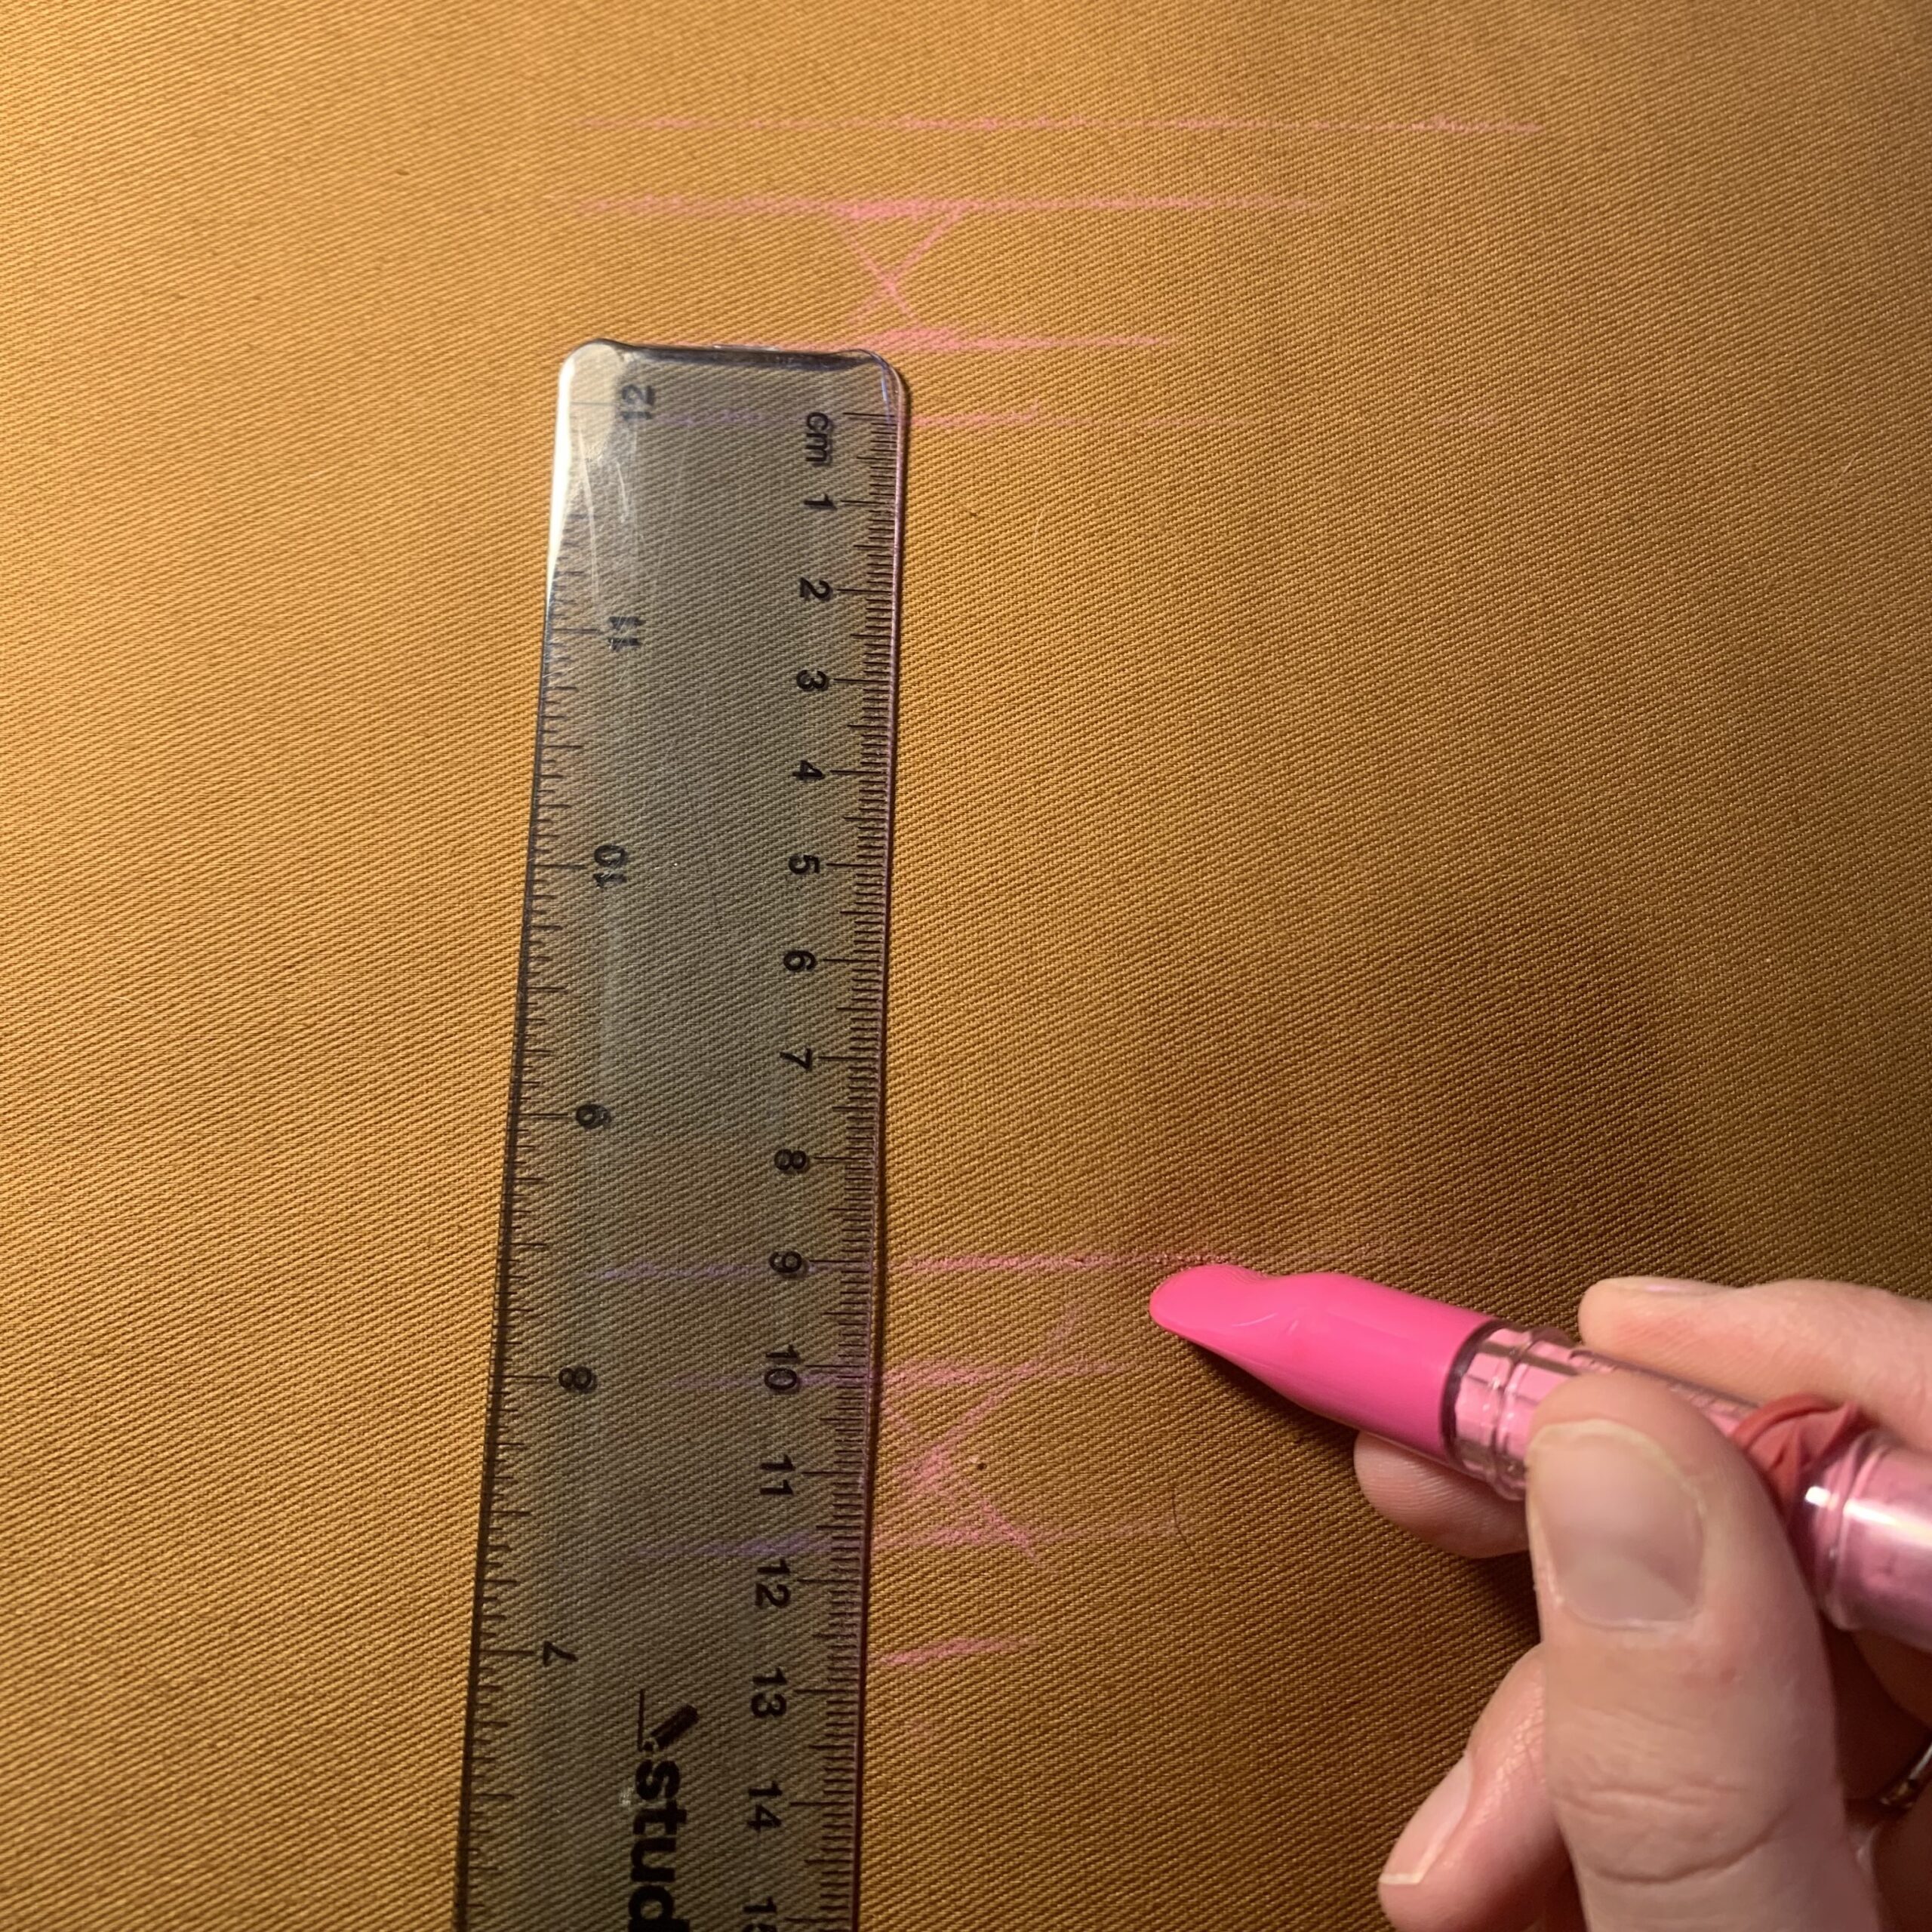
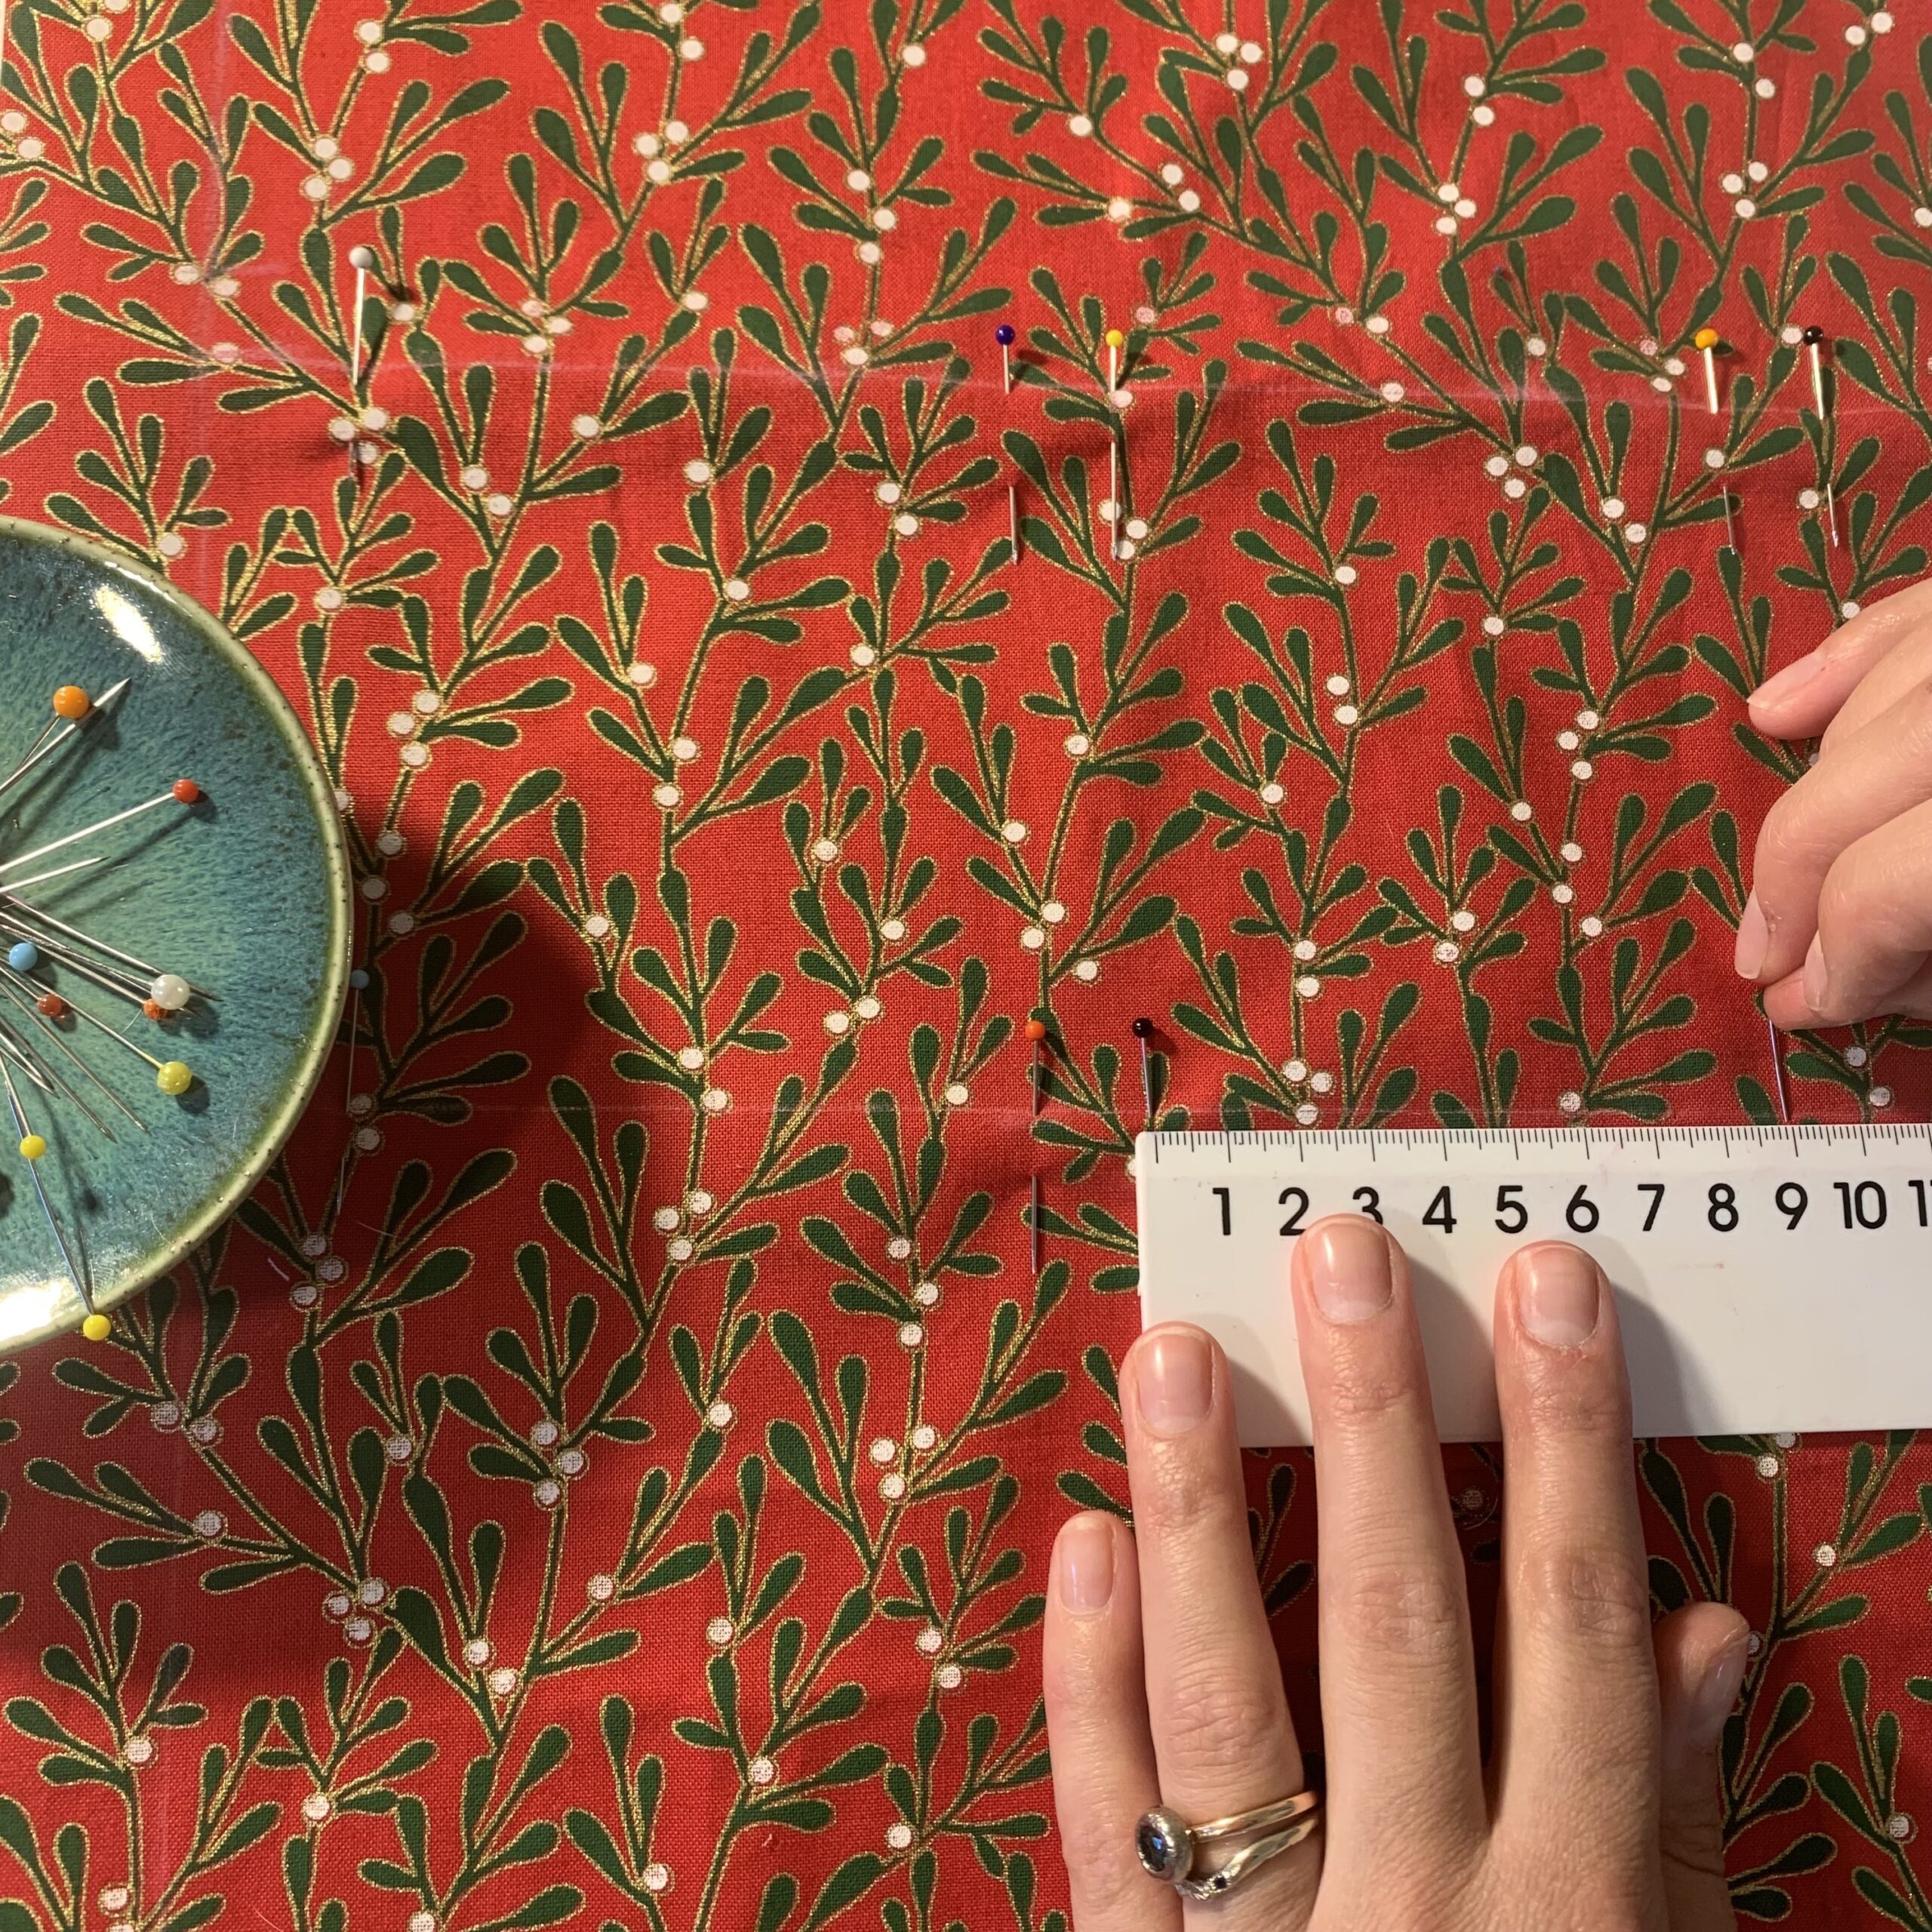
1.Mark your pocket fabric so you know where to embroider – mark the top and bottom of each pocket (see size info in step 4c) and your embroidery area. I recommend leaving some extra space around each design just in case.
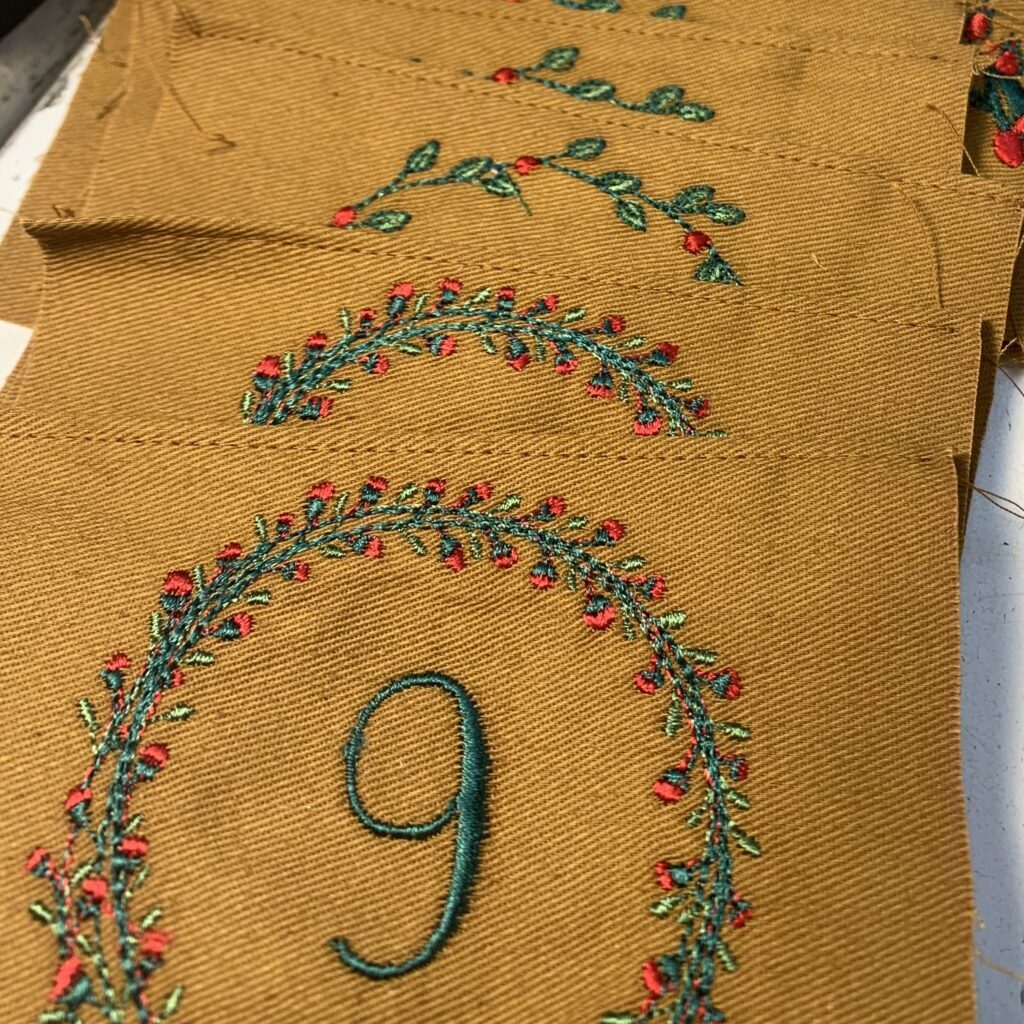
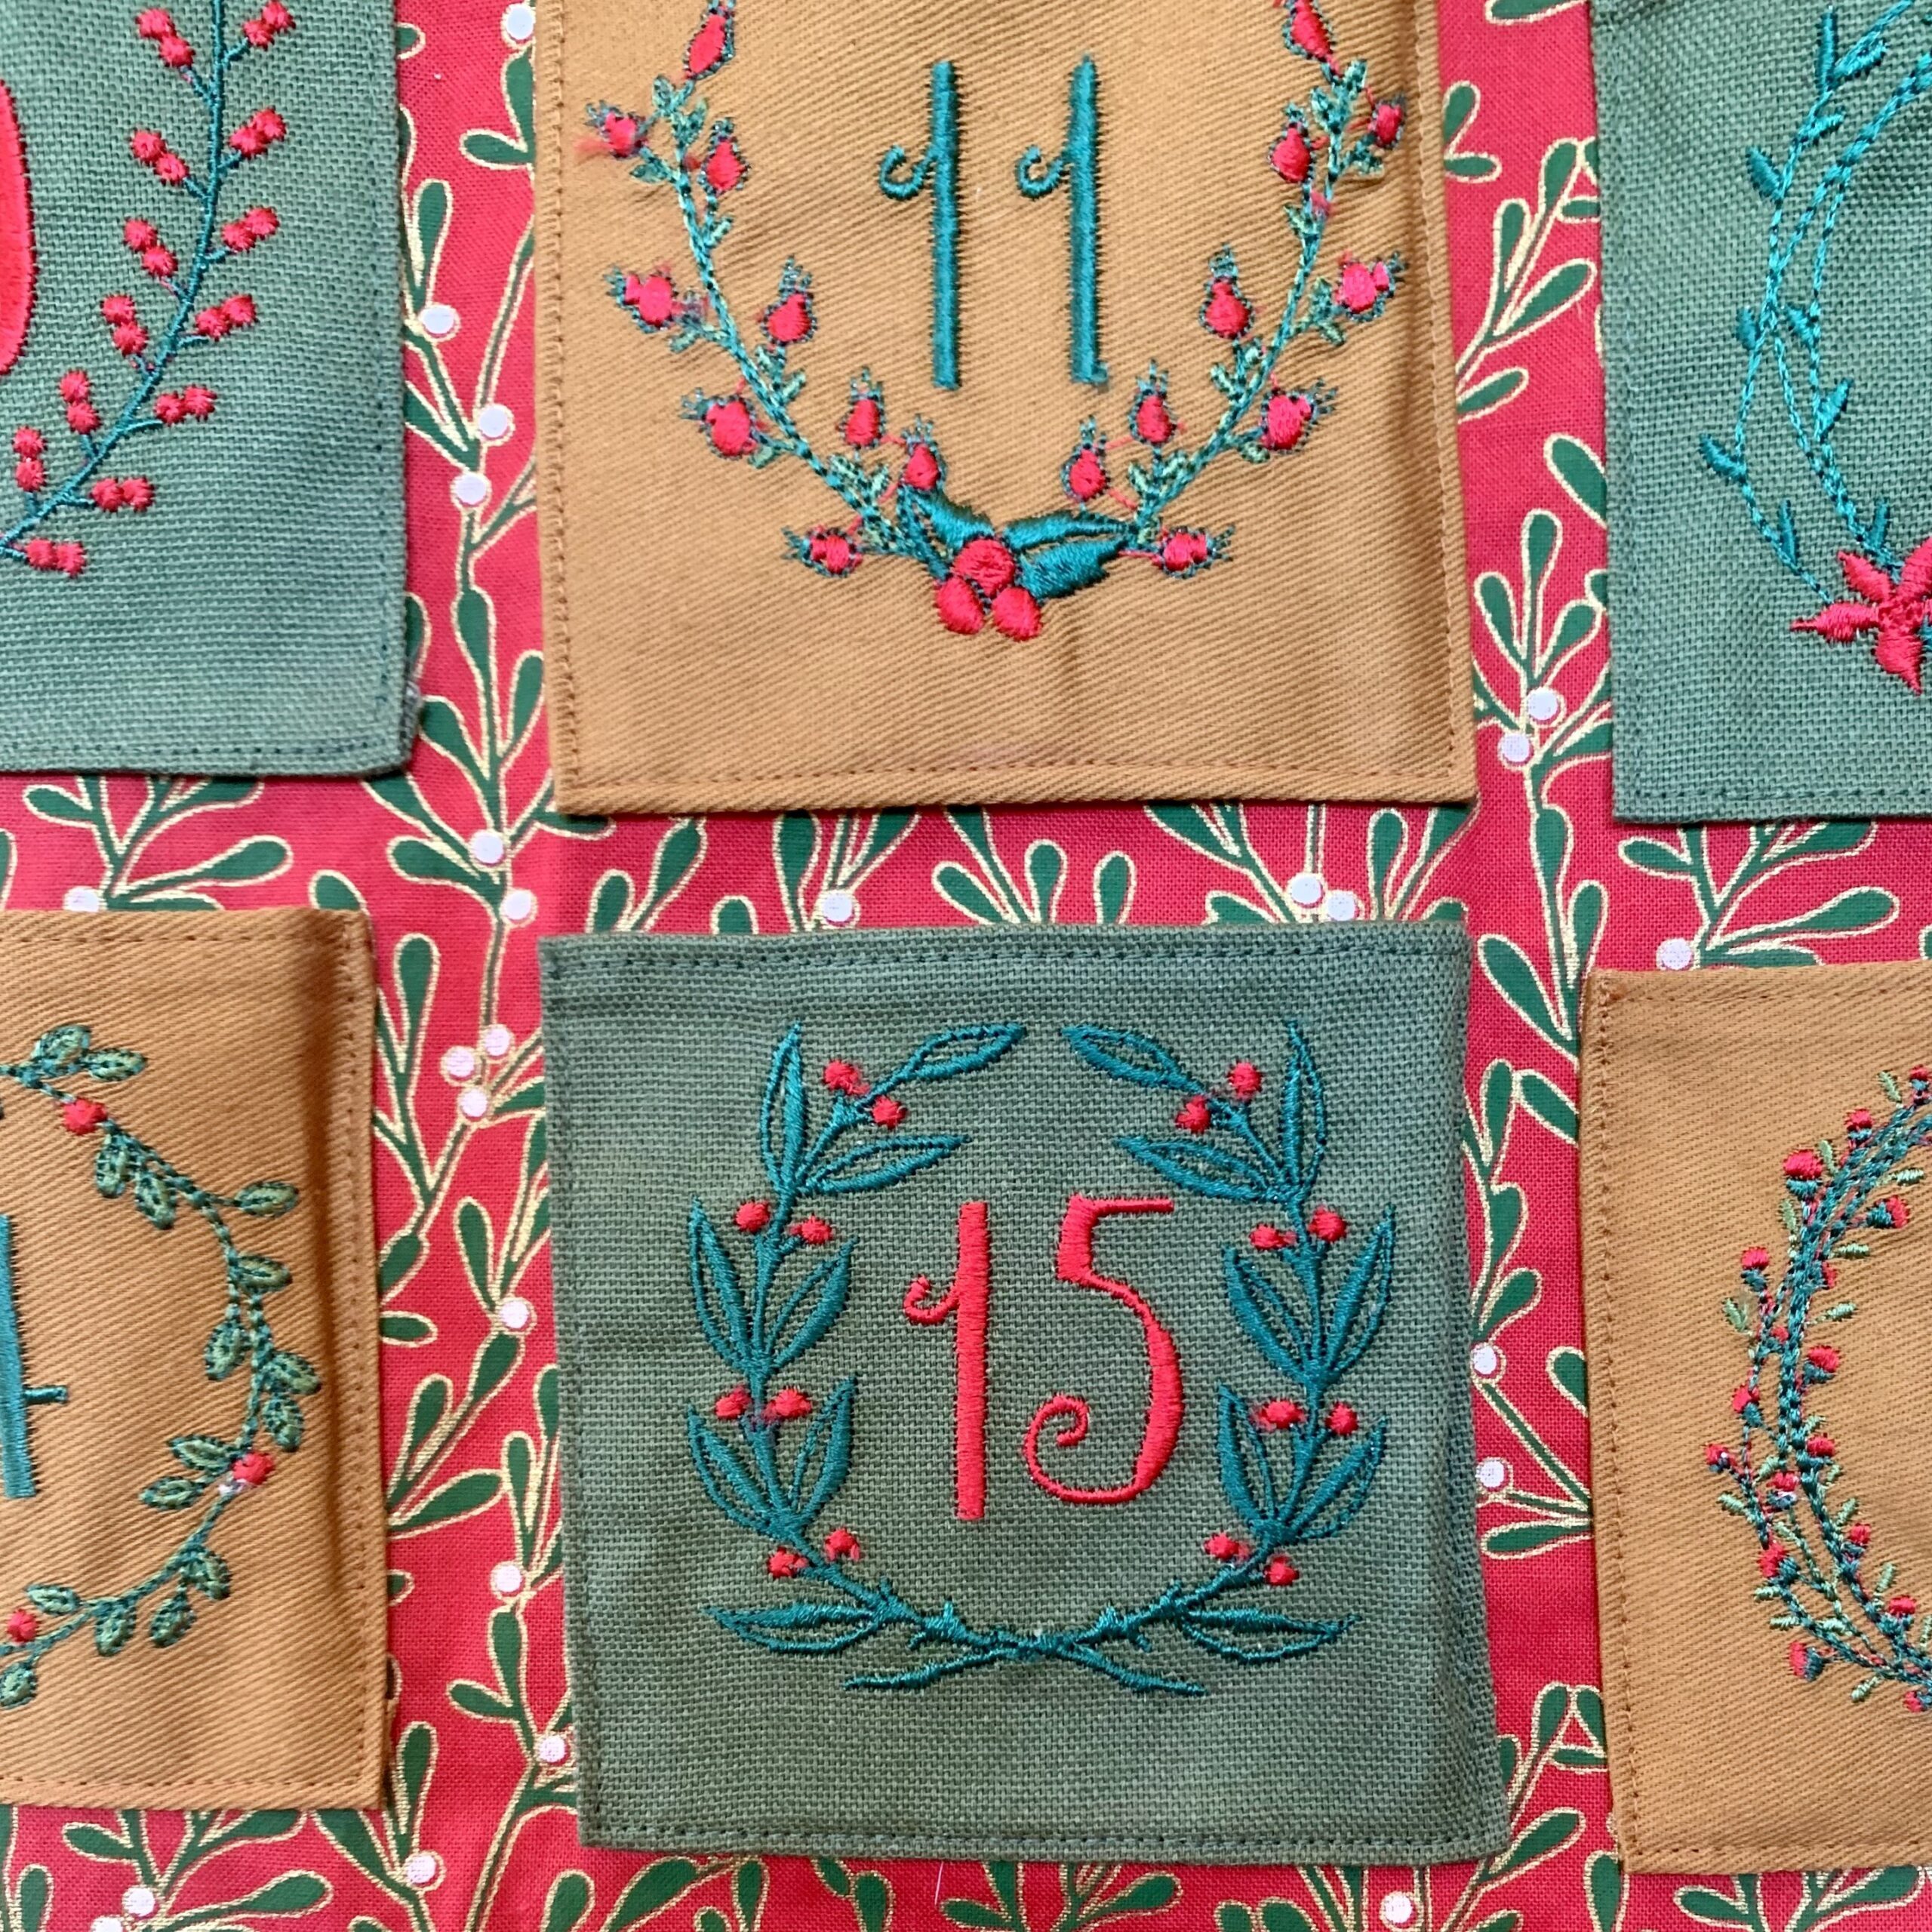
2.Plan your embroidery – it helps to draw a picture – I drew a simple diagram and coloured in the pockets to signify my fabric colours + wrote a list of my wreath styles and the numbers that would go with each wreath
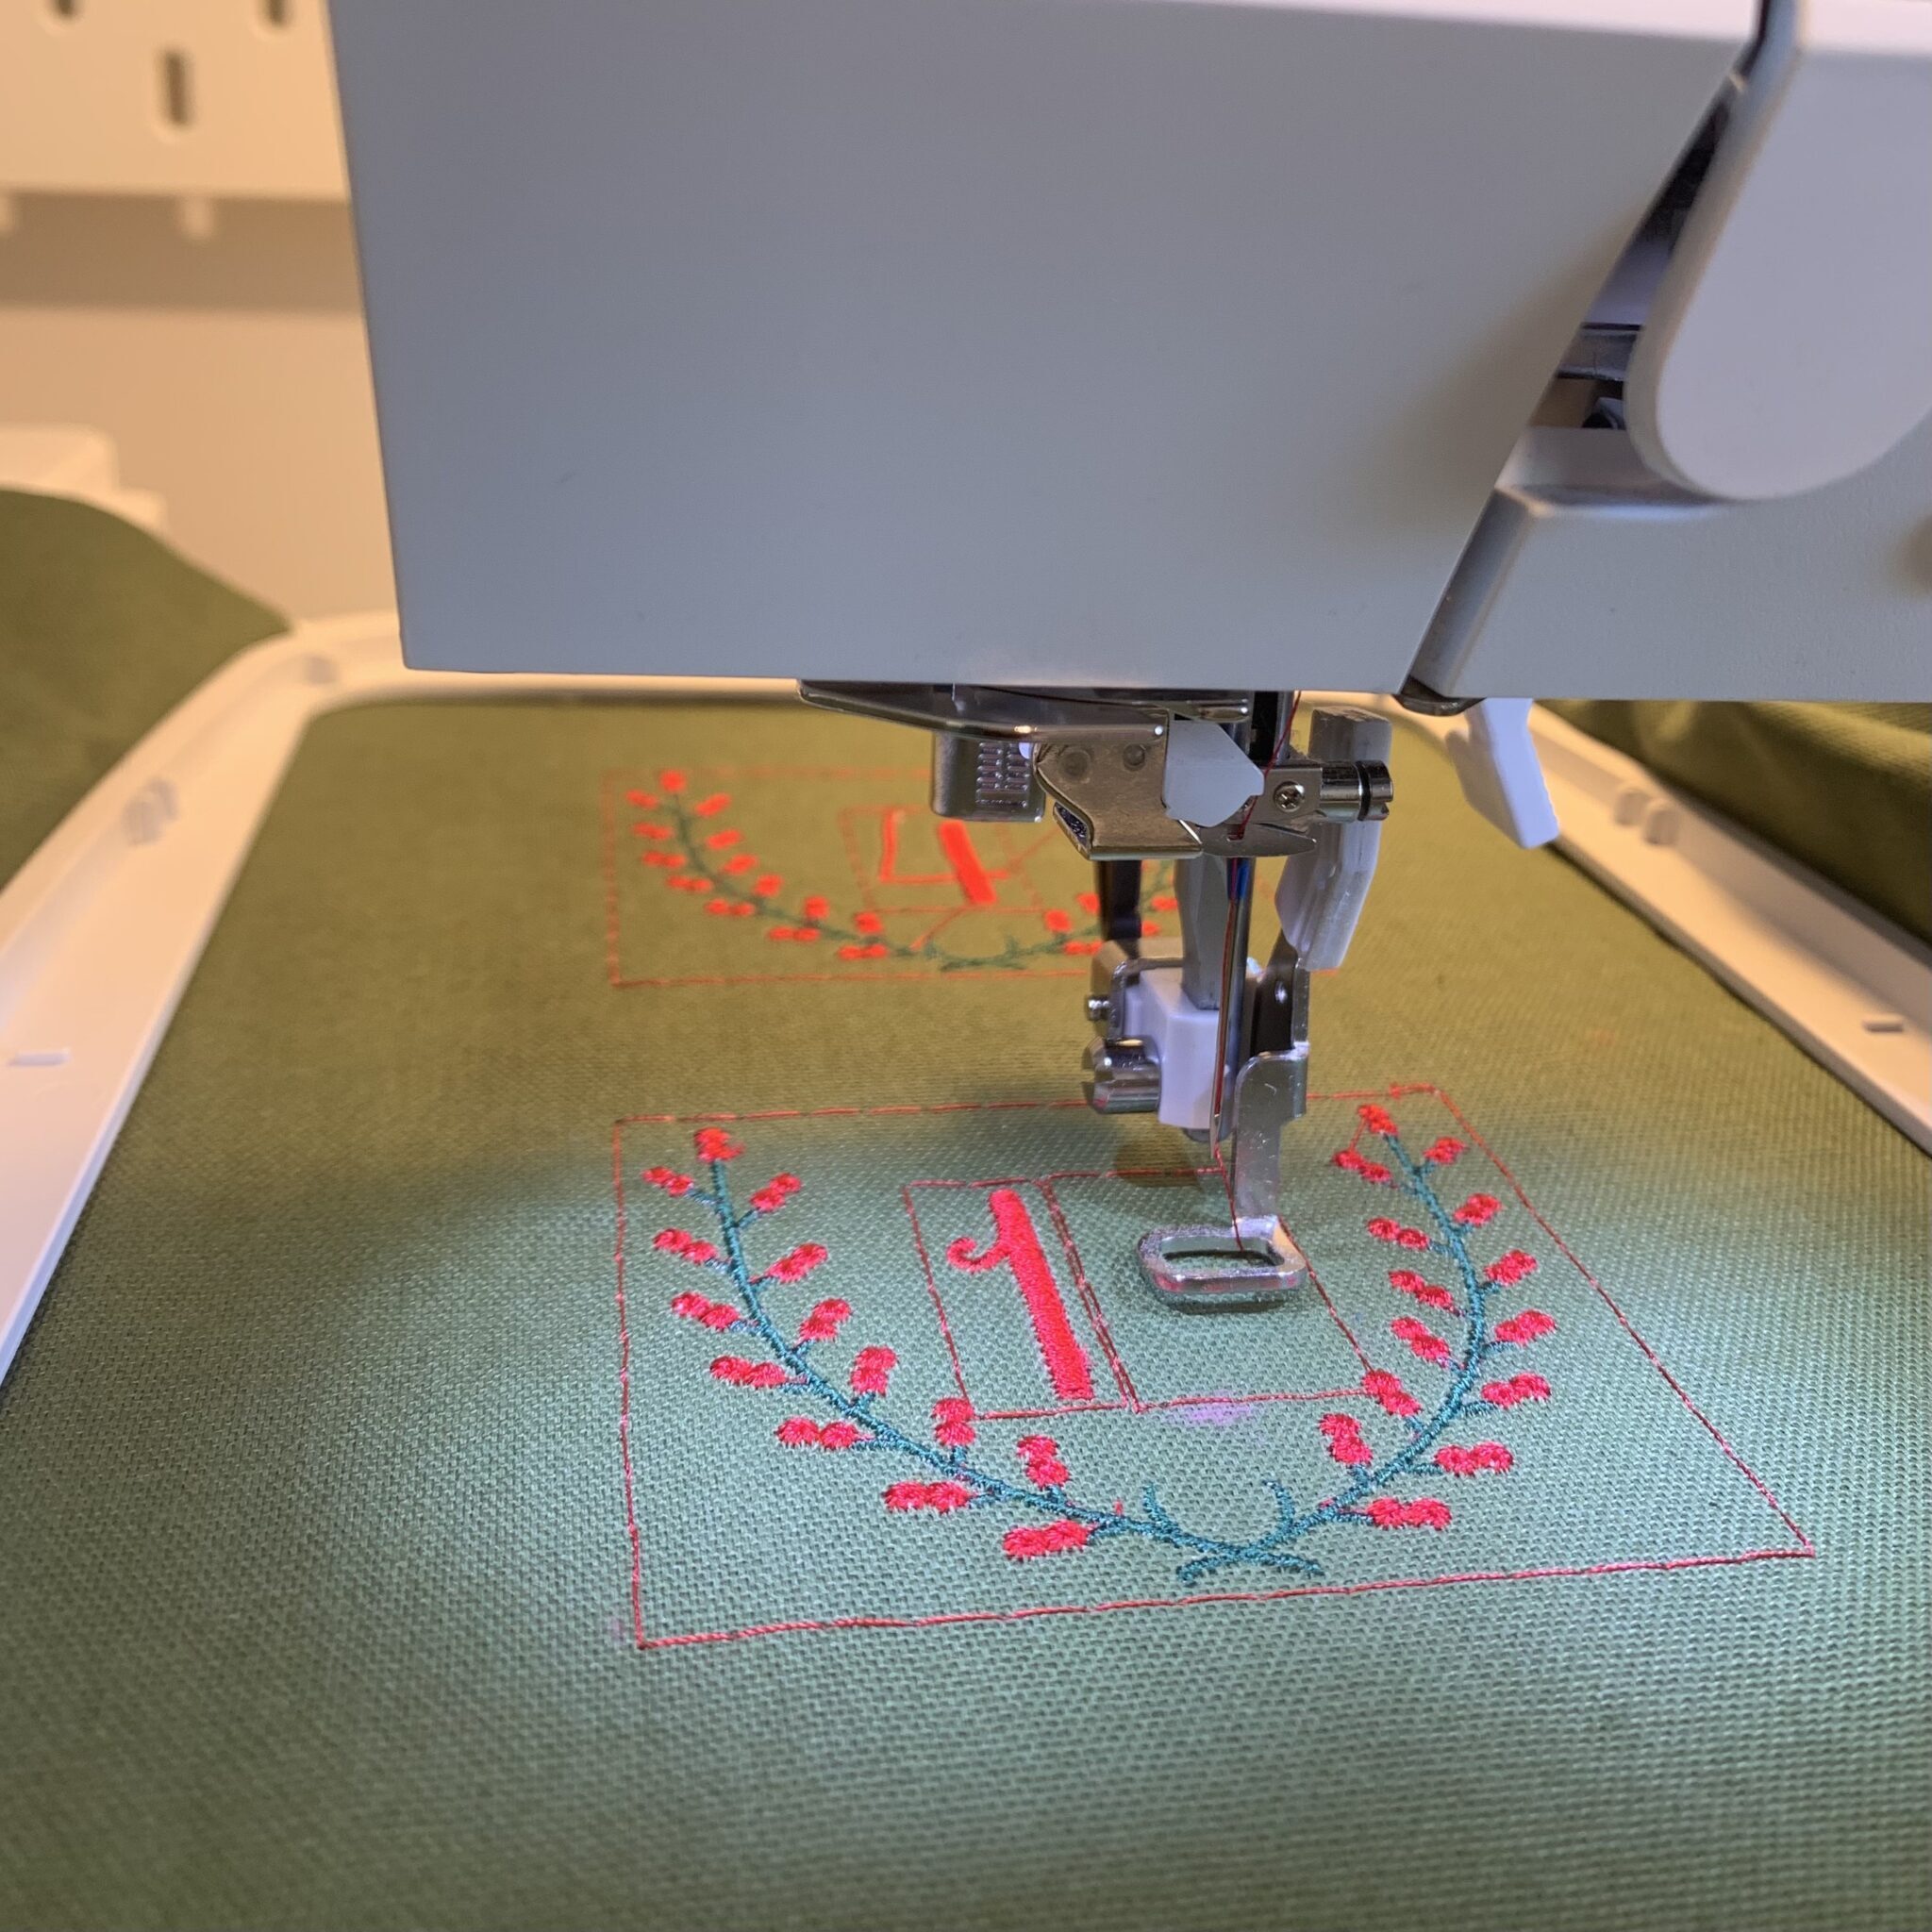
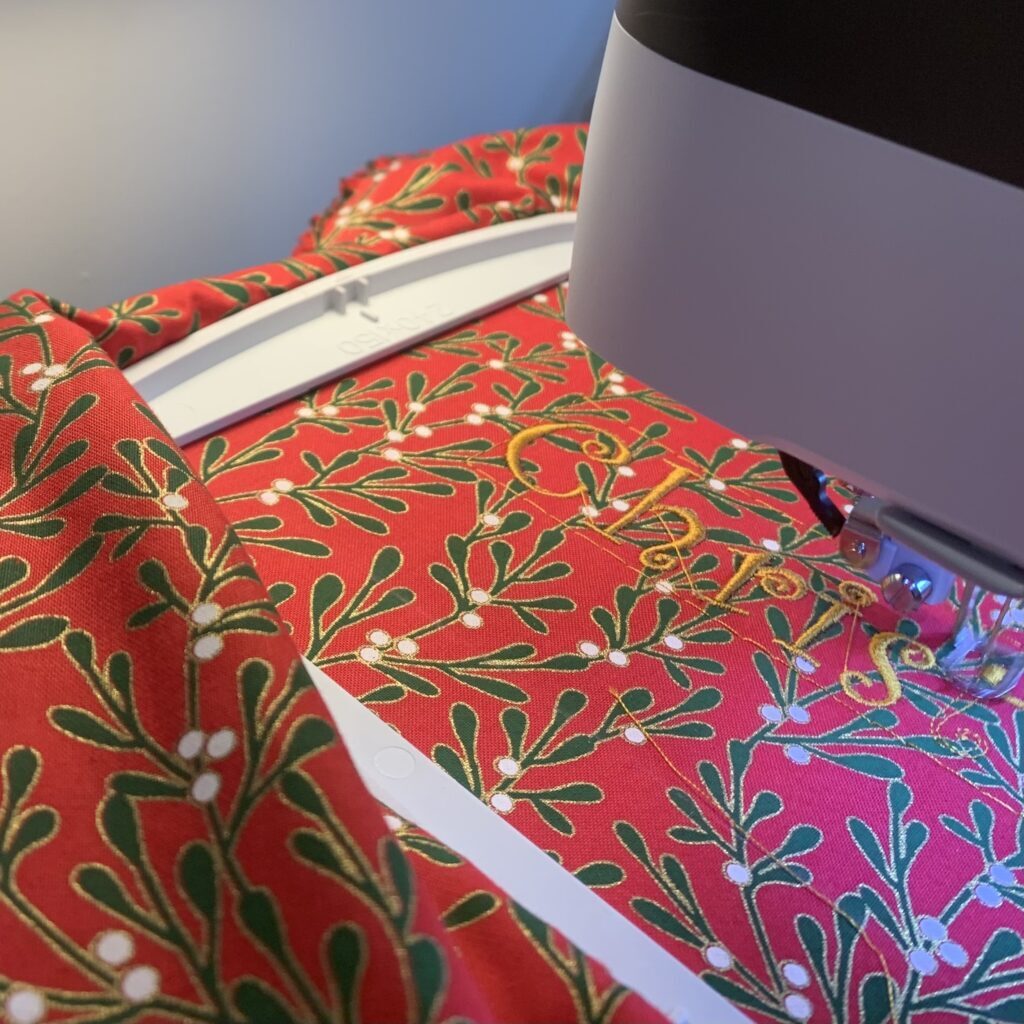
3. Embroider your numbers 1–24 on your pocket fabric. Refer to your Pfaff instruction manual for detailed embroidery instructions.
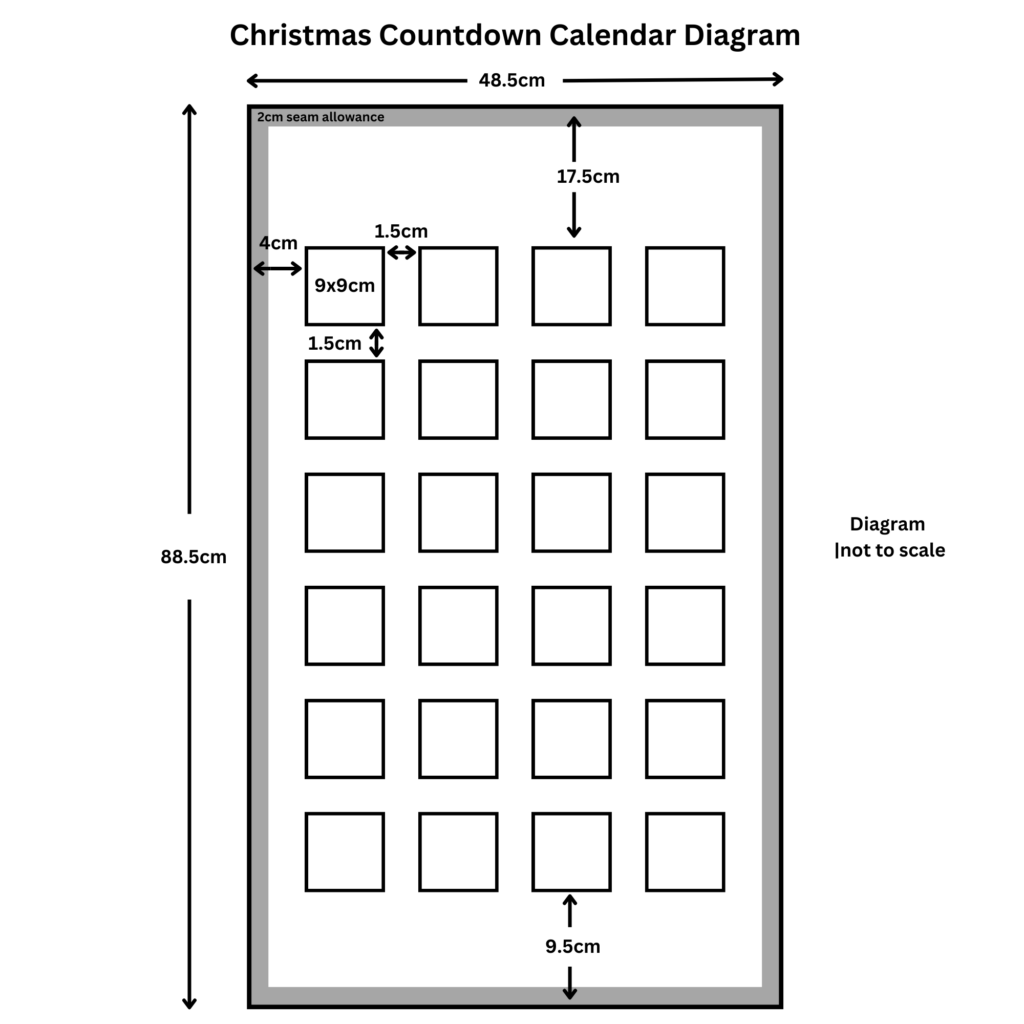
4. Cut your front, backing, and pockets. Dimensions below:
a. Front – cut one at 48.5cm (wide) x 88.5cm (high)
b. Back – cut one at 48.5cm (wide) x 88.5cm (high)
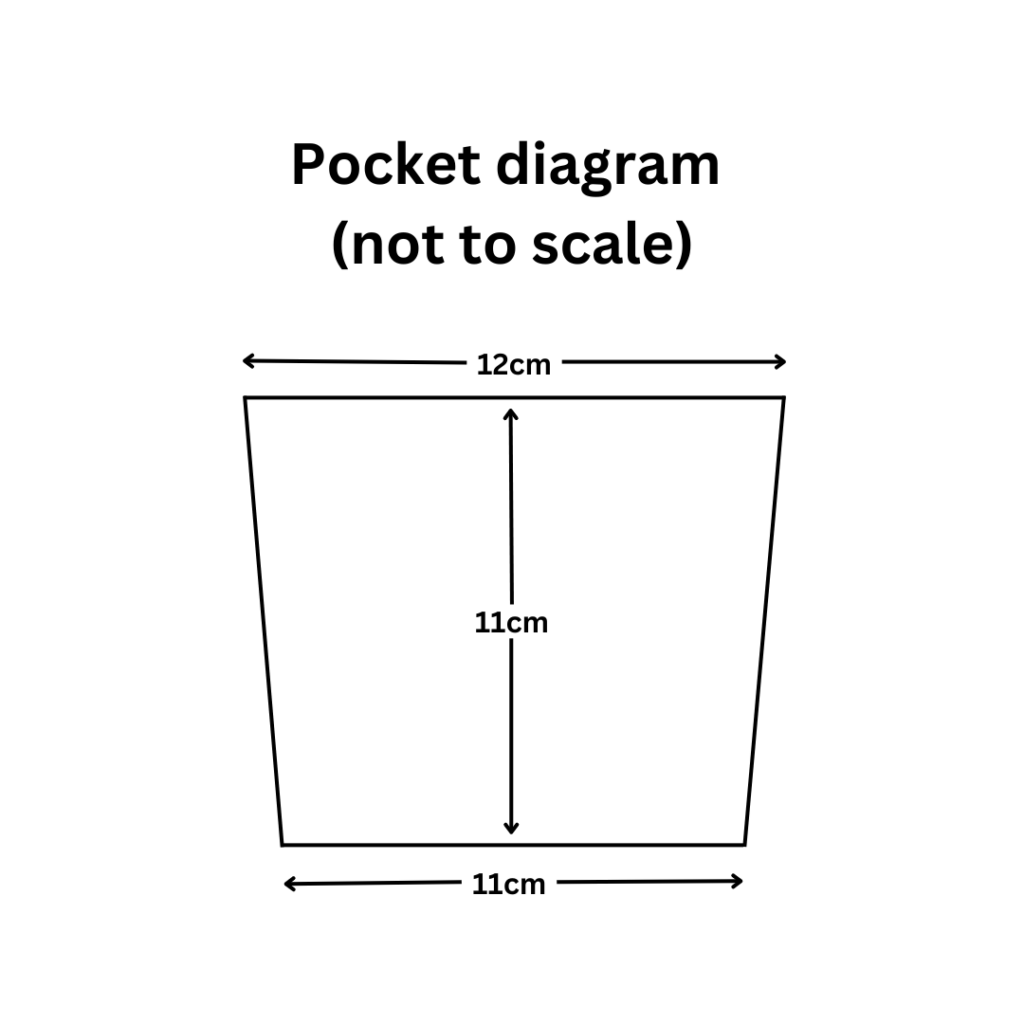
c. Pockets – cut 24 according to diagram – 12cm wide at the top parallel to an 11cm wide bottom (11cm high). OR cut simple 11x11cm squares.
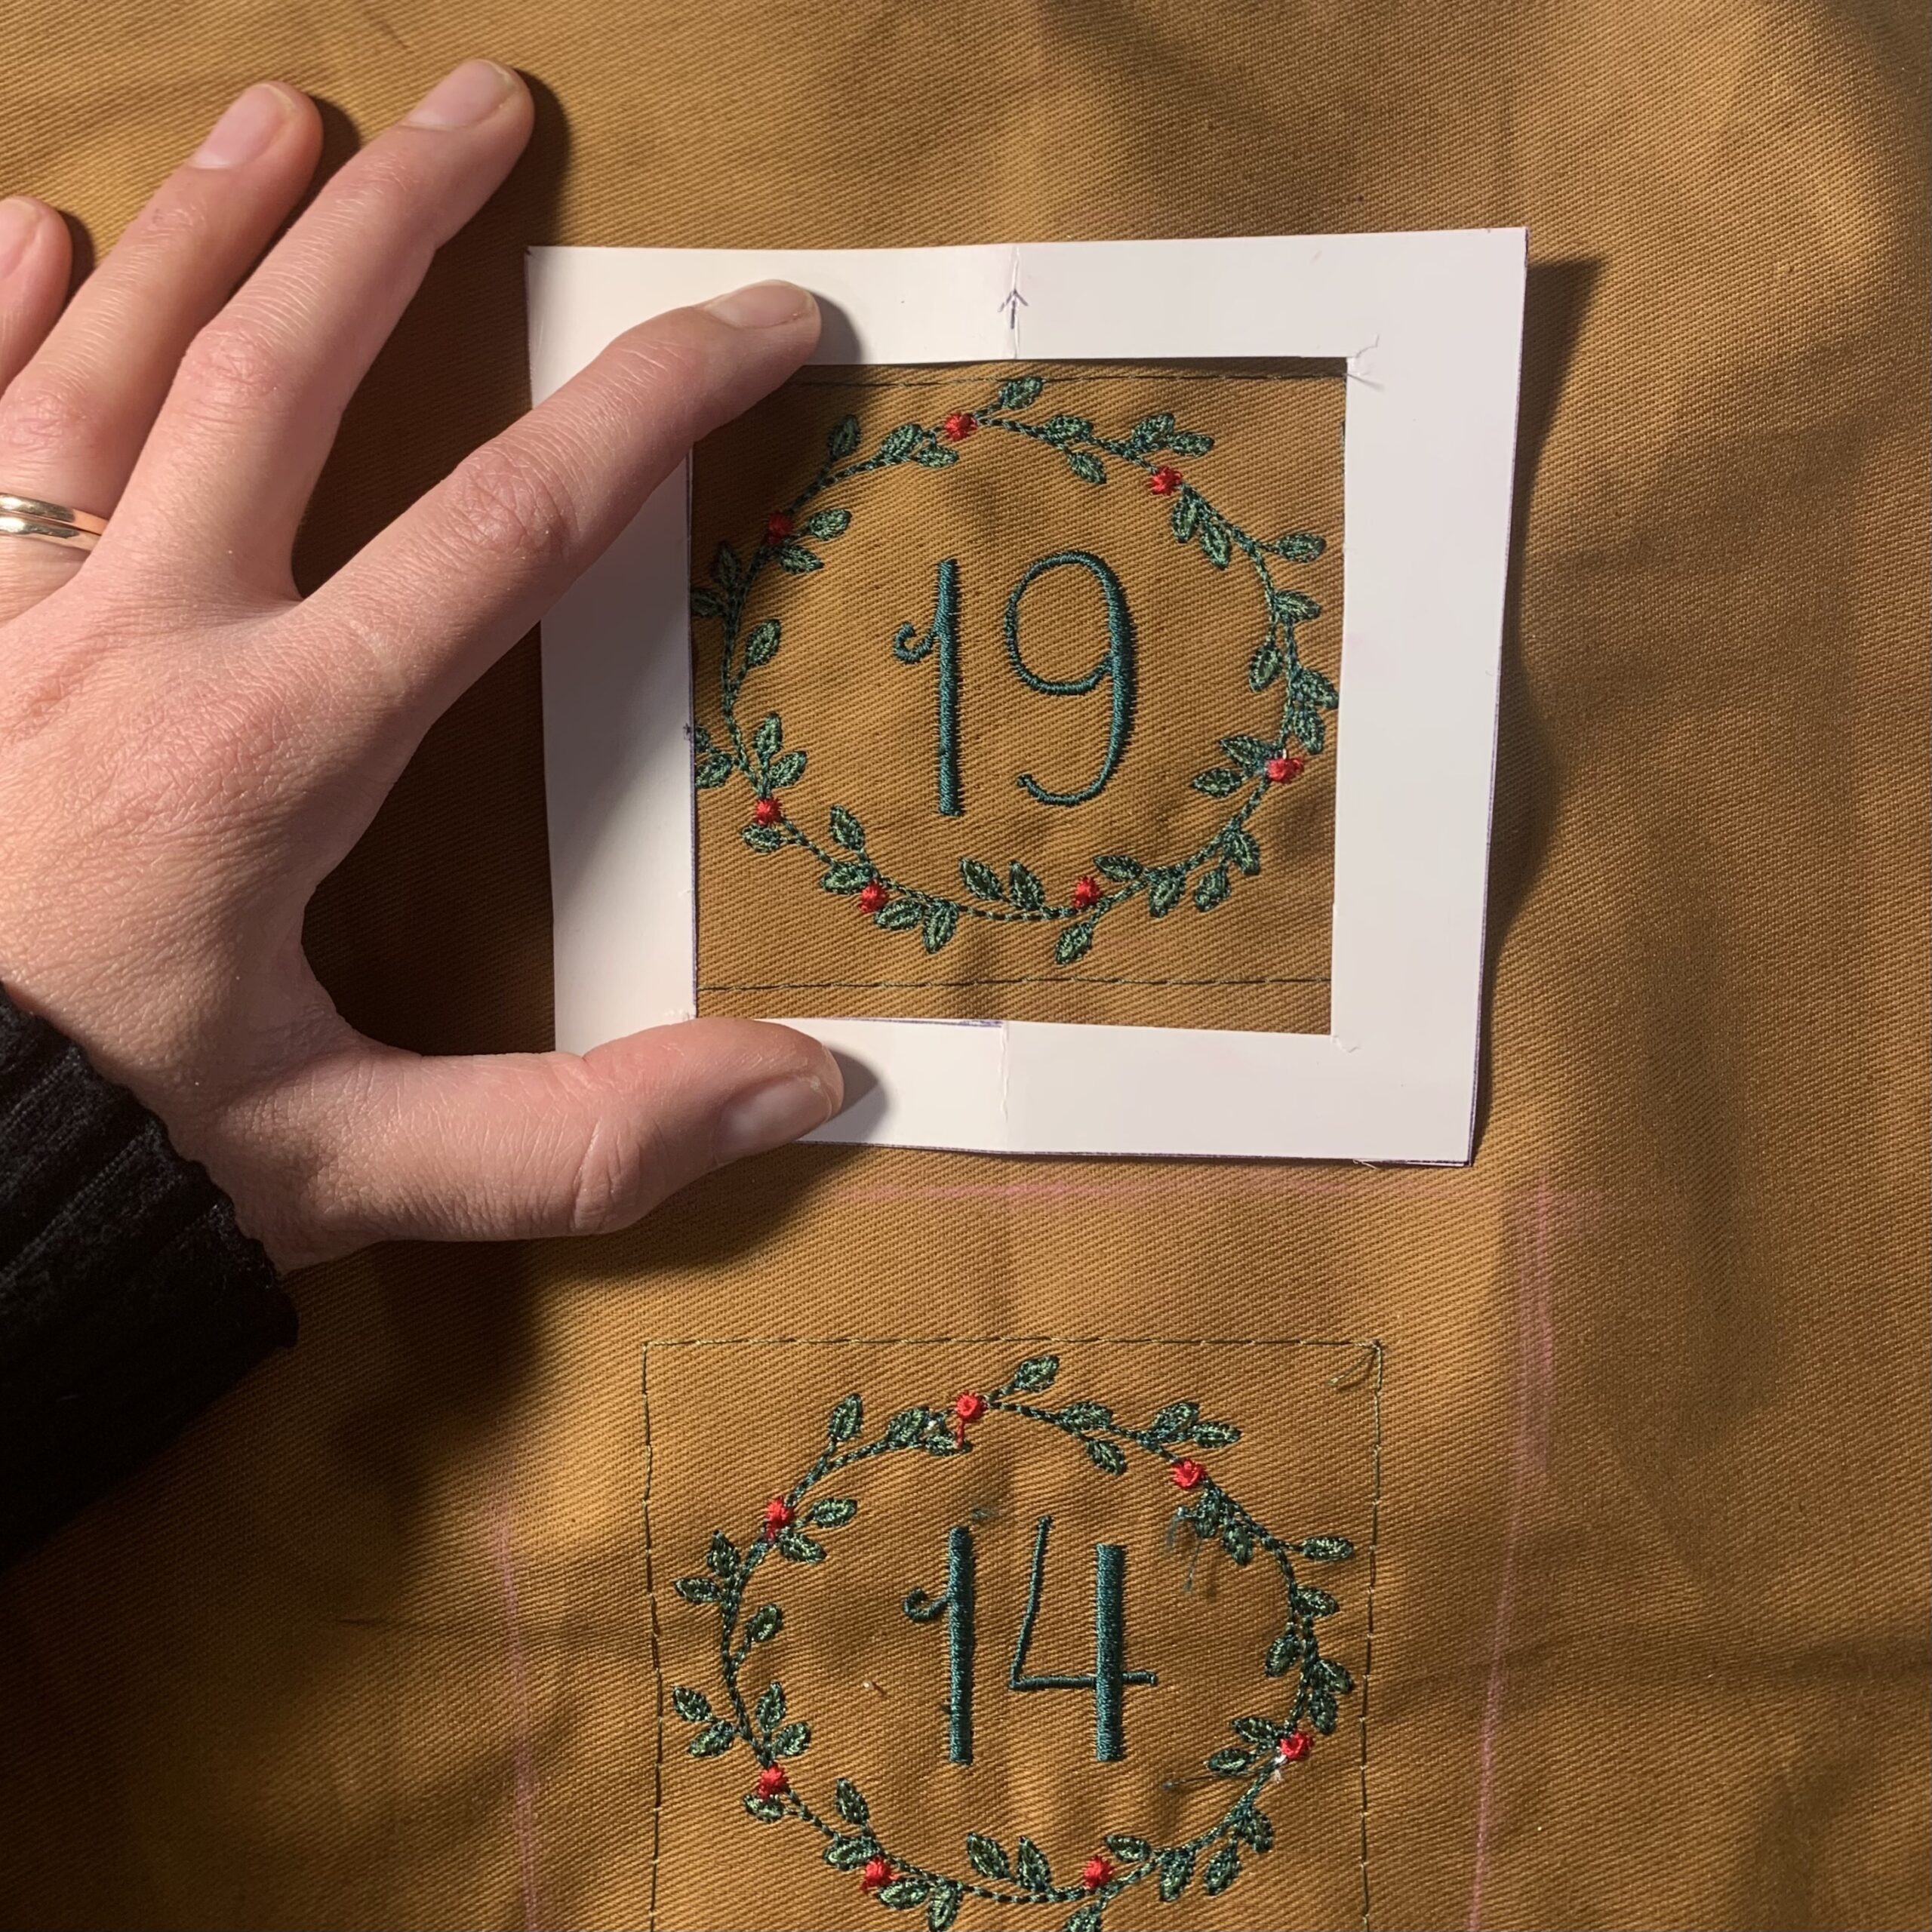
Centre the design on each of your pockets. I made a template with a hole in the middle so I could centre the design and trace my shape onto the fabric before cutting.
5. If embroidering the front of your calendar (in addition to the pockets) do so now.
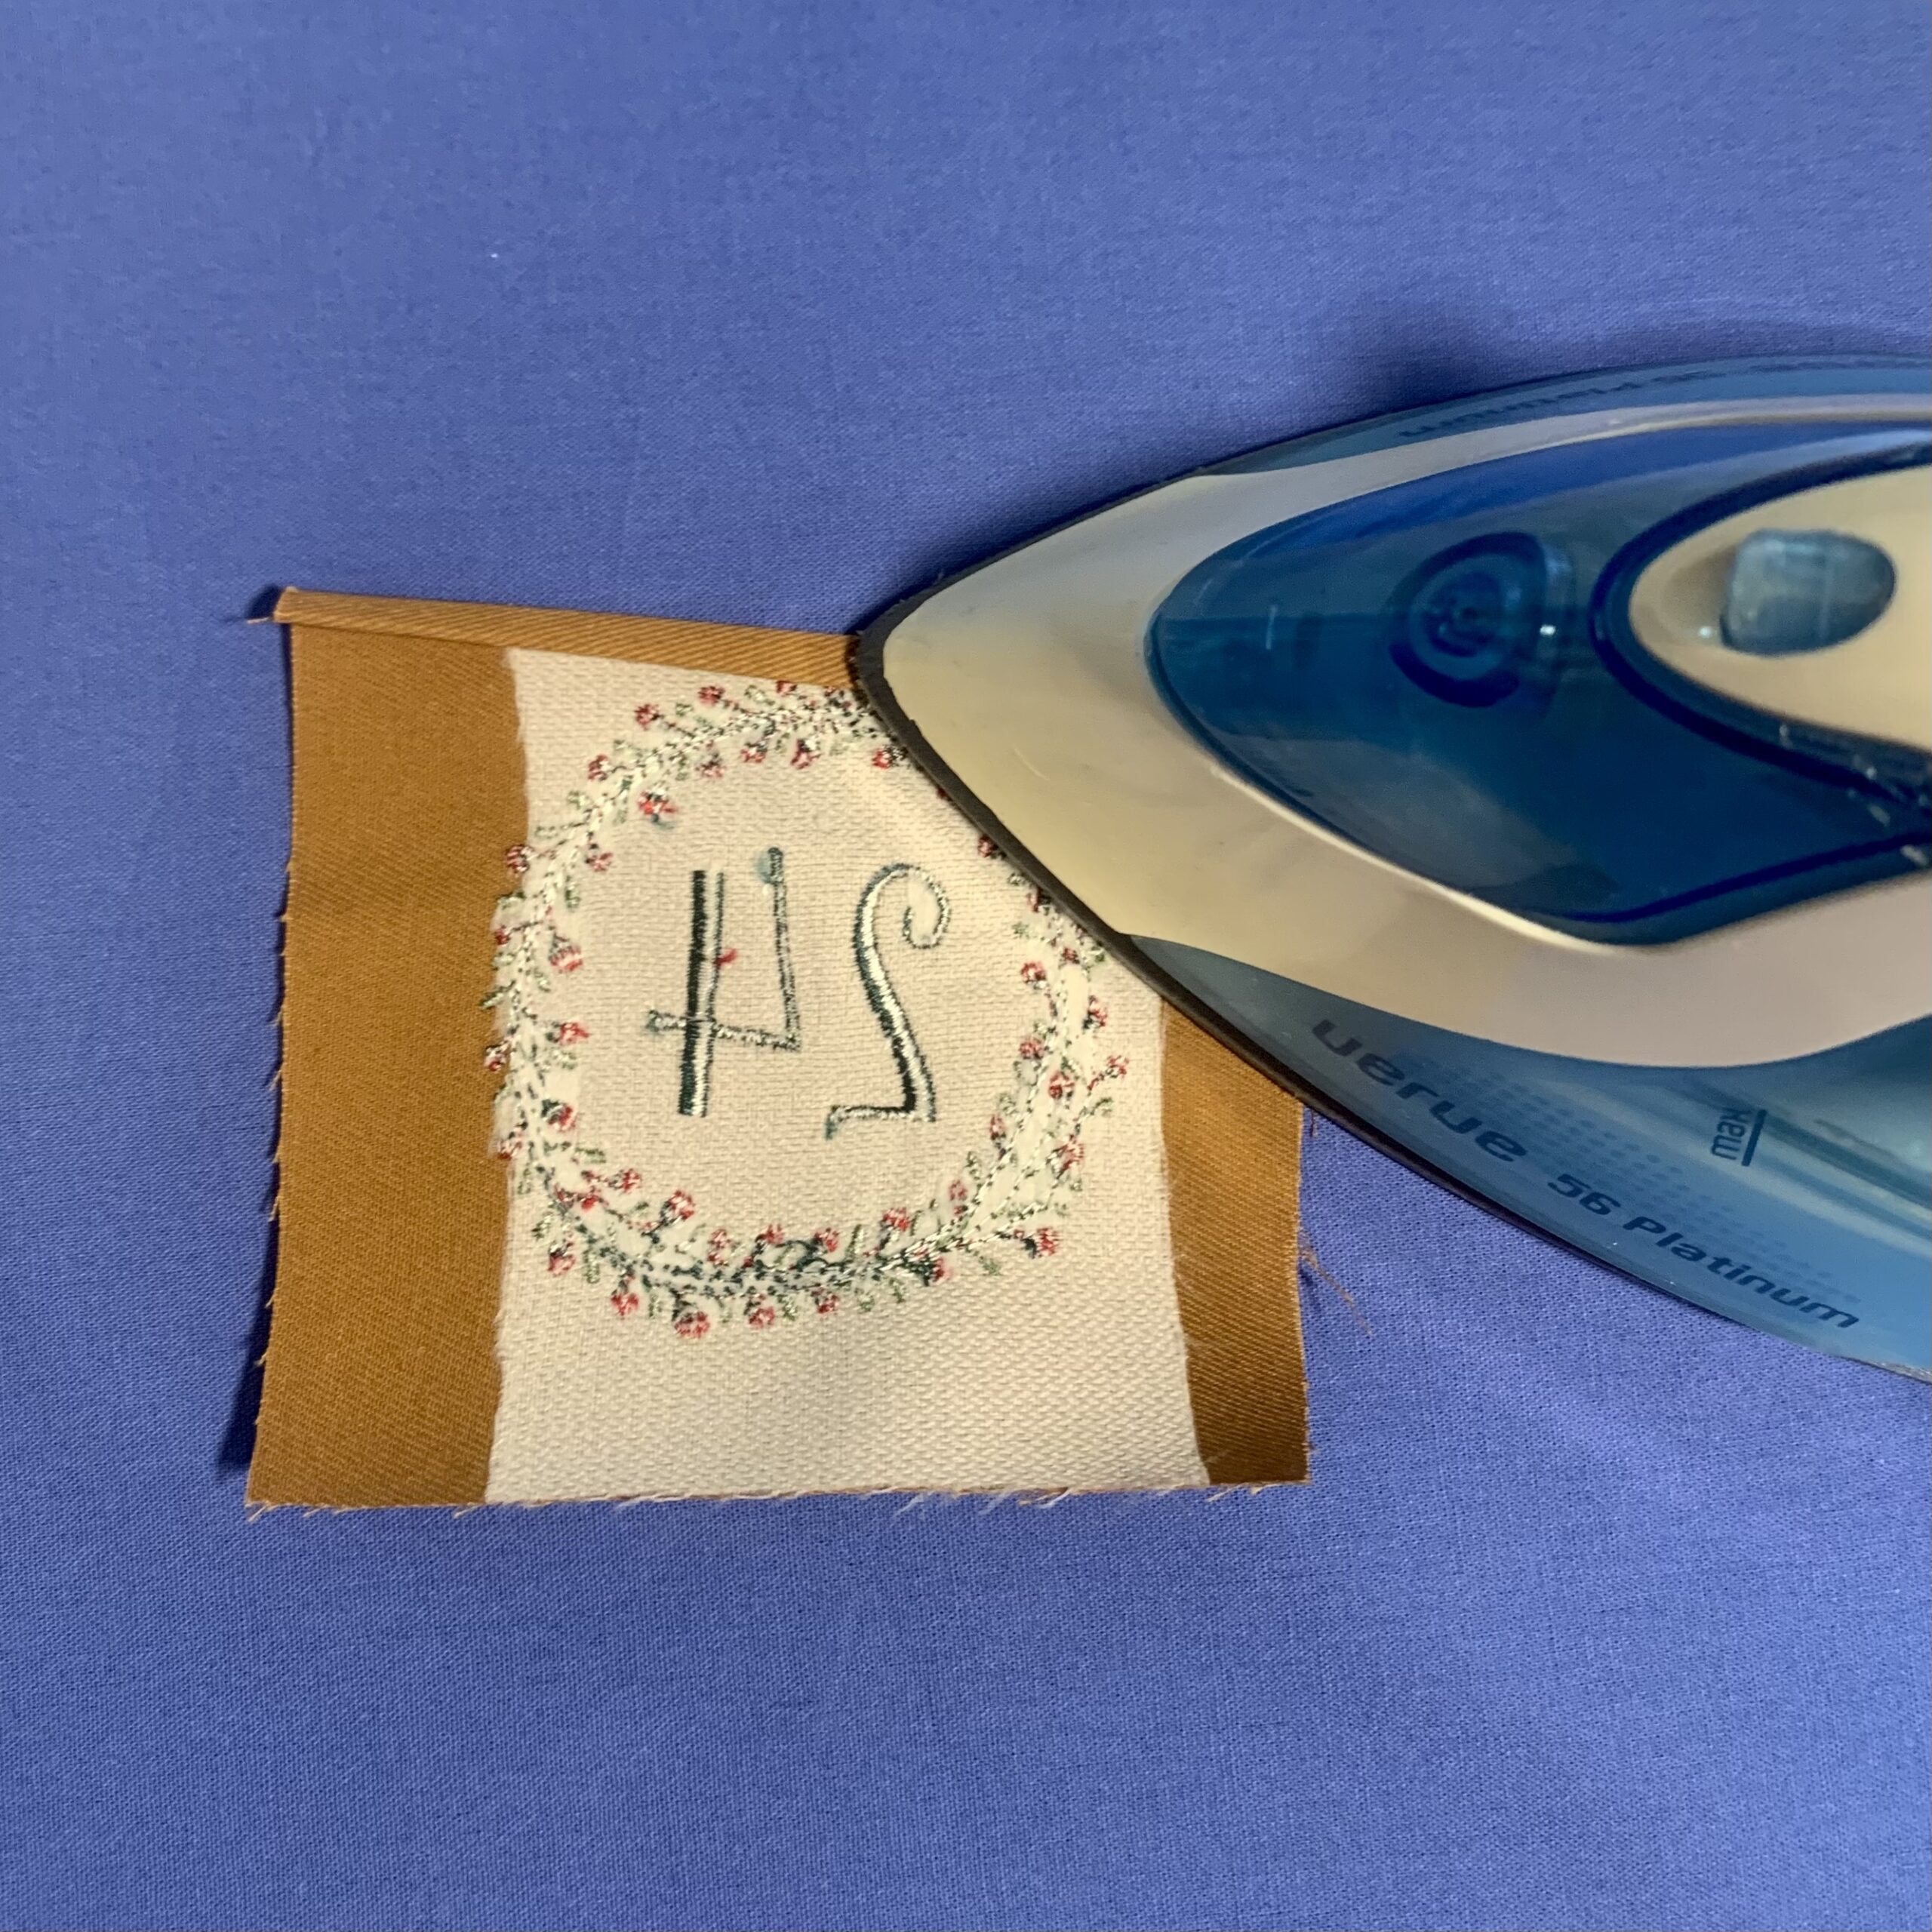
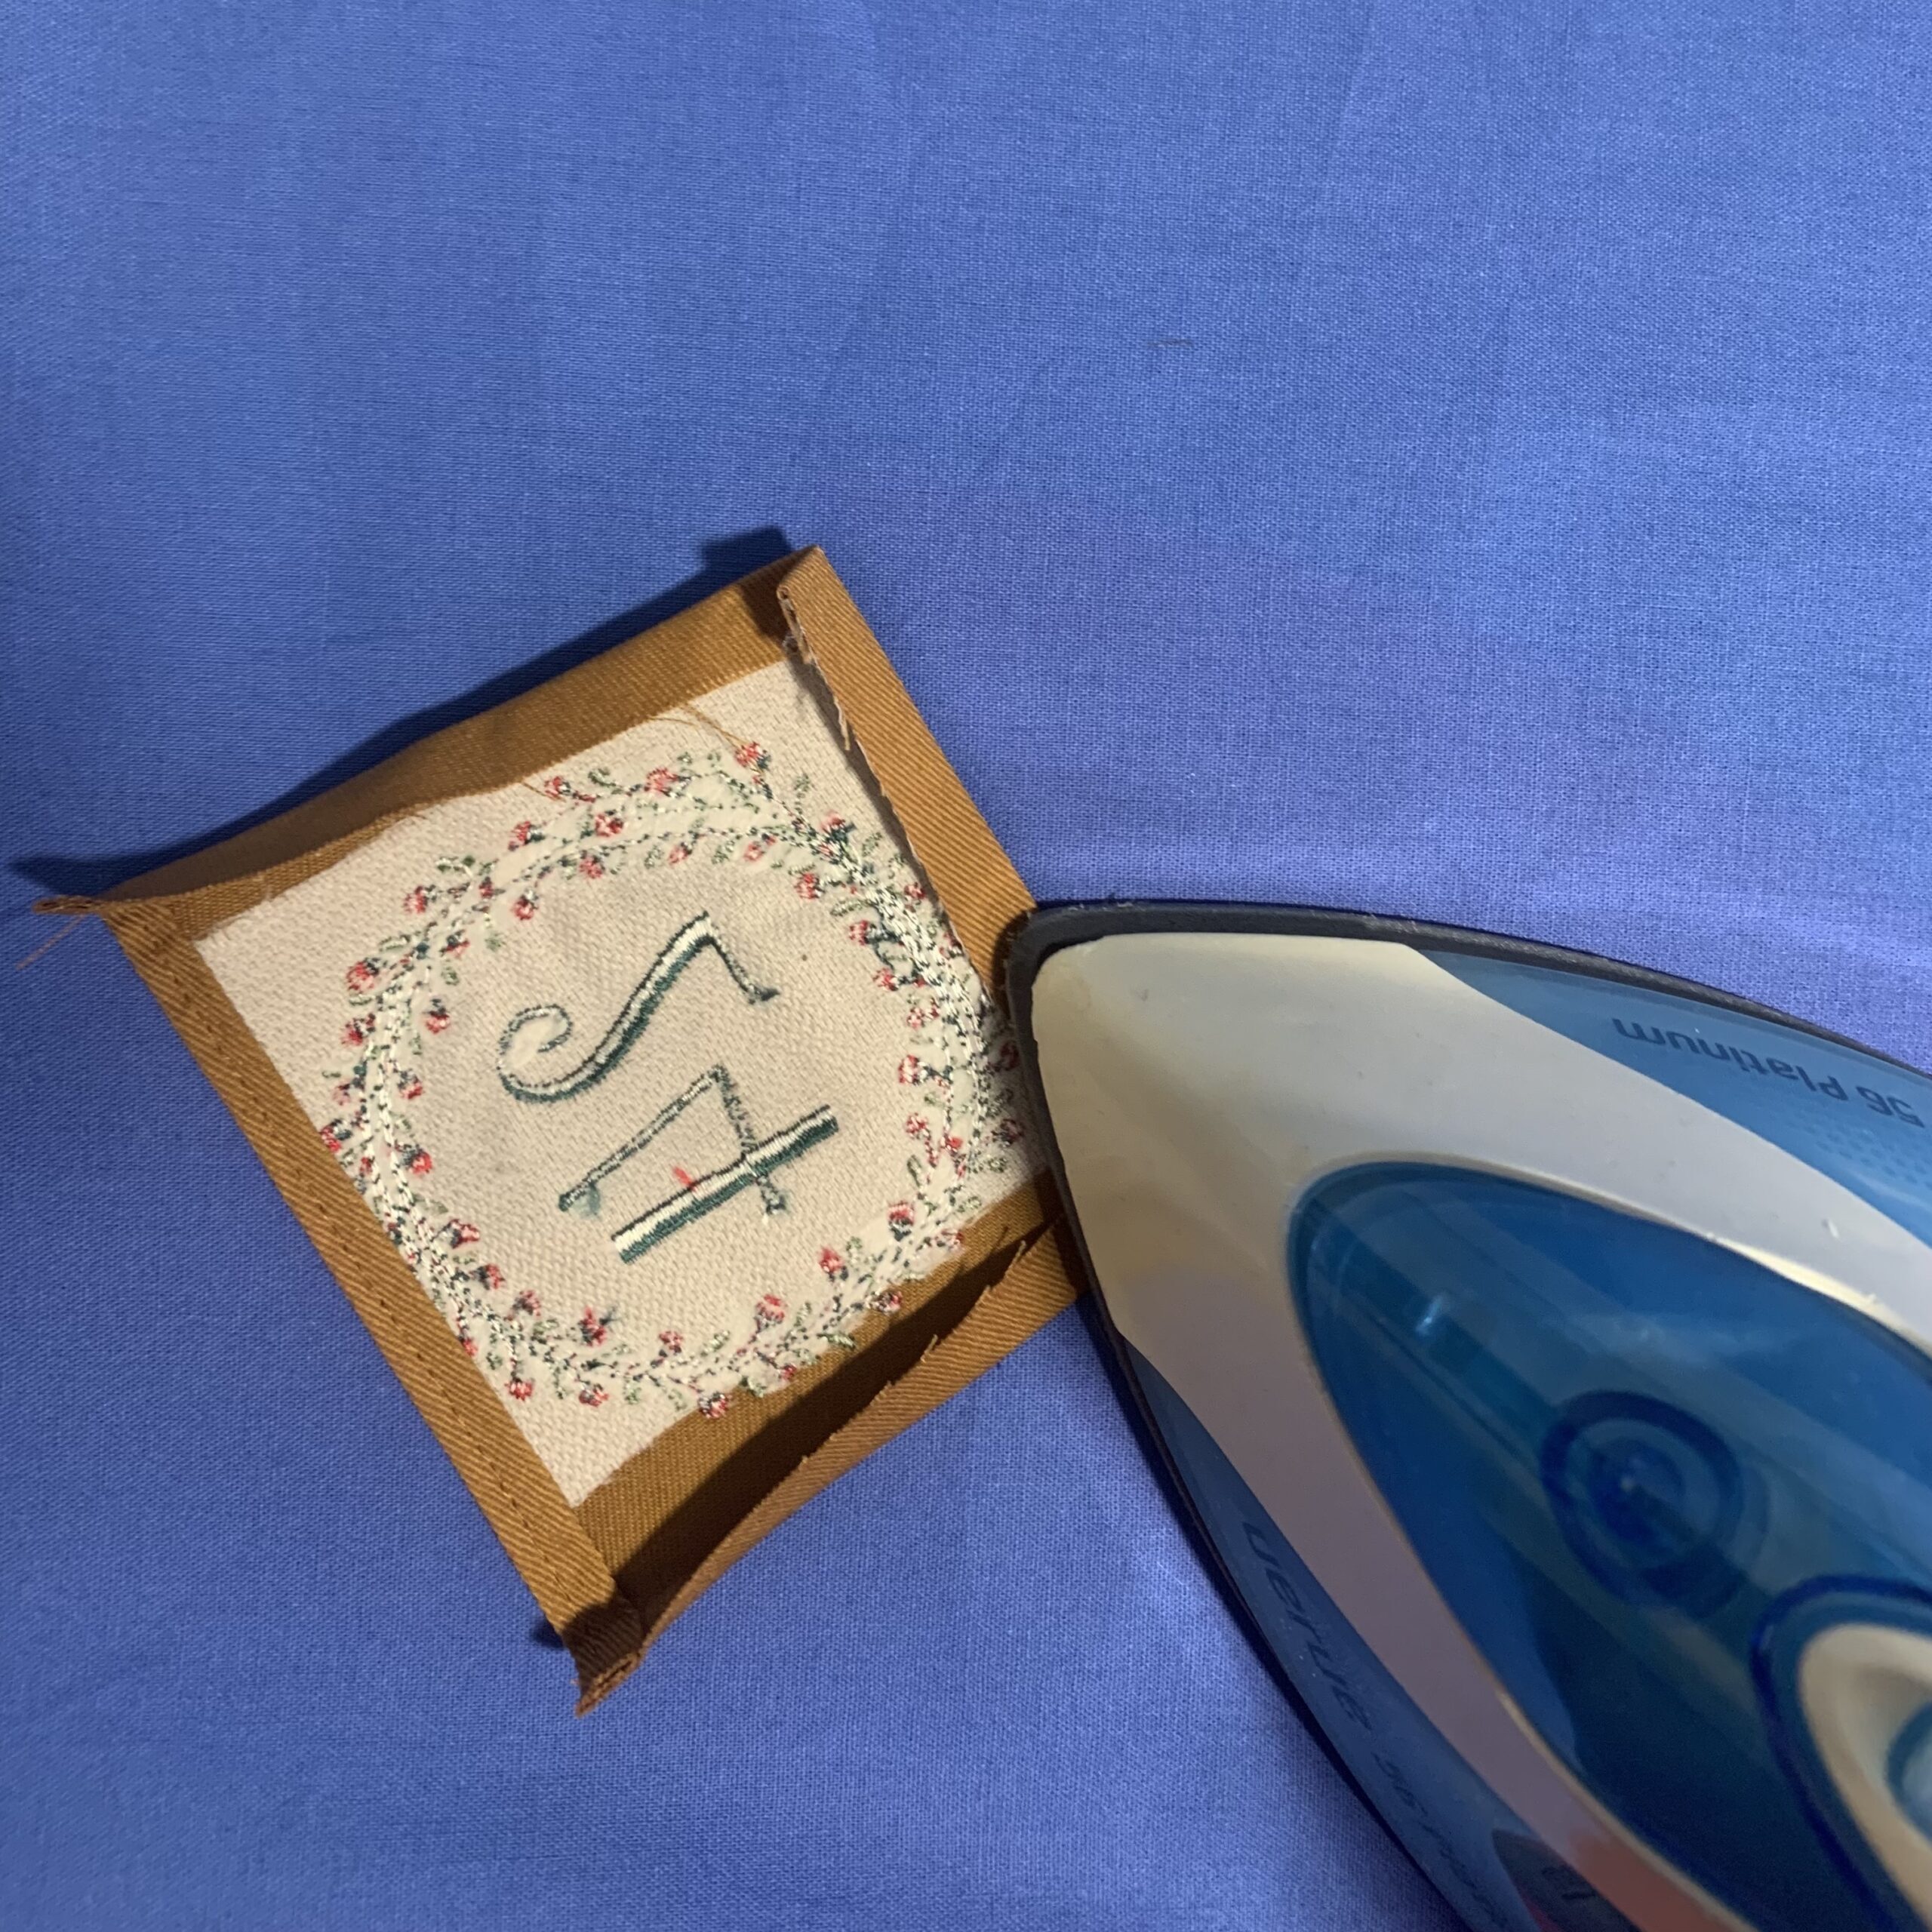
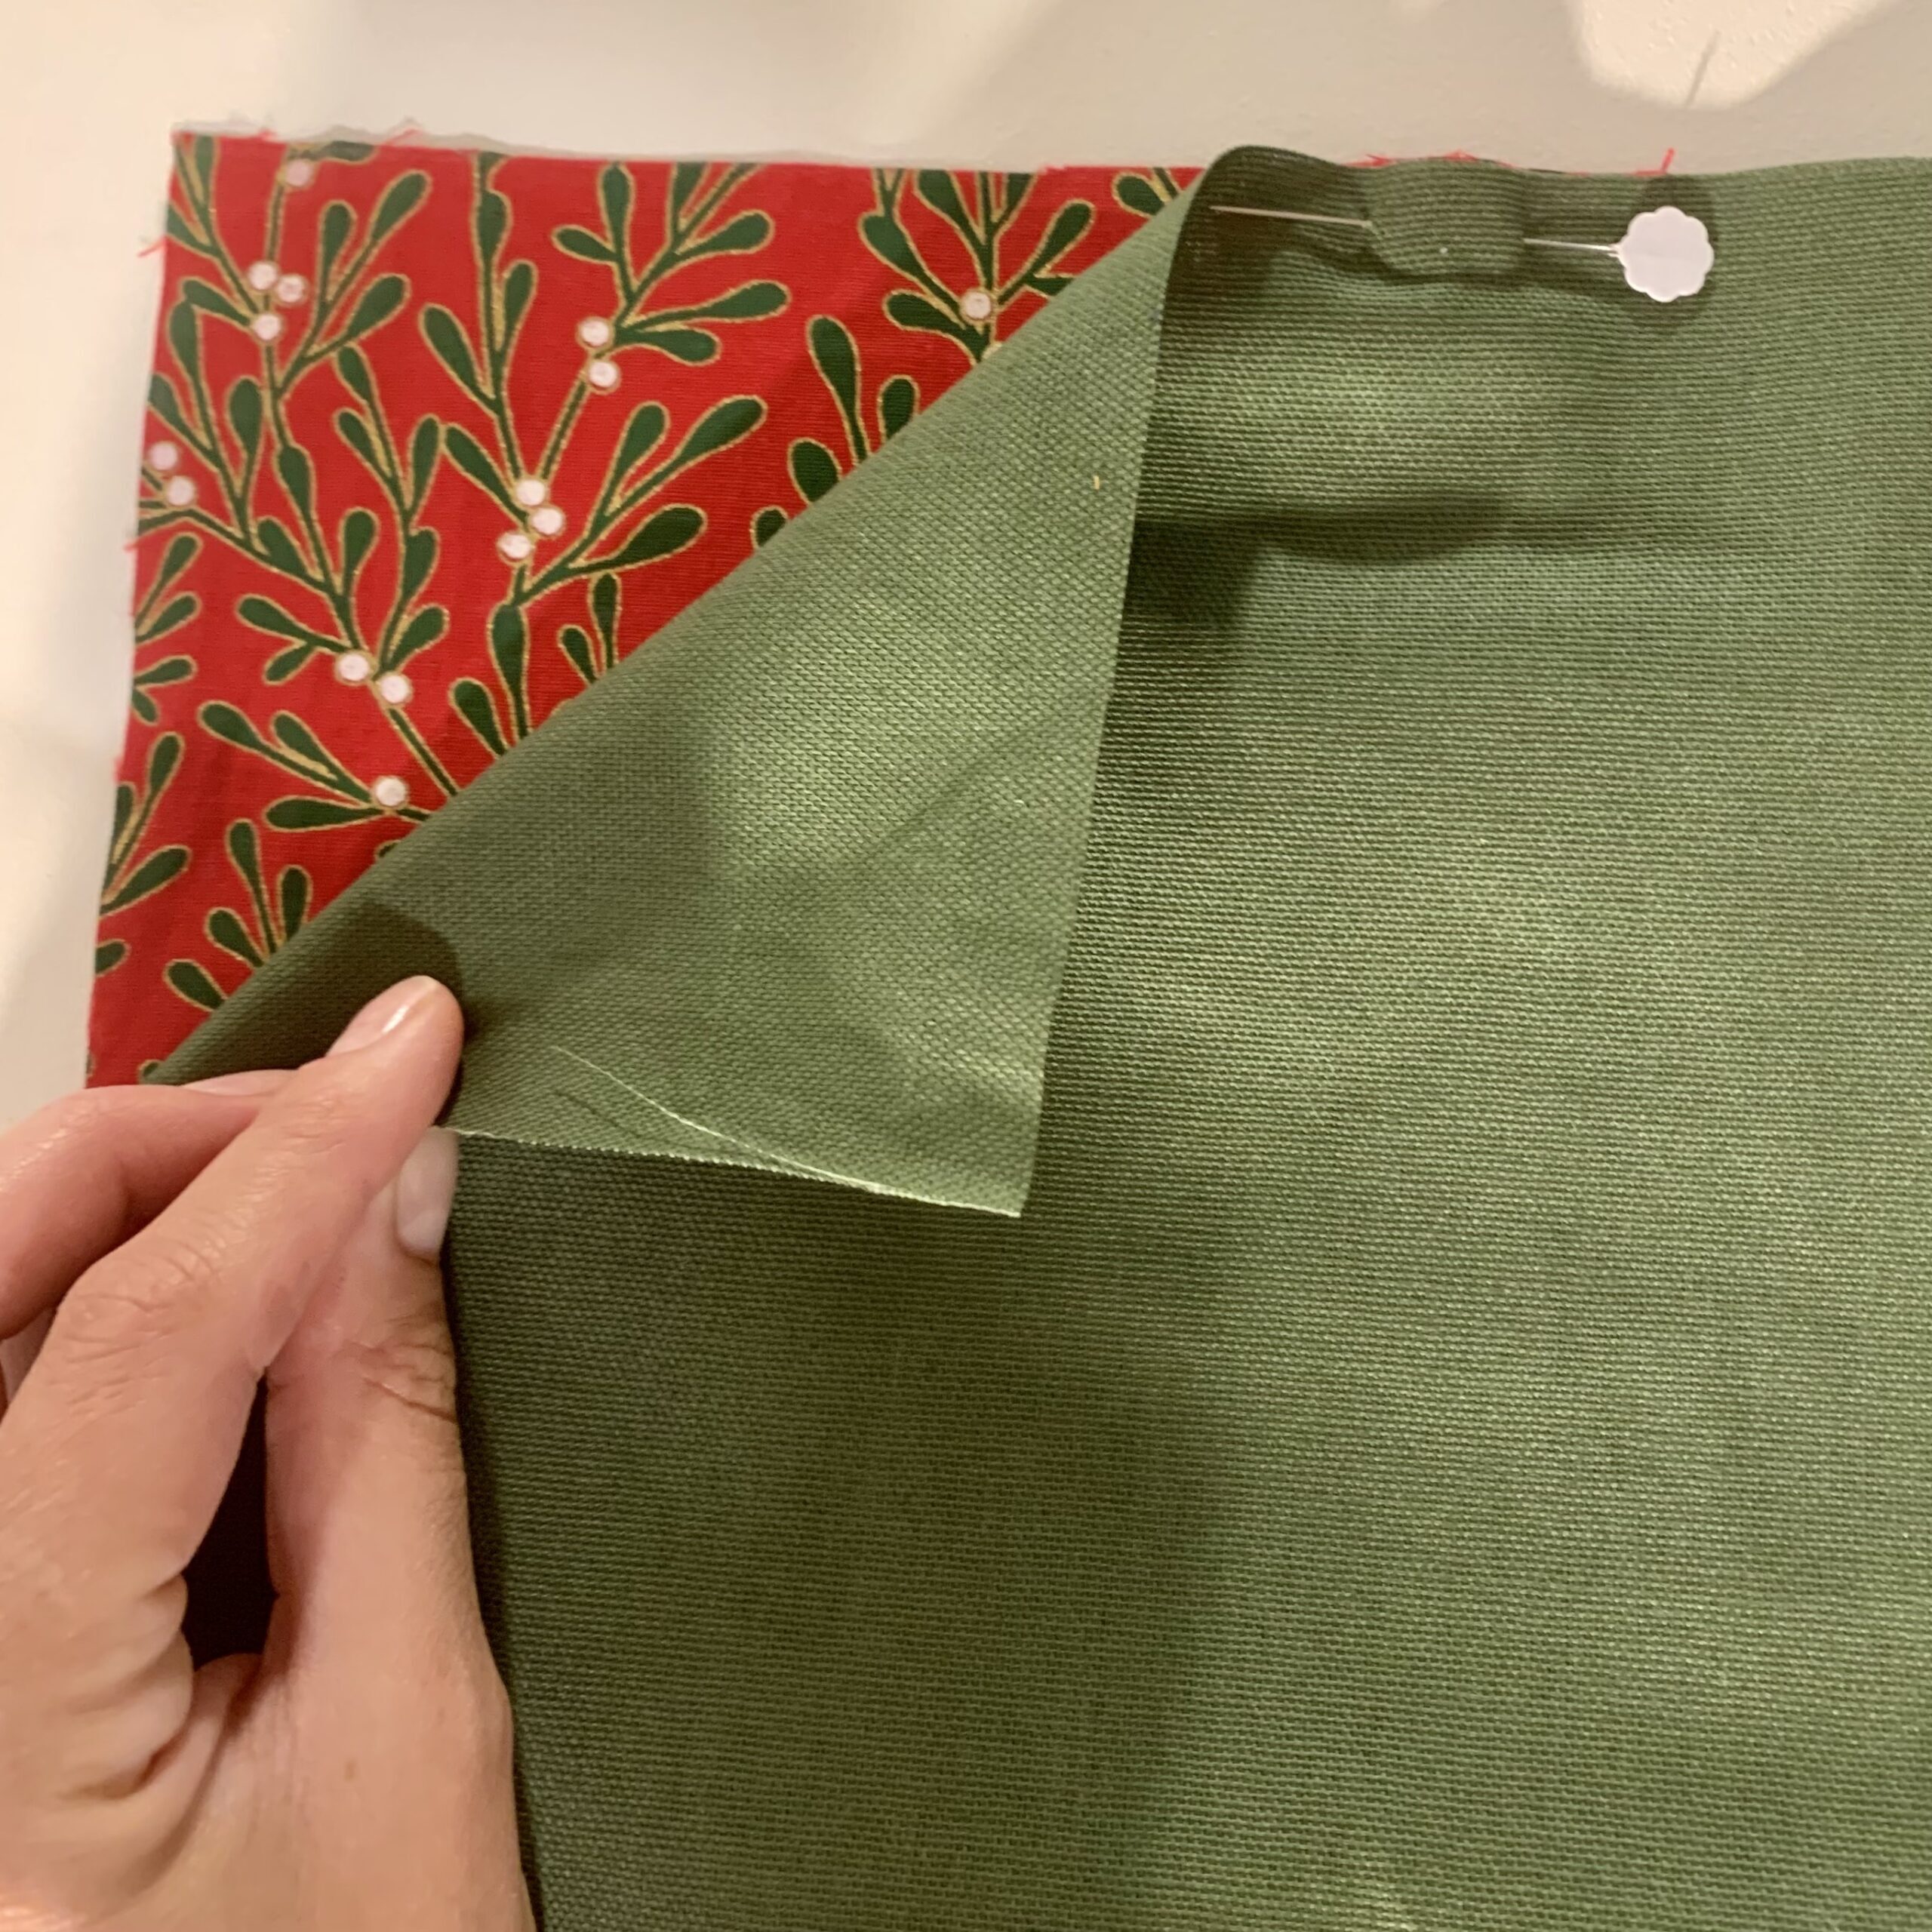
6. Fold and press top edge of pocket .5cm towards back and press, then fold over another .5cm to enclose the raw edge and press. Repeat for all pockets.
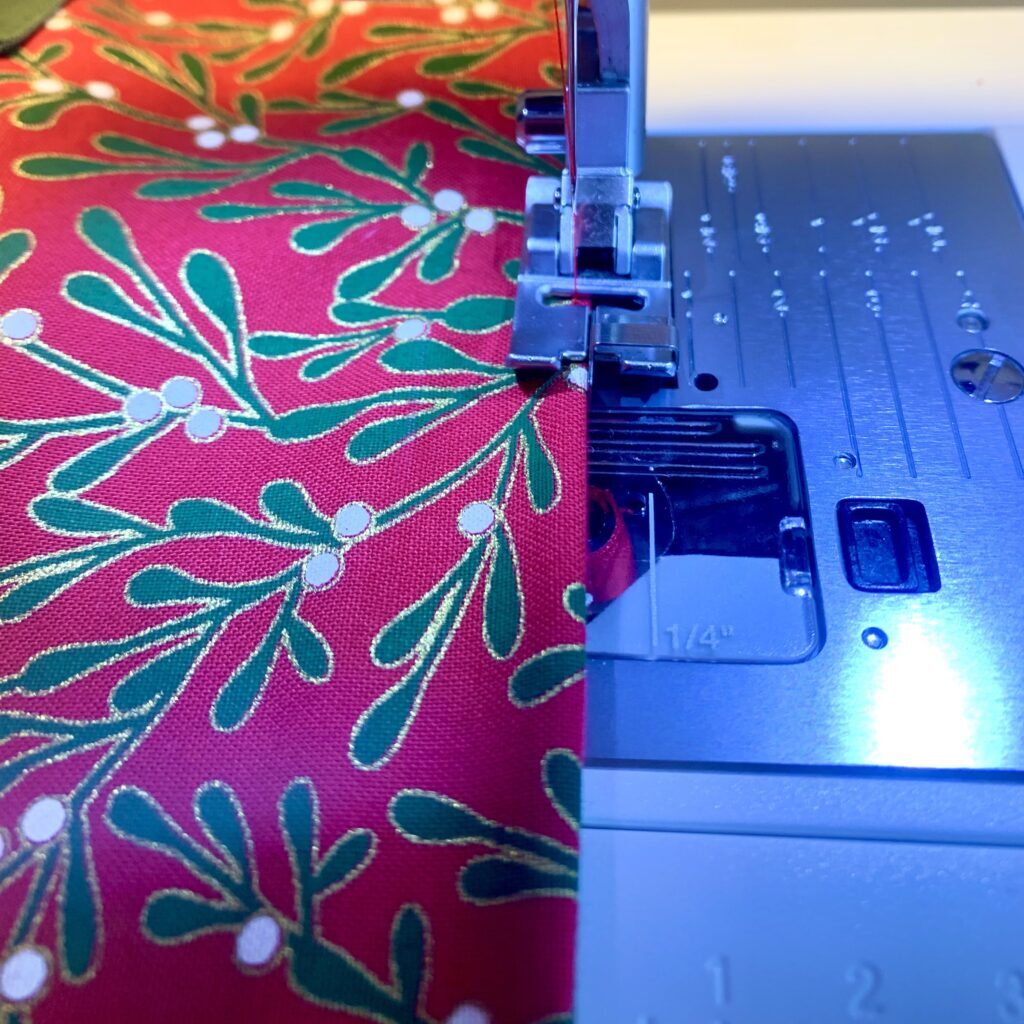
7. Sew tops of all pockets down, stitching close to edge – use Narrow Edge Foot for IDT™ System.
8. Fold and press the side and bottom of pocket 1cm towards the back. Repeat for all pockets.
9. Mark your pocket placement on your front piece using chalk and/or pins – see diagram for guidance. You need six rows of four pockets. From raw edges, leave a 17.5cm space at the top, a 9.5cm space at the bottom, and a 4cm space at each side. Leave a gap of 1.5cm between sides of pockets and between each row of pockets.
10. Place your first row of pockets on front piece and pin in place. This can be fiddly – take your time and double check your placement before sewing pockets down. You will need to pin the sides of your pocket 9cm apart creating a 3D effect – the top of your pocket will sit out and the bottom will lie flat.

11. Sew on your first row of pockets, stitching close to edges (approx. 3mm from edge) – use Bi-Level Topstitch Foot for IDT™ System.
12. Repeat previous two steps for all pockets.
13. With right sights together, pin and sew front and back of calendar together, leaving bottom seam unsewn in middles 30cm section.
14. Cut corners off calendar, being careful not to cut the seam.
15. Turn calendar the right way out (WOW – this is a good moment, GO YOU!). Turn out corners using a point turner or chopstick.
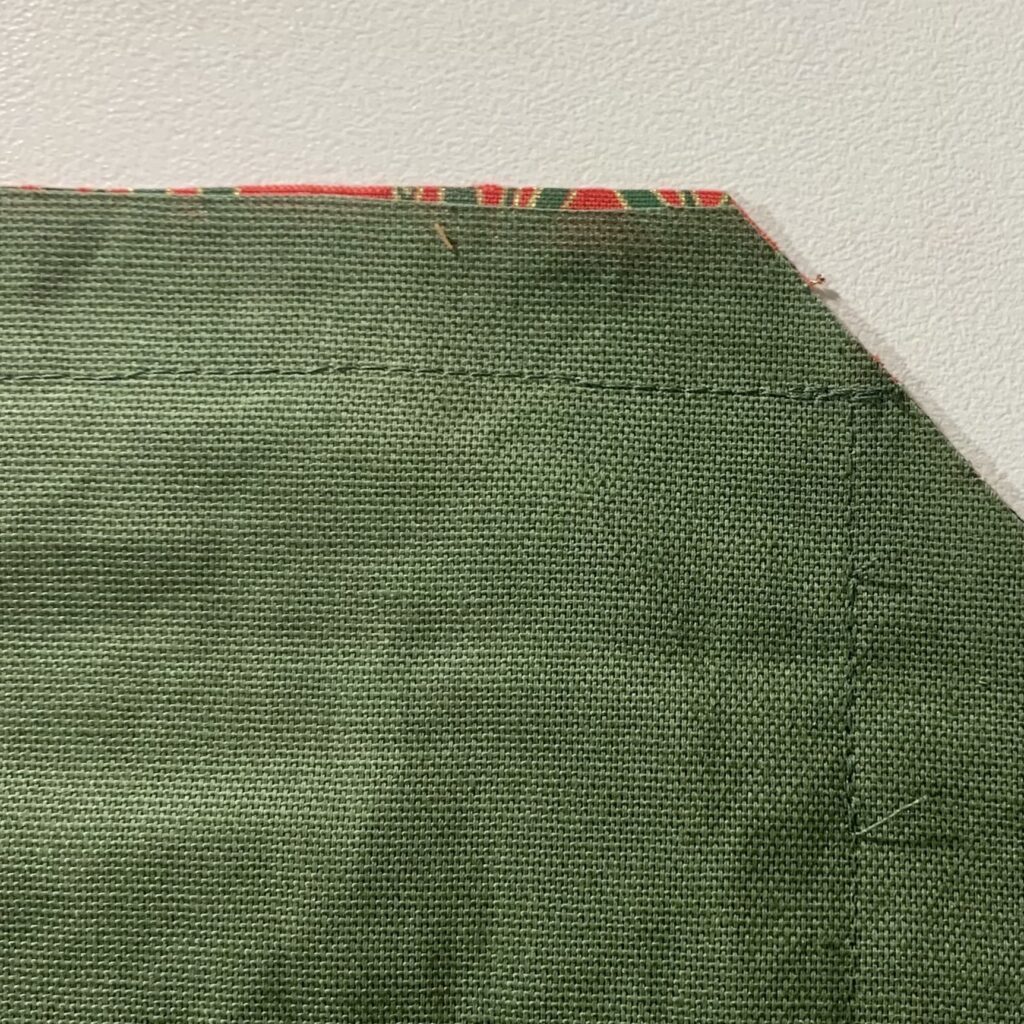
16. Press outside edges of calendar so they lay flat + press bottom hole closed (with raw edges inside the calendar.
17. Sew the bottom edge to close the hole – use Narrow Edge Foot for IDT™ System.
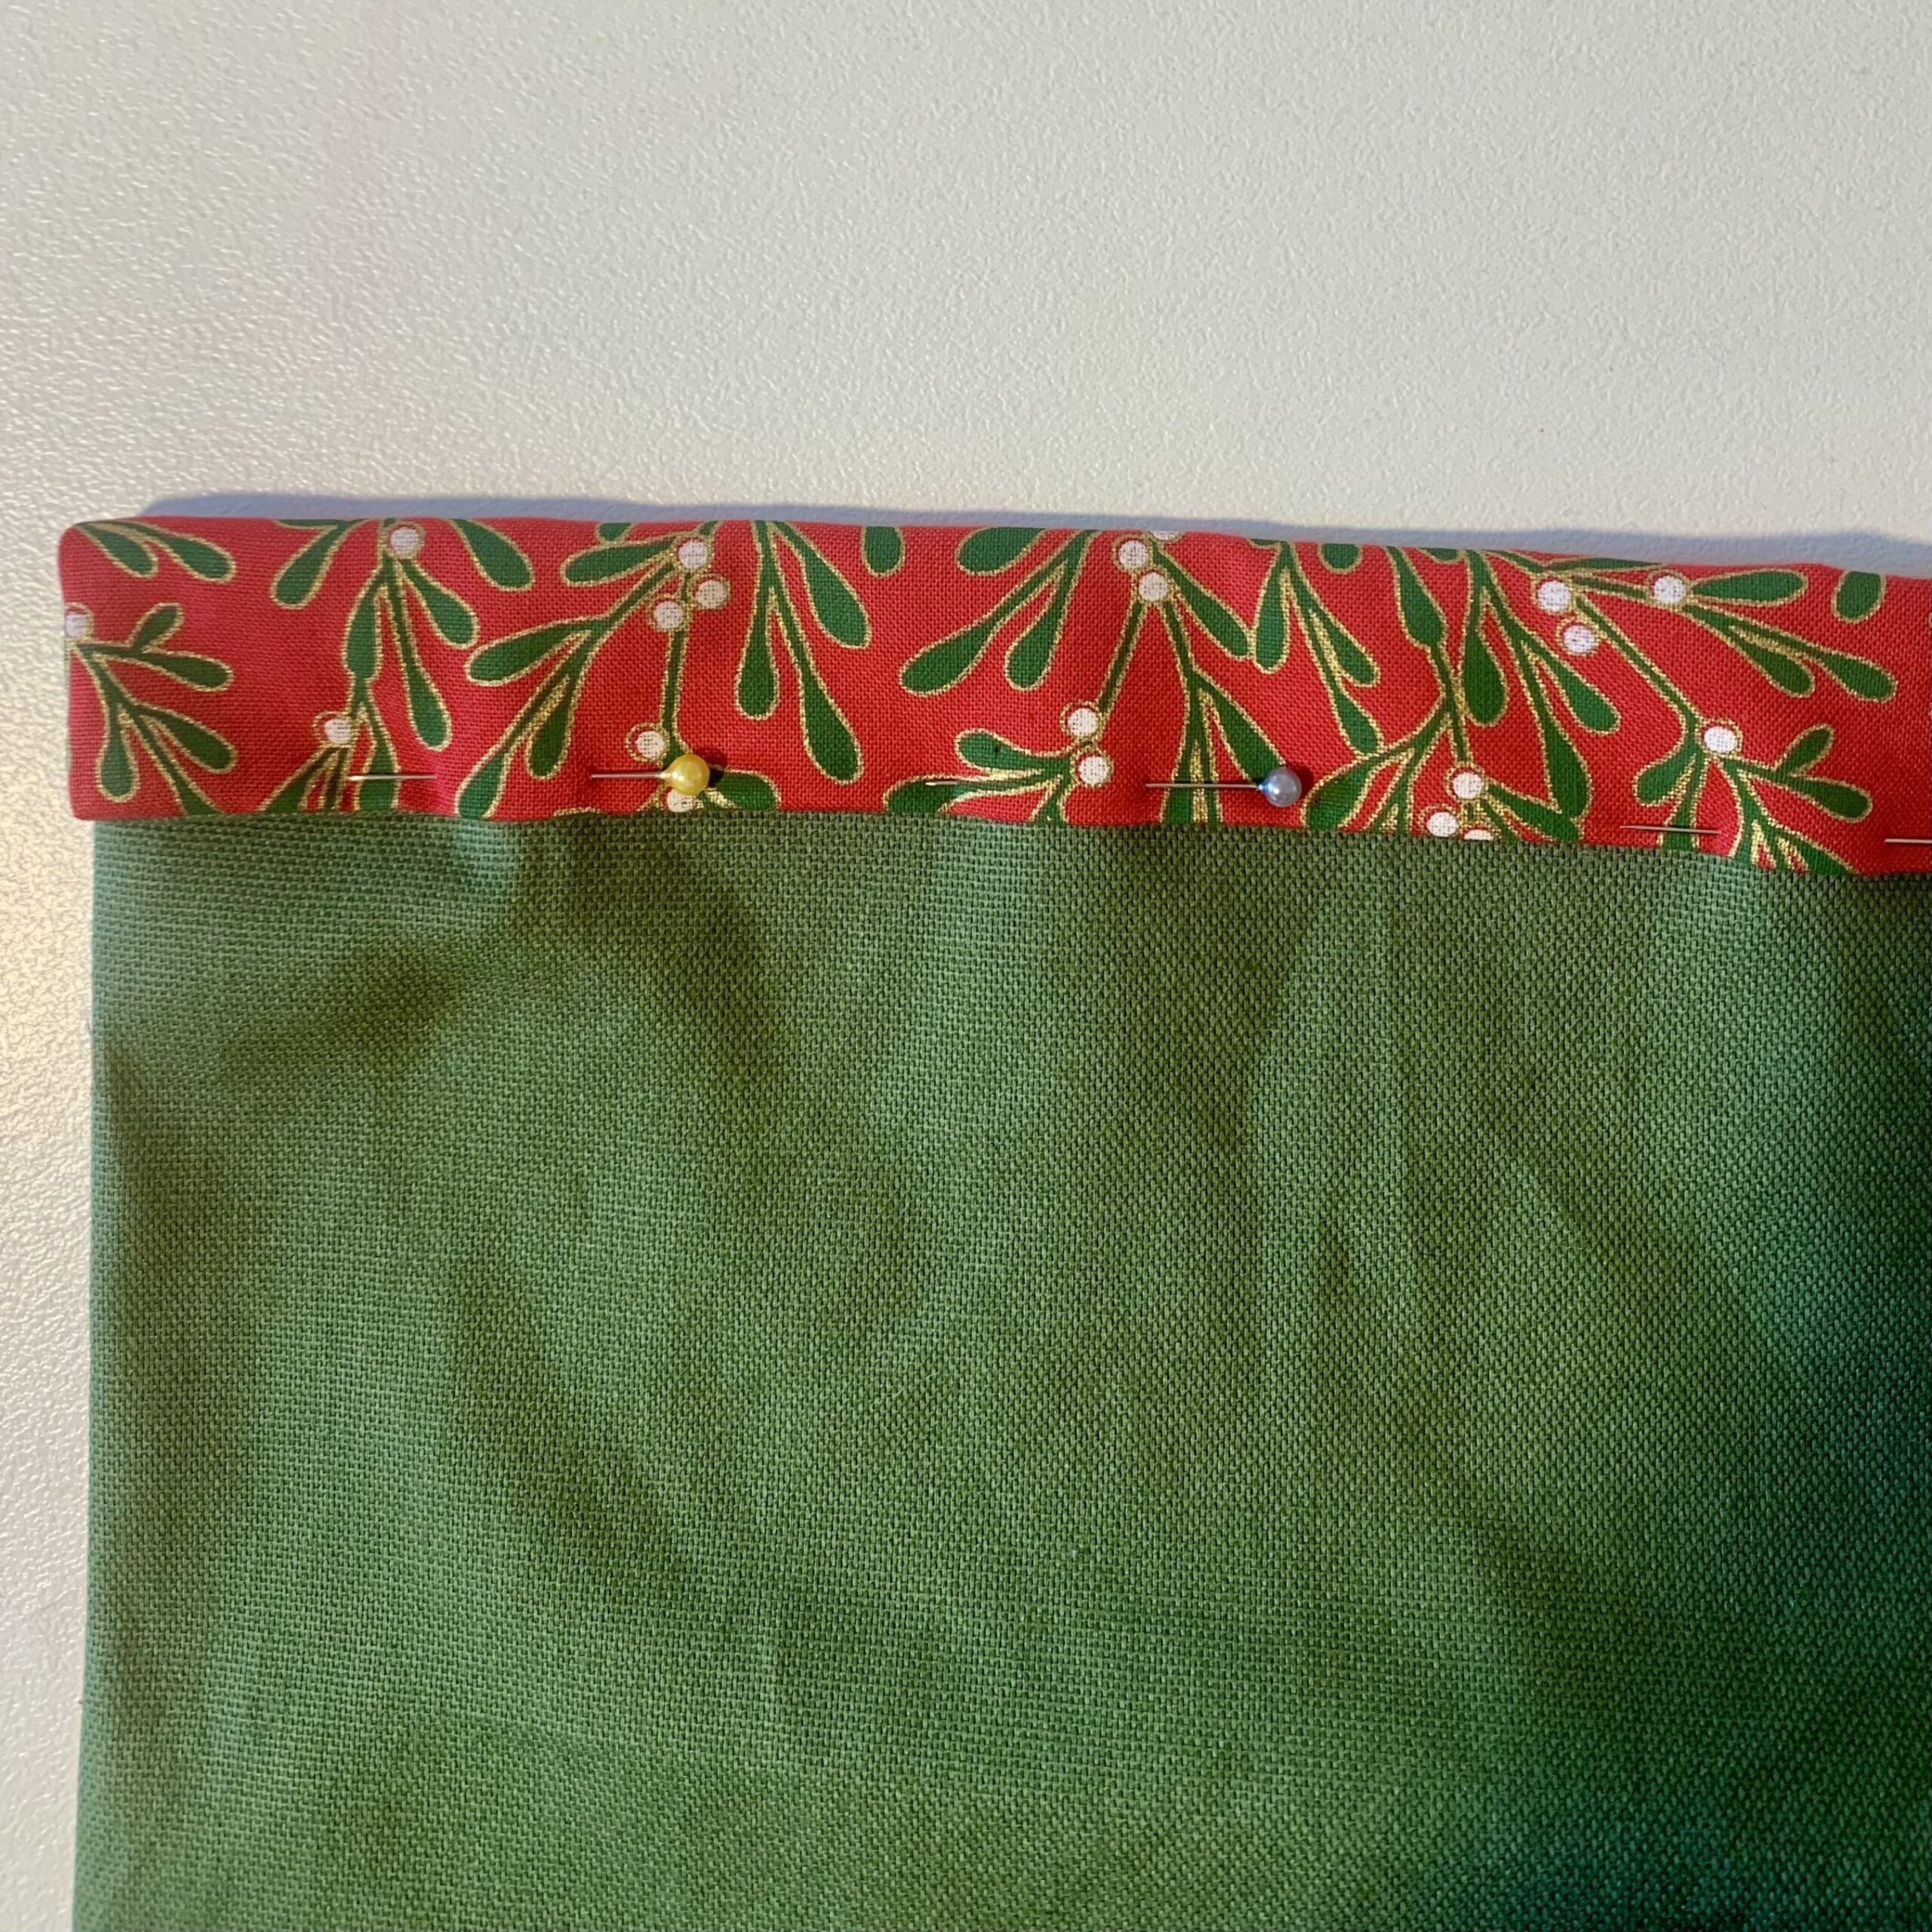
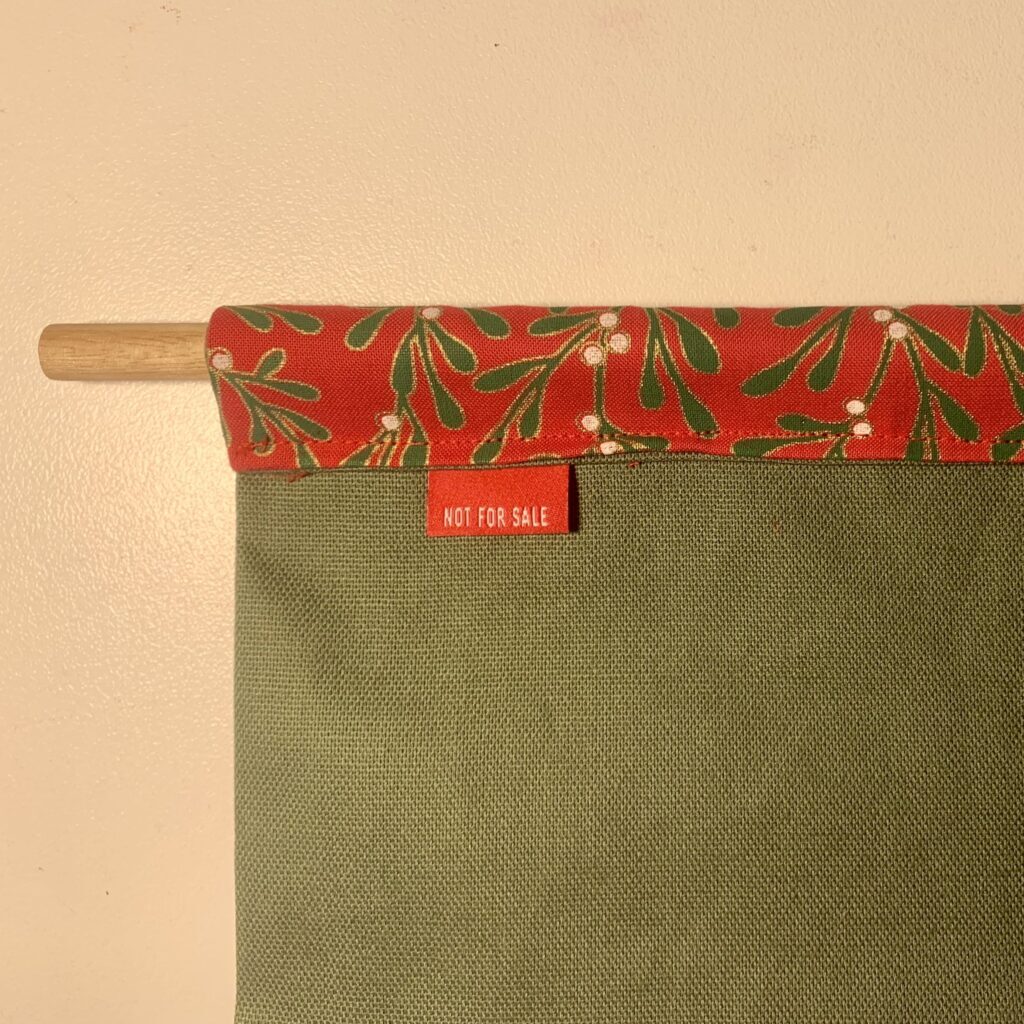
18. Fold top of the calendar down three centimetres (or enough to comfortably fit your wooden dowel). If adding a label do so here. Pin and sew closed.
19. Repeat step for bottom of calendar.
20. Thread wooden dowels through top and bottom of calendar.
21. Tie ribbon or string to either side of the dowel.
22. That’s it – you are all done! CONGRATULATIONS!
Pocket filler ideas
- Sewing items – pins, sewing labels, buttons
- Make up and toiletries – nail polish, lipstick, hand cream, product samples.
- Kind notes
- Recipes
- Chocolates and lollies
Suggestions to level-up your calendar
- Finish the tops of your pockets as you would shirt pockets, so they look neat and tidy from the top (you will need to add some height to your pocket pieces to do this)
- Make pleated pockets.
- Quilt the front – or the back – of the calendar. If quilting the back, your calendar could be turned to face the wall for most of the year to show off your hanging quilt and turned around in December.
Suggestions to simplify your calendar:
- Embroider simple numbers – the inbuilt Pfaff Curlz font is a great option.
- Use iron on numbers.
- Make square pockets and sew them flat.
If you or your loved ones don’t celebrate Christmas or if you want something that can be displayed on your wall year-round, you could use a more neutral colour pallet and a different number of pockets to match the number of days in a month, until an event, or weeks in a year. A treat every Friday for a year sounds DELIGHTFUL to me.
Happy sewing!