

Making buttonholes can feel like a high-pressure task – they’re the final step of a project and require making holes in your work! But, with a little preparation, sewing buttonholes on your PFAFF will be a breeze.
The PFAFF creative™ ambition™ 640 Sewing and Embroidery machine is equipped with a one-step buttonhole function and seven button options. Check your manual to see what buttonholes are available on your PFAFF sewing machine.
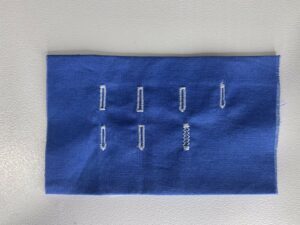
From left to right – linen buttonhole, standard buttonhole, rounded buttonhole with lengthwise tack, eyelet buttonhole with pointed tack, eyelet buttonhole with lengthwise tack, rounded buttonhole, stretch buttonhole. Sewn on PFAFF creative™ ambition™ 640
Perfect Buttonhole Instructions
Step 1 – Create a test buttonhole.
You need to test on materials that are the same as your final piece – for example, if making a shirt placket with two layers of fabric and a light interfacing, test the buttonhole on two layers of the same fabric with light interfacing. Follow steps three and four to test your buttonhole (including testing your fray check). Once complete, sew one of your buttons on another piece of fabric and test your buttonhole. If your buttonhole doesn’t fit your button, you can remove your button from your One-Step Buttonhole Foot and adjust the button holder to be bigger (if your hole was too tight) or smaller (if your hole was too loose).
Step 2 – Prepare your project.
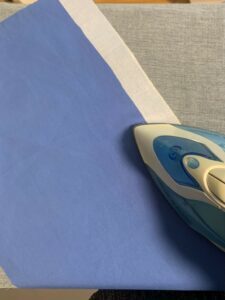
- Interface your fabric where your buttonholes will be.
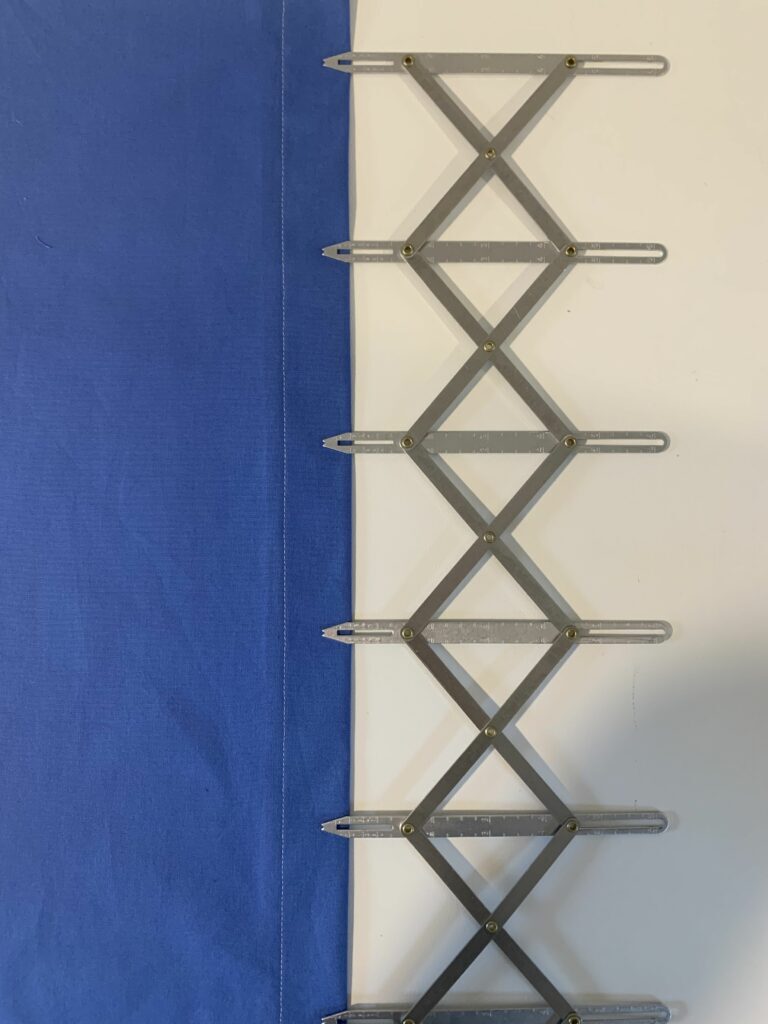
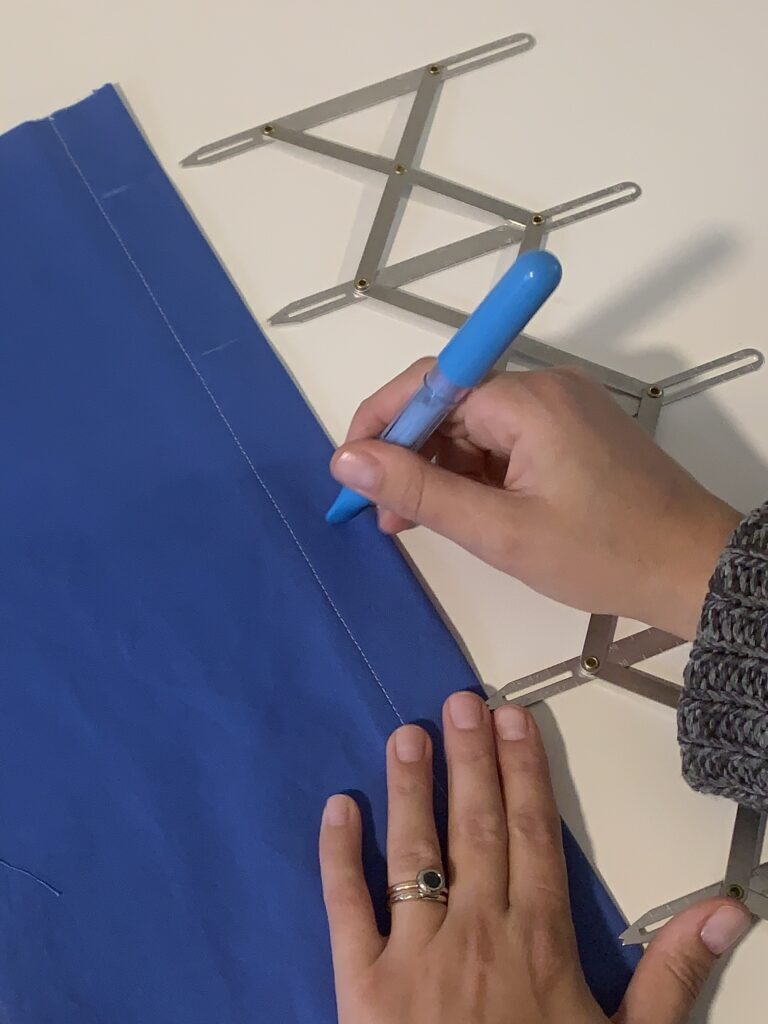
- Mark your buttonholes with chalk, using upside-down Ts to mark the bottom of each buttonhole. Your pattern should come with a guide for spacing, or you can measure with an expanding sewing gauge or ruler.
Step 3 – Prepare your machine and sew your buttonholes!
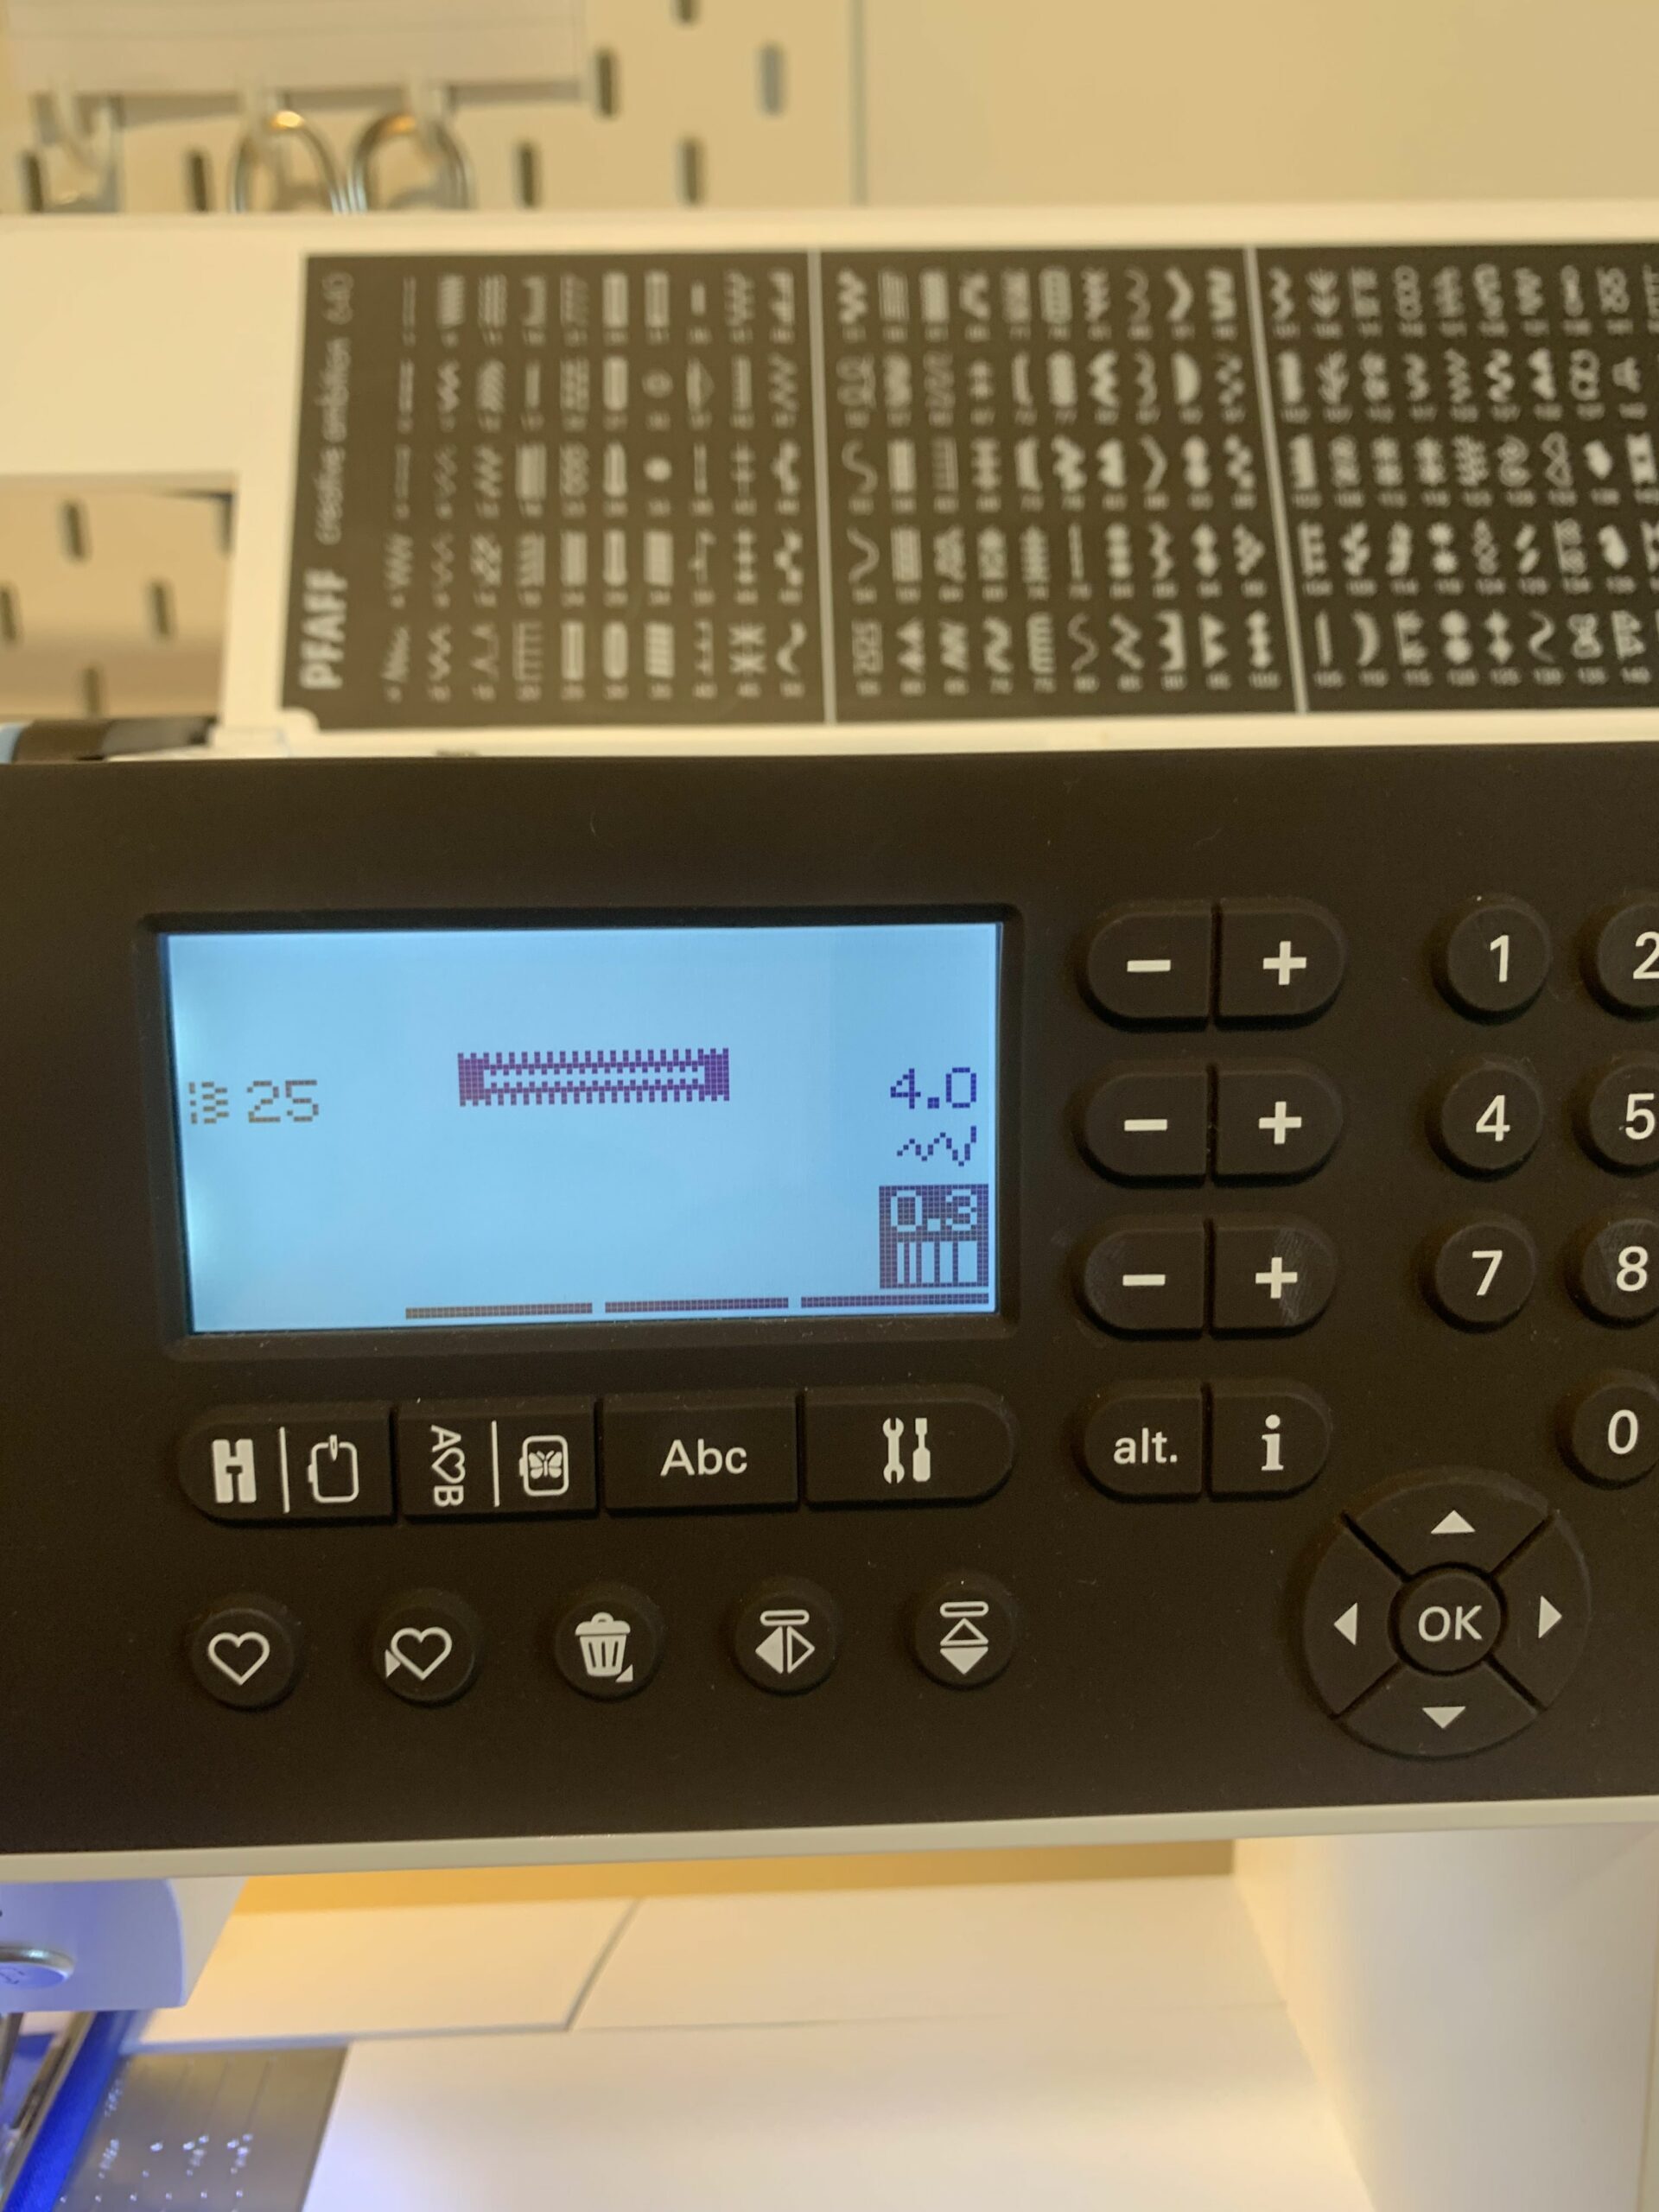
- Select your desired buttonhole stitch and adjust width and density.
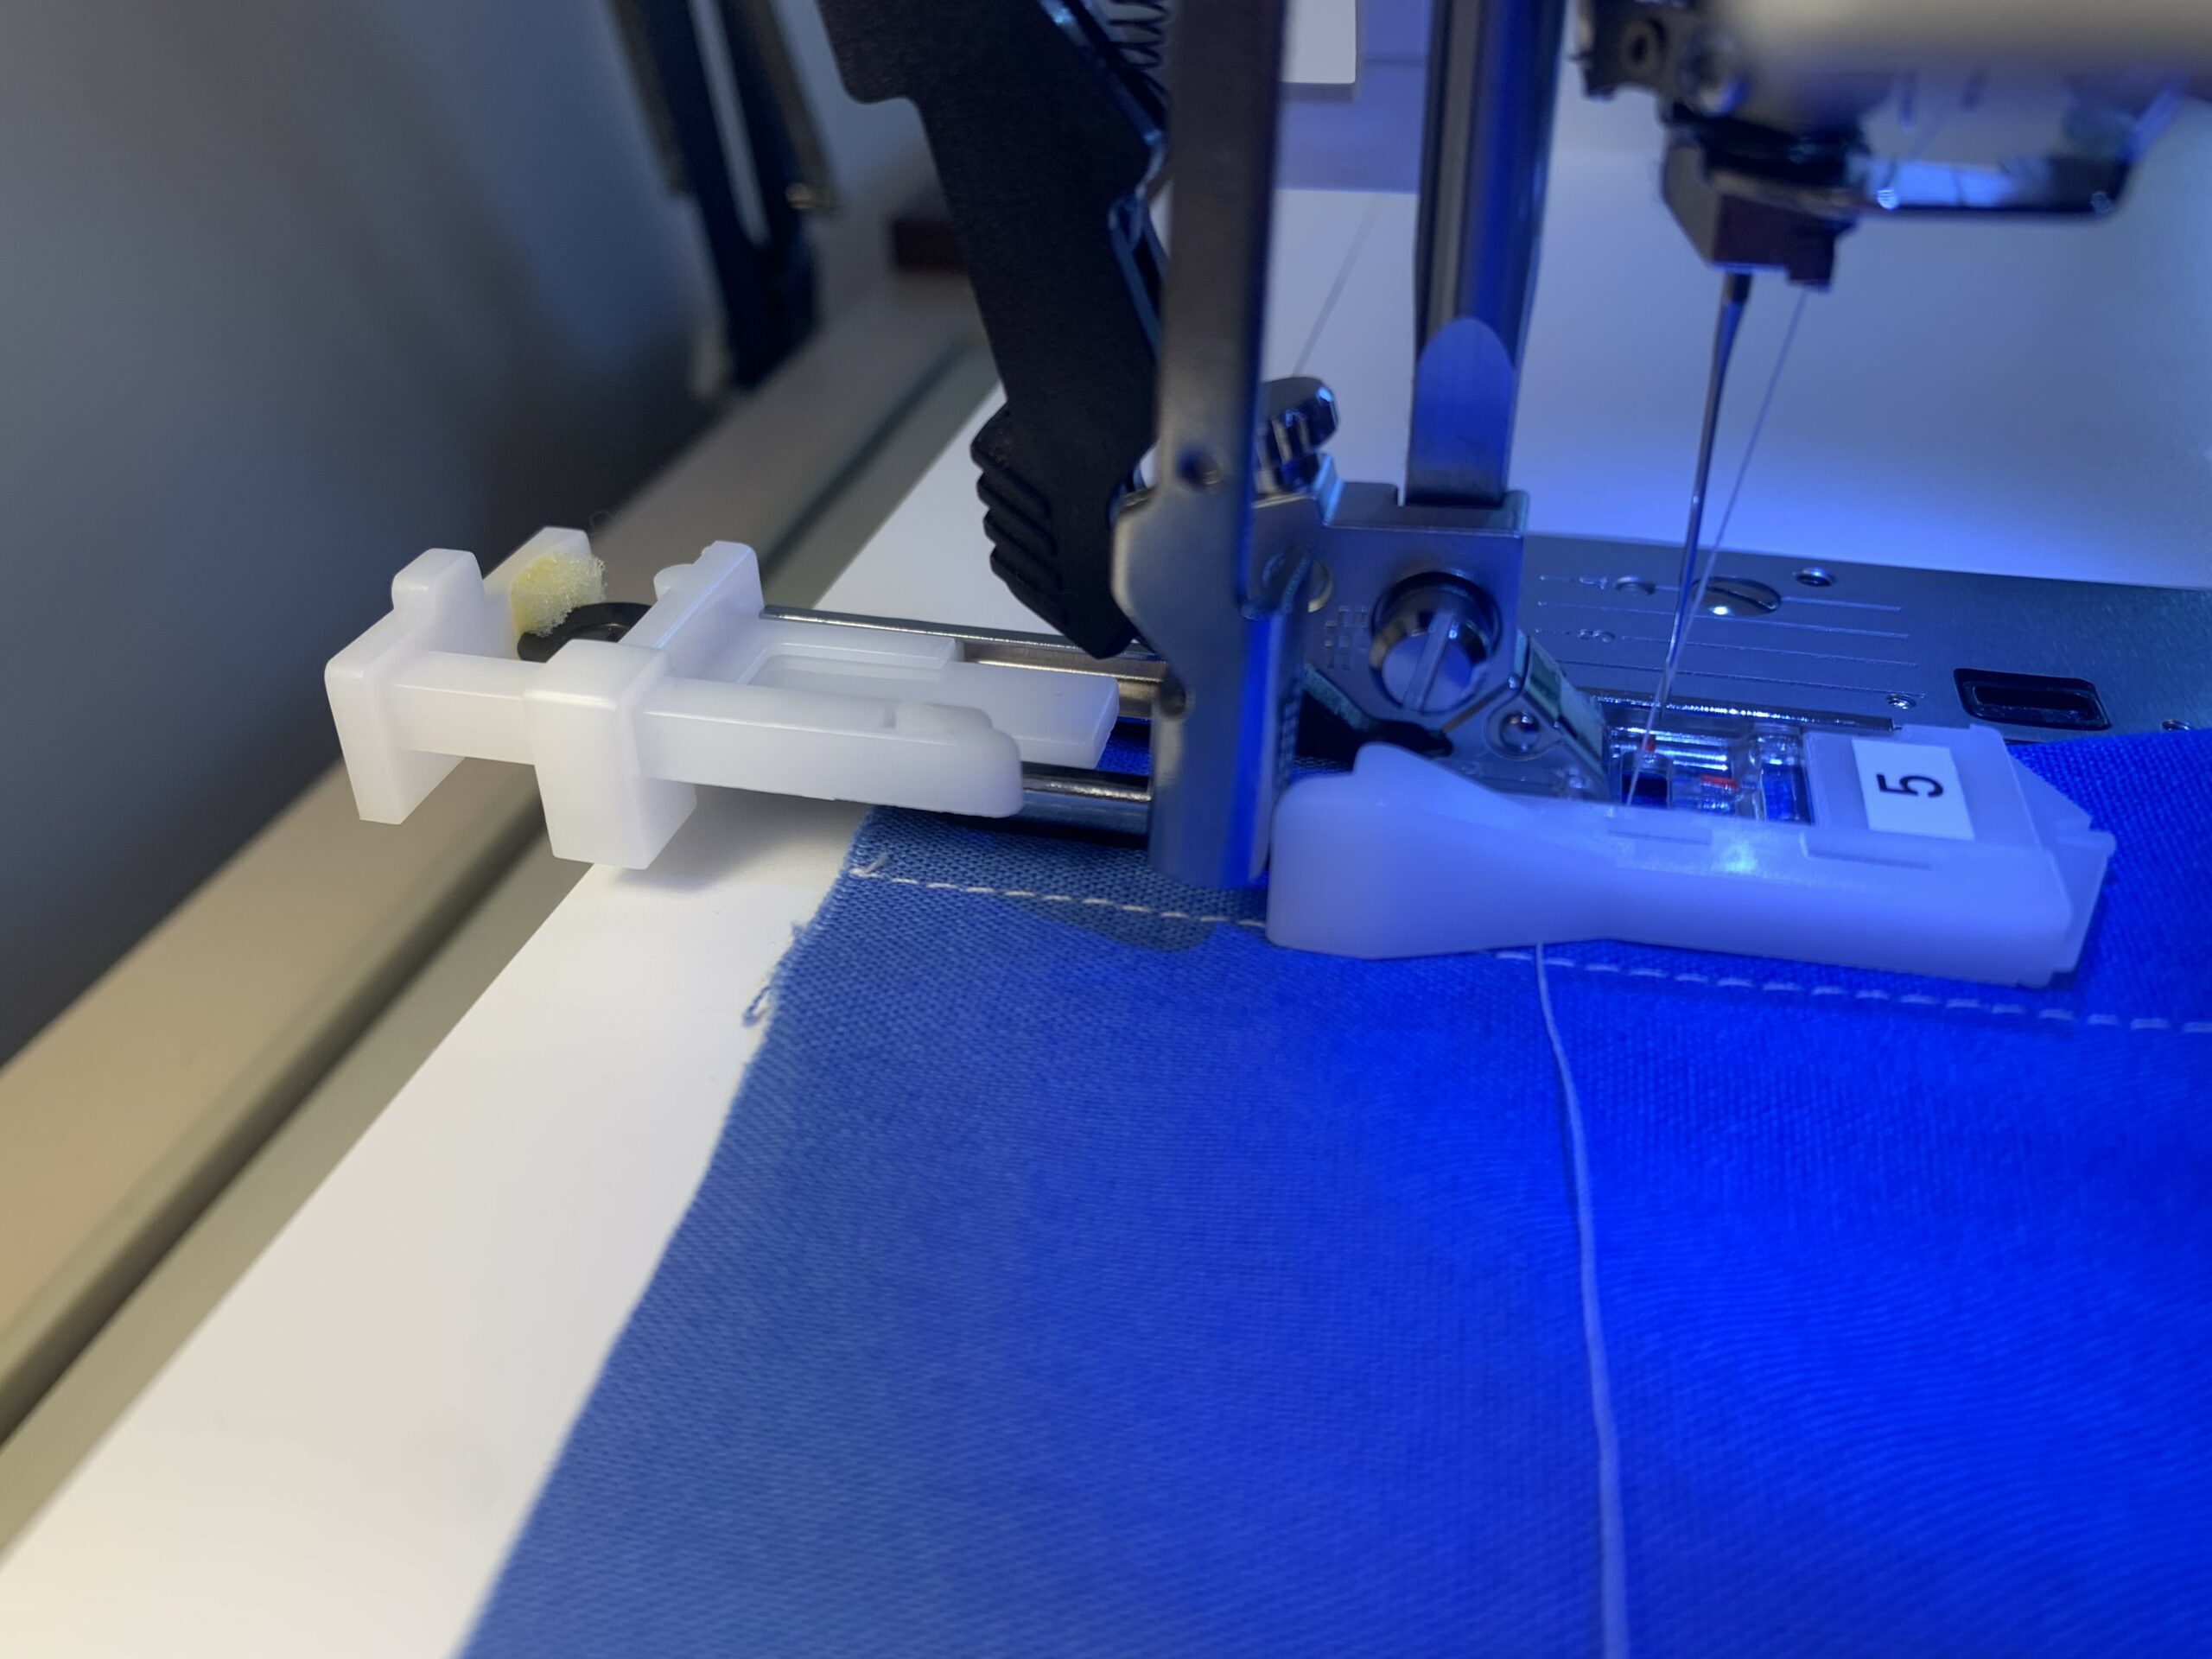
- Using a One-Step Buttonhole Foot, place your button in the button holder at the back of the foot (this will determine the length of your buttonhole).
- Attach your One-Step Buttonhole Foot.
- Pull top thread through hole in foot.
- Line up your project so your marking is in-line with the centre of the buttonhole foot and lower your foot. The buttonhole will be sewn from the bottom up, so you want to start on the straight line of your upside-down T.
- Lower the buttonhole lever all the way down.
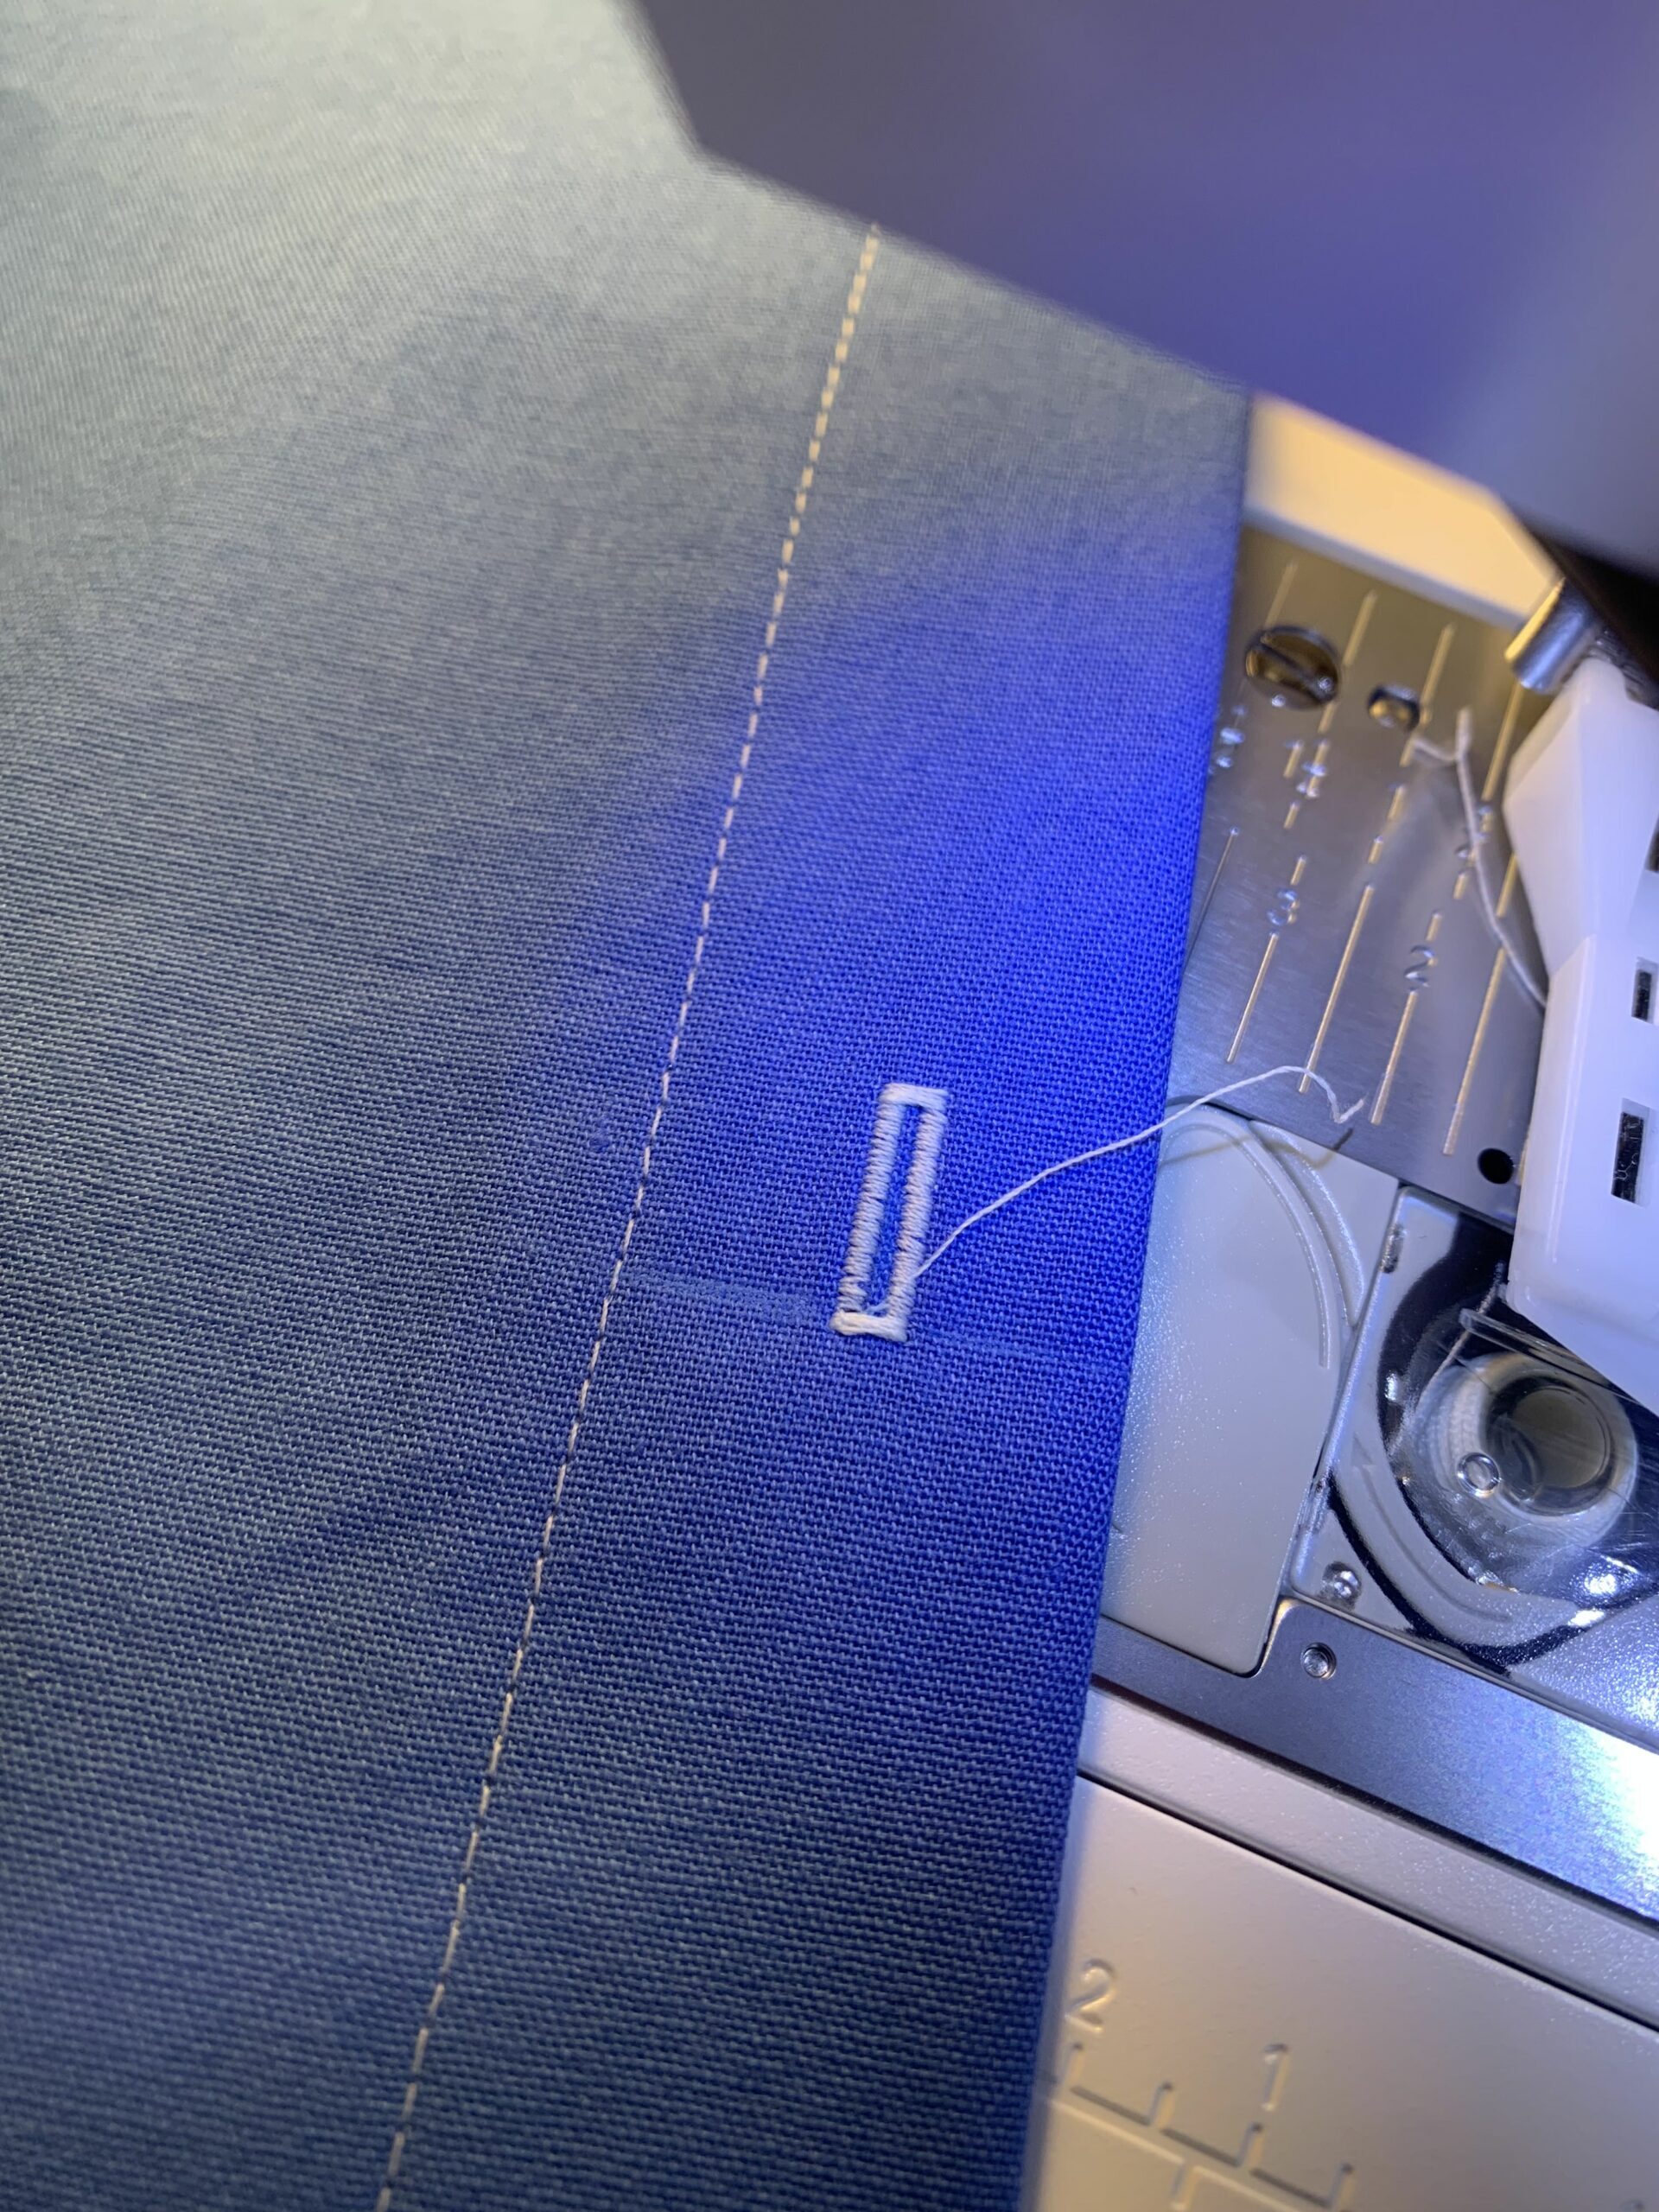
- Hold the end of the top thread out of the way and put your foot down! Your Pfaff will sew the buttonhole in one step and cut threads when finished.
- Repeat steps e–g for remaining buttonholes.
See your manual for step-by-step instructions specific to your Pfaff.
Note: If you’re not happy with your buttonhole this is your last chance to unpick and try again.
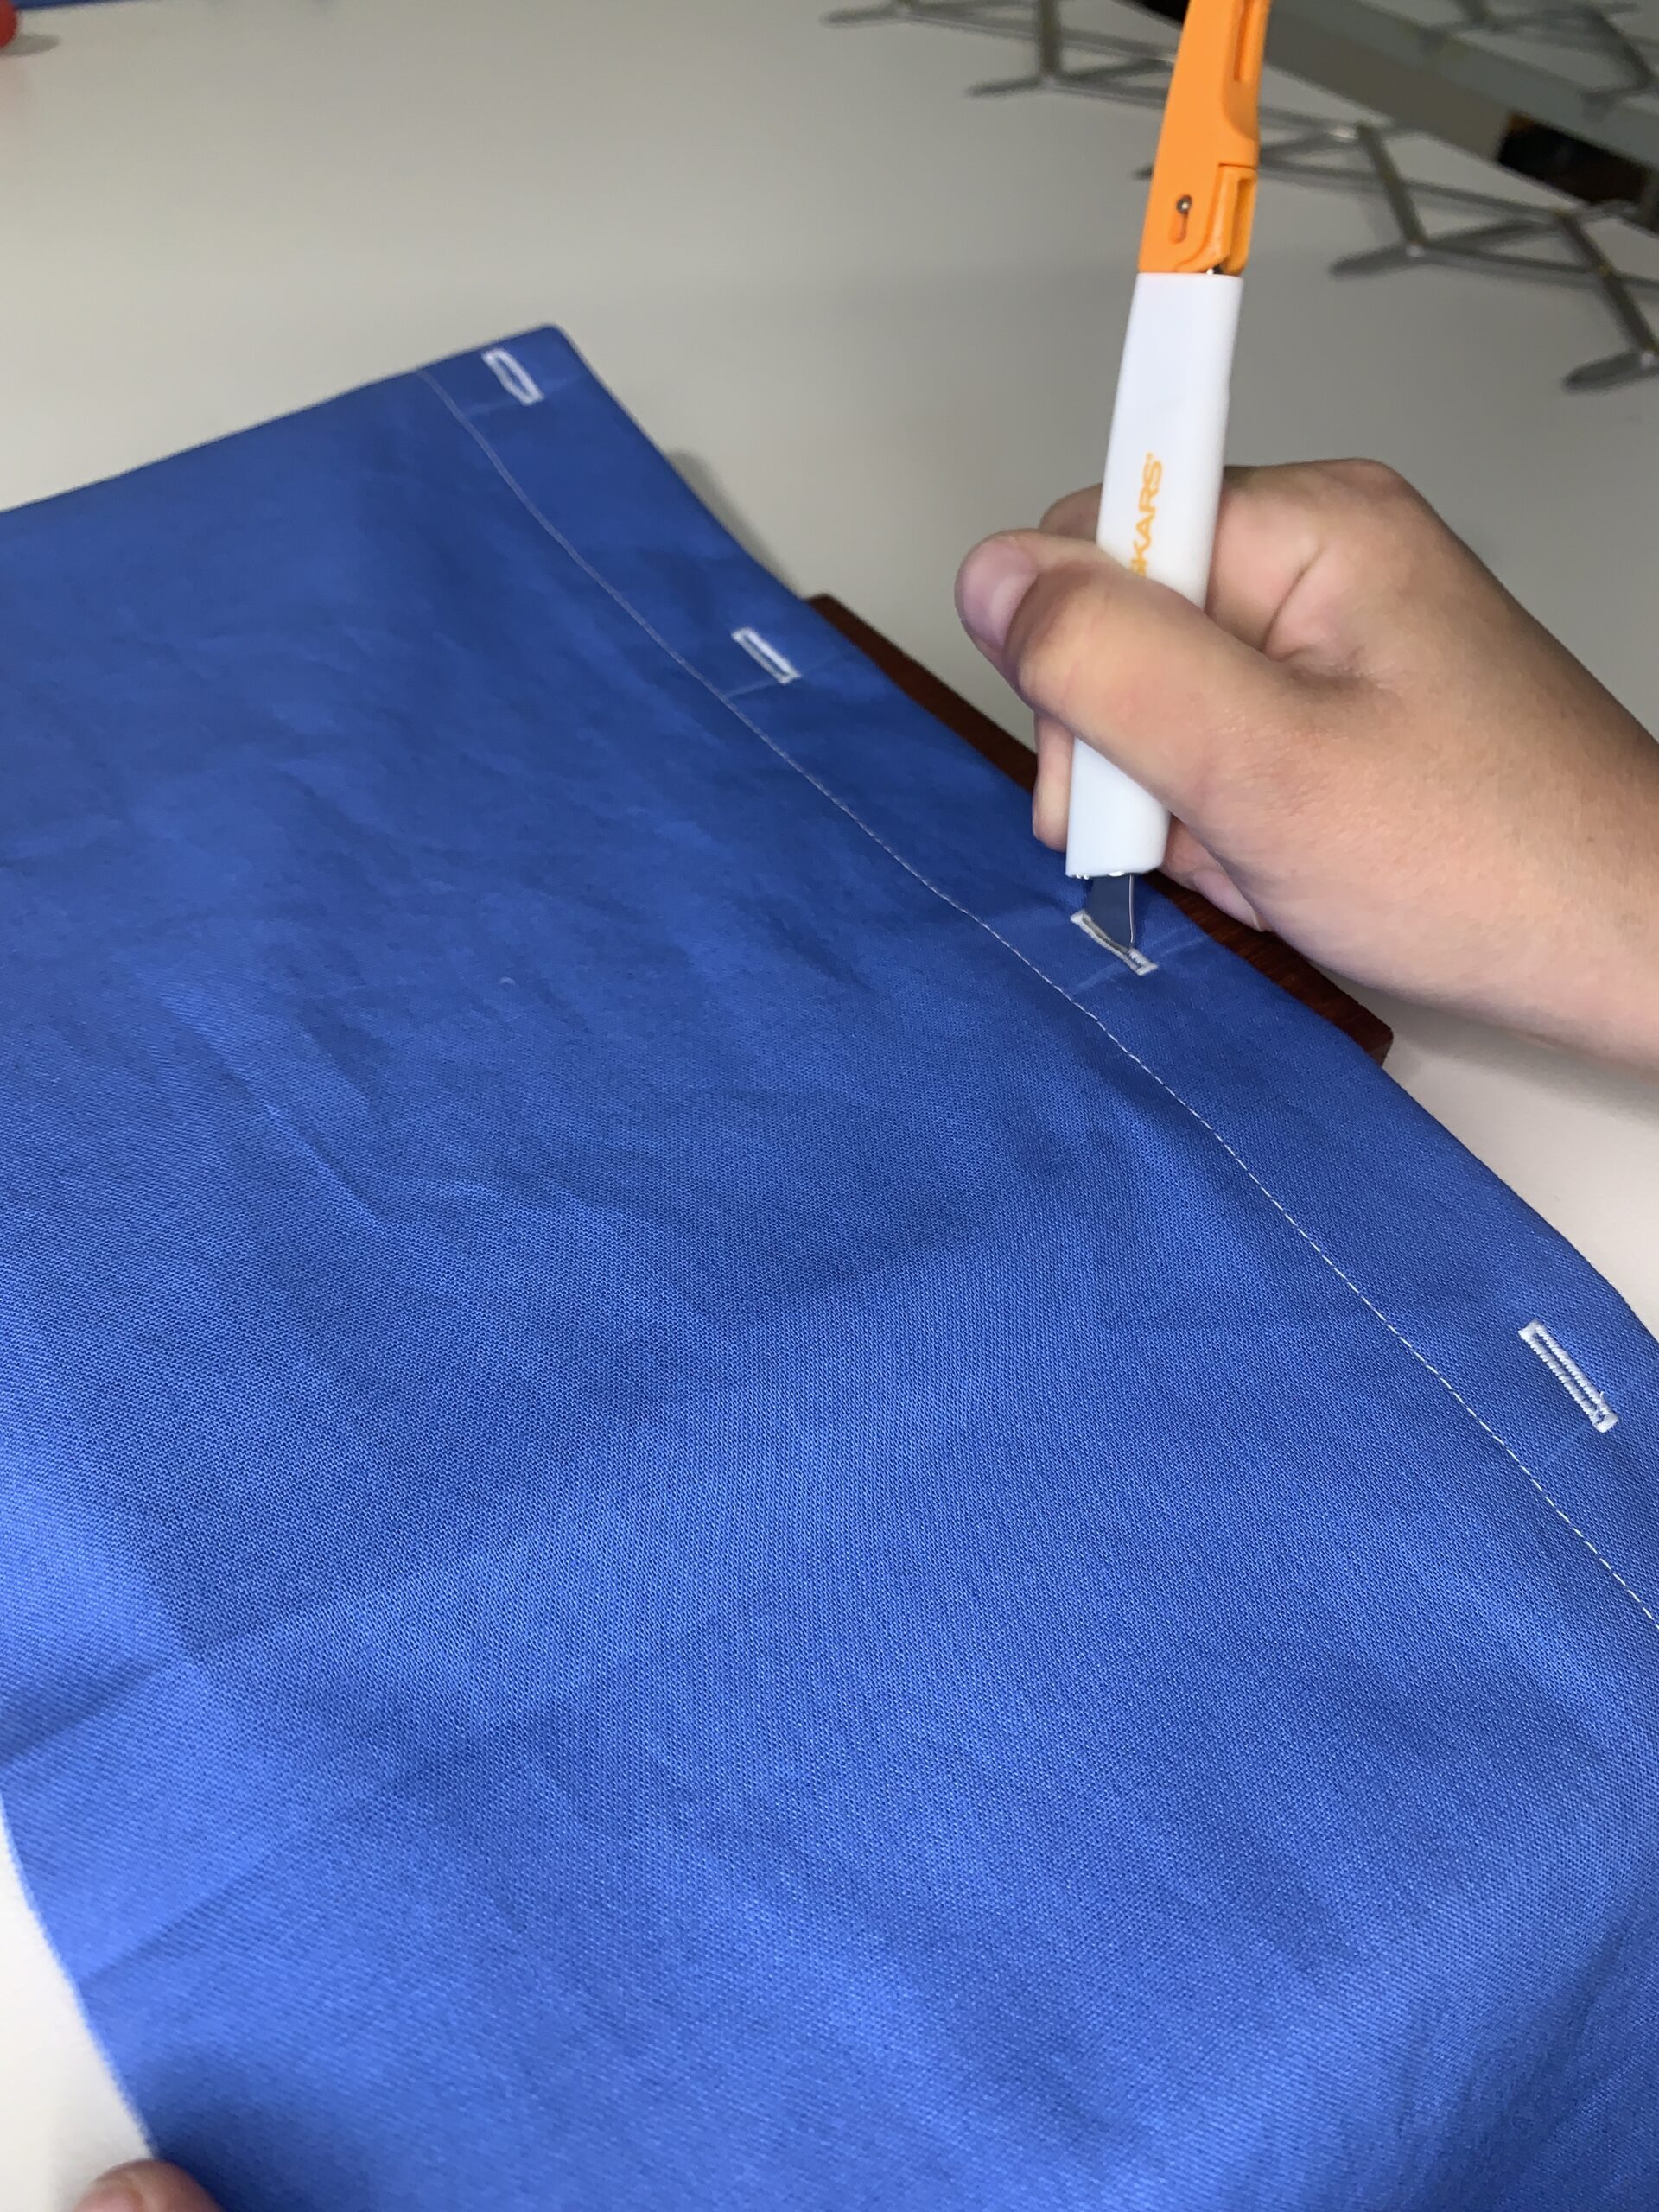
Step 4 – Finish your buttonholes.
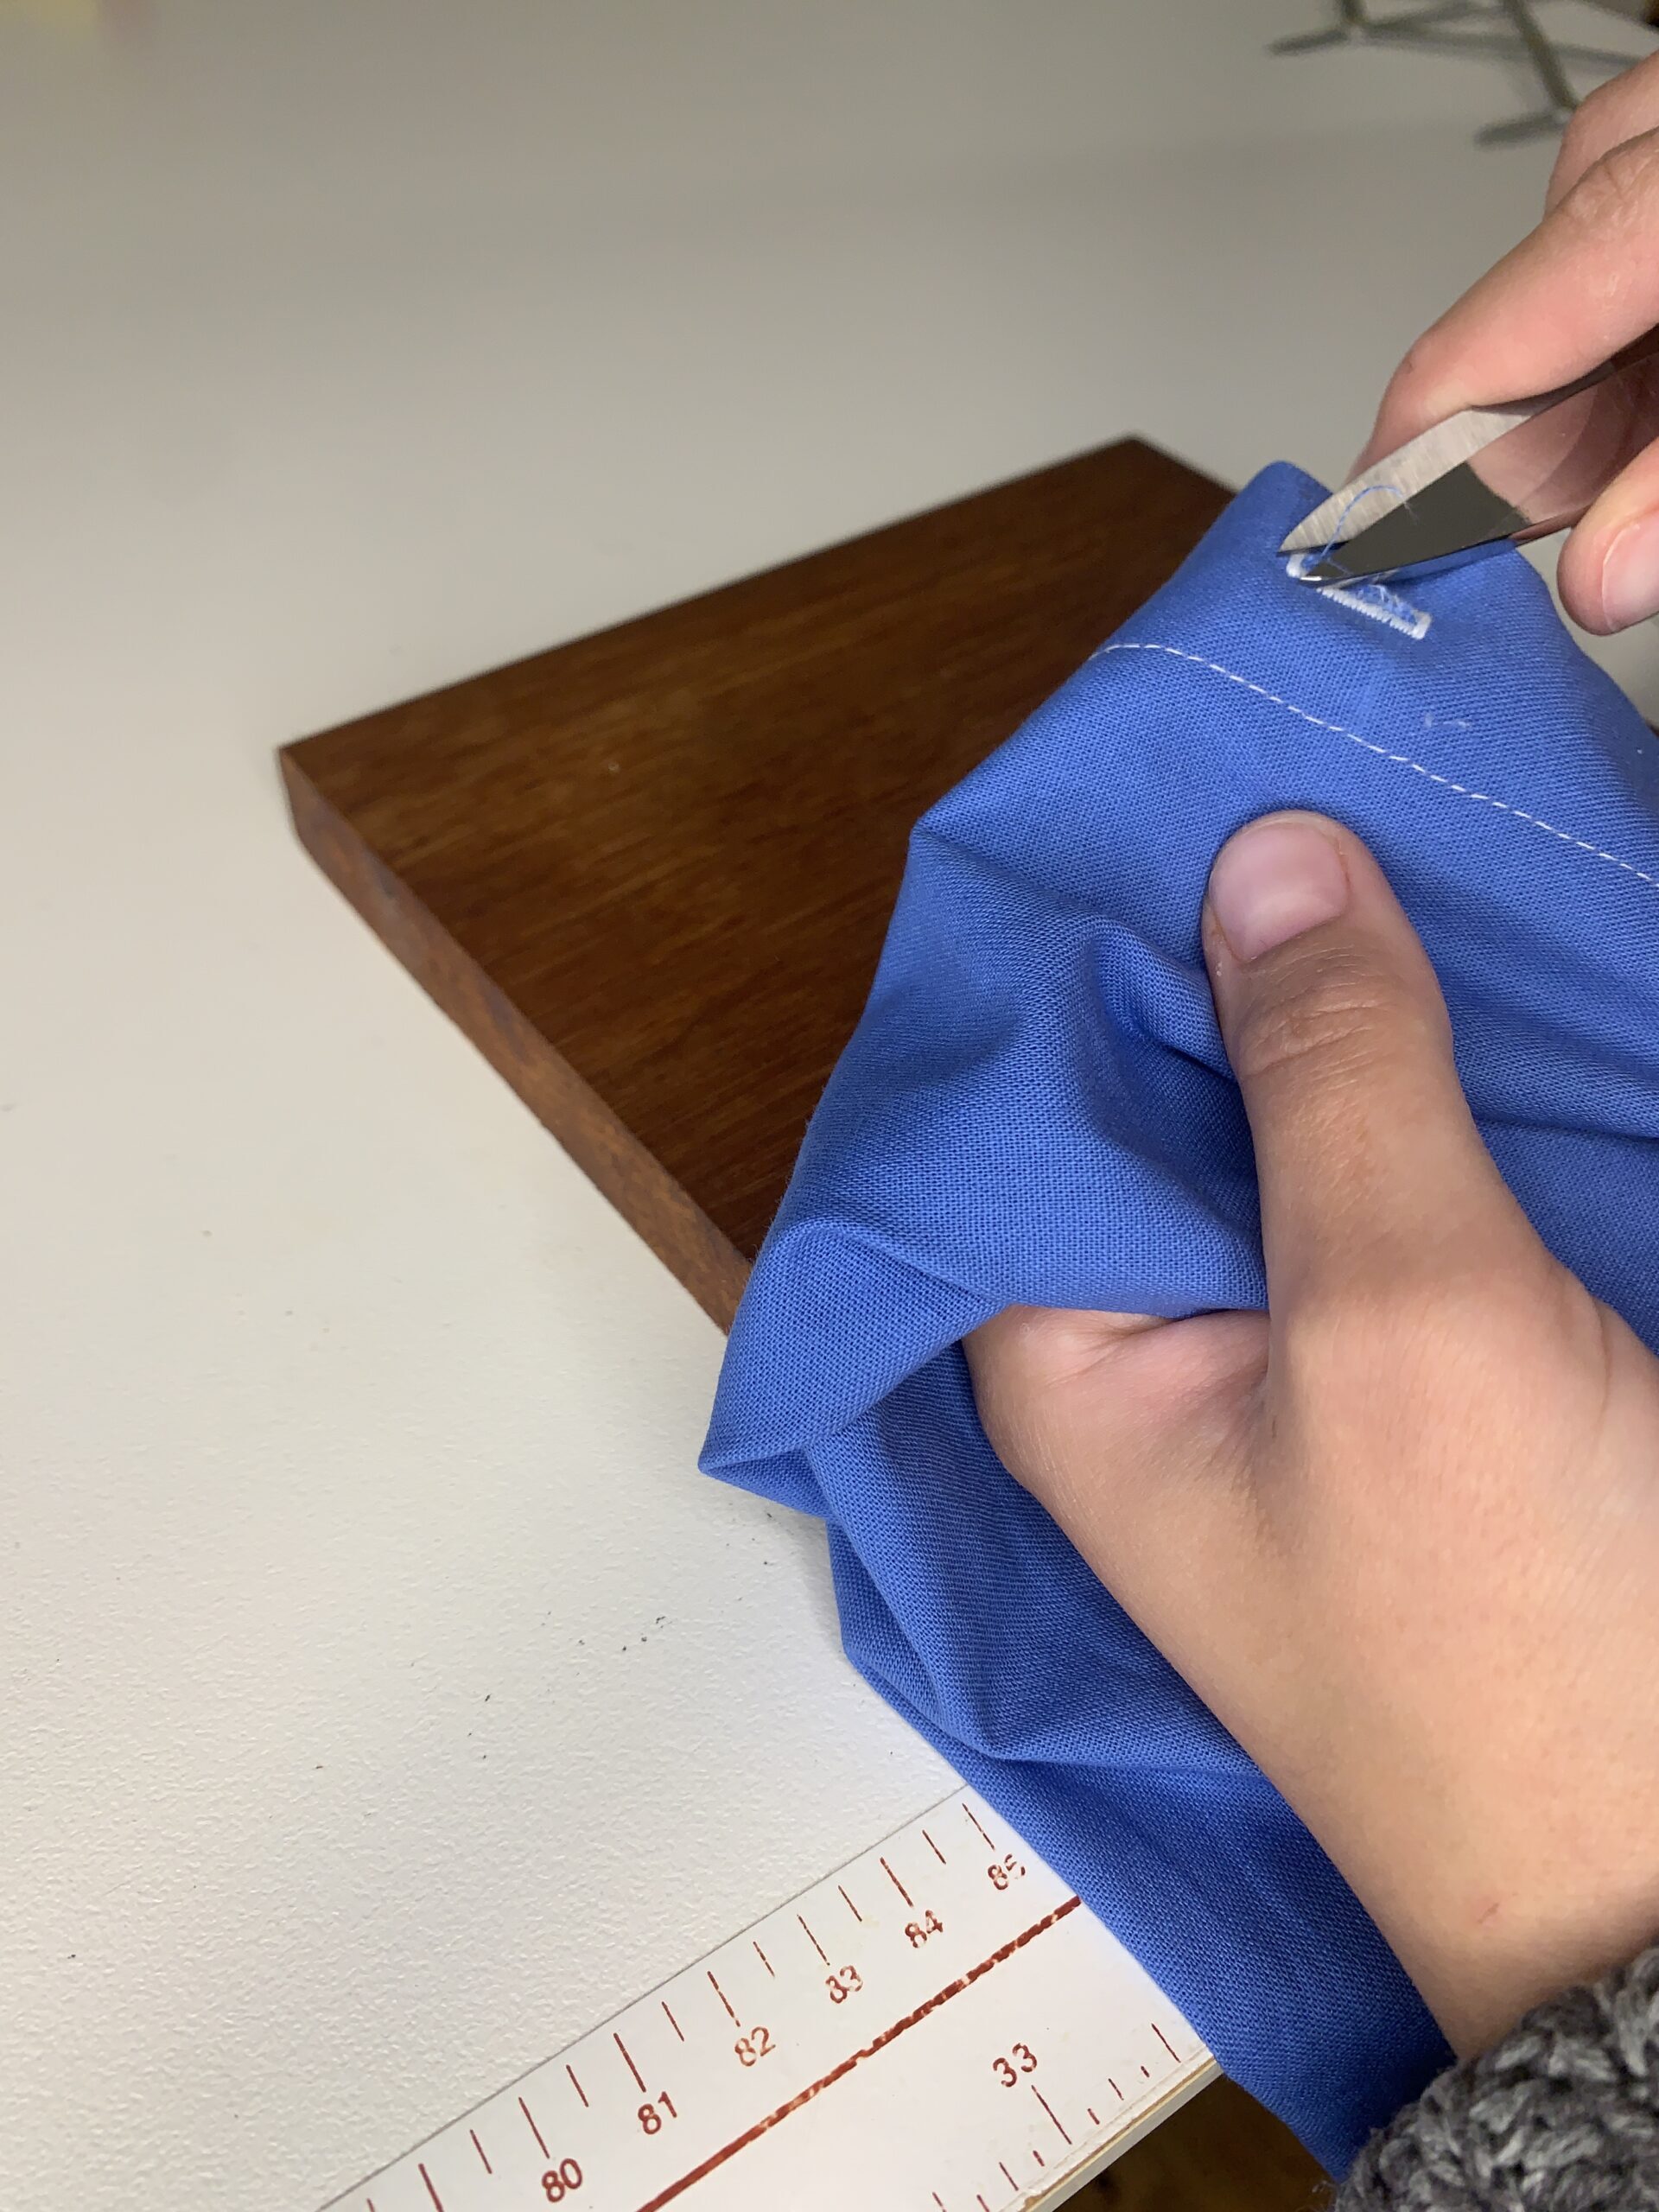
- Cut open your buttonholes – lay your project on a cutting mat or wood block and place a buttonhole cutter between the two lines of stitching, push the cutter down and roll it back and forth to make a hole. If you don’t own a buttonhole cutter, you can use a seam ripper to cut open your buttonholes. If using a seam ripper, place pins at either end of each hole and work carefully to avoid cutting through your stitches.
- Trim any loose threads from your buttonholes.
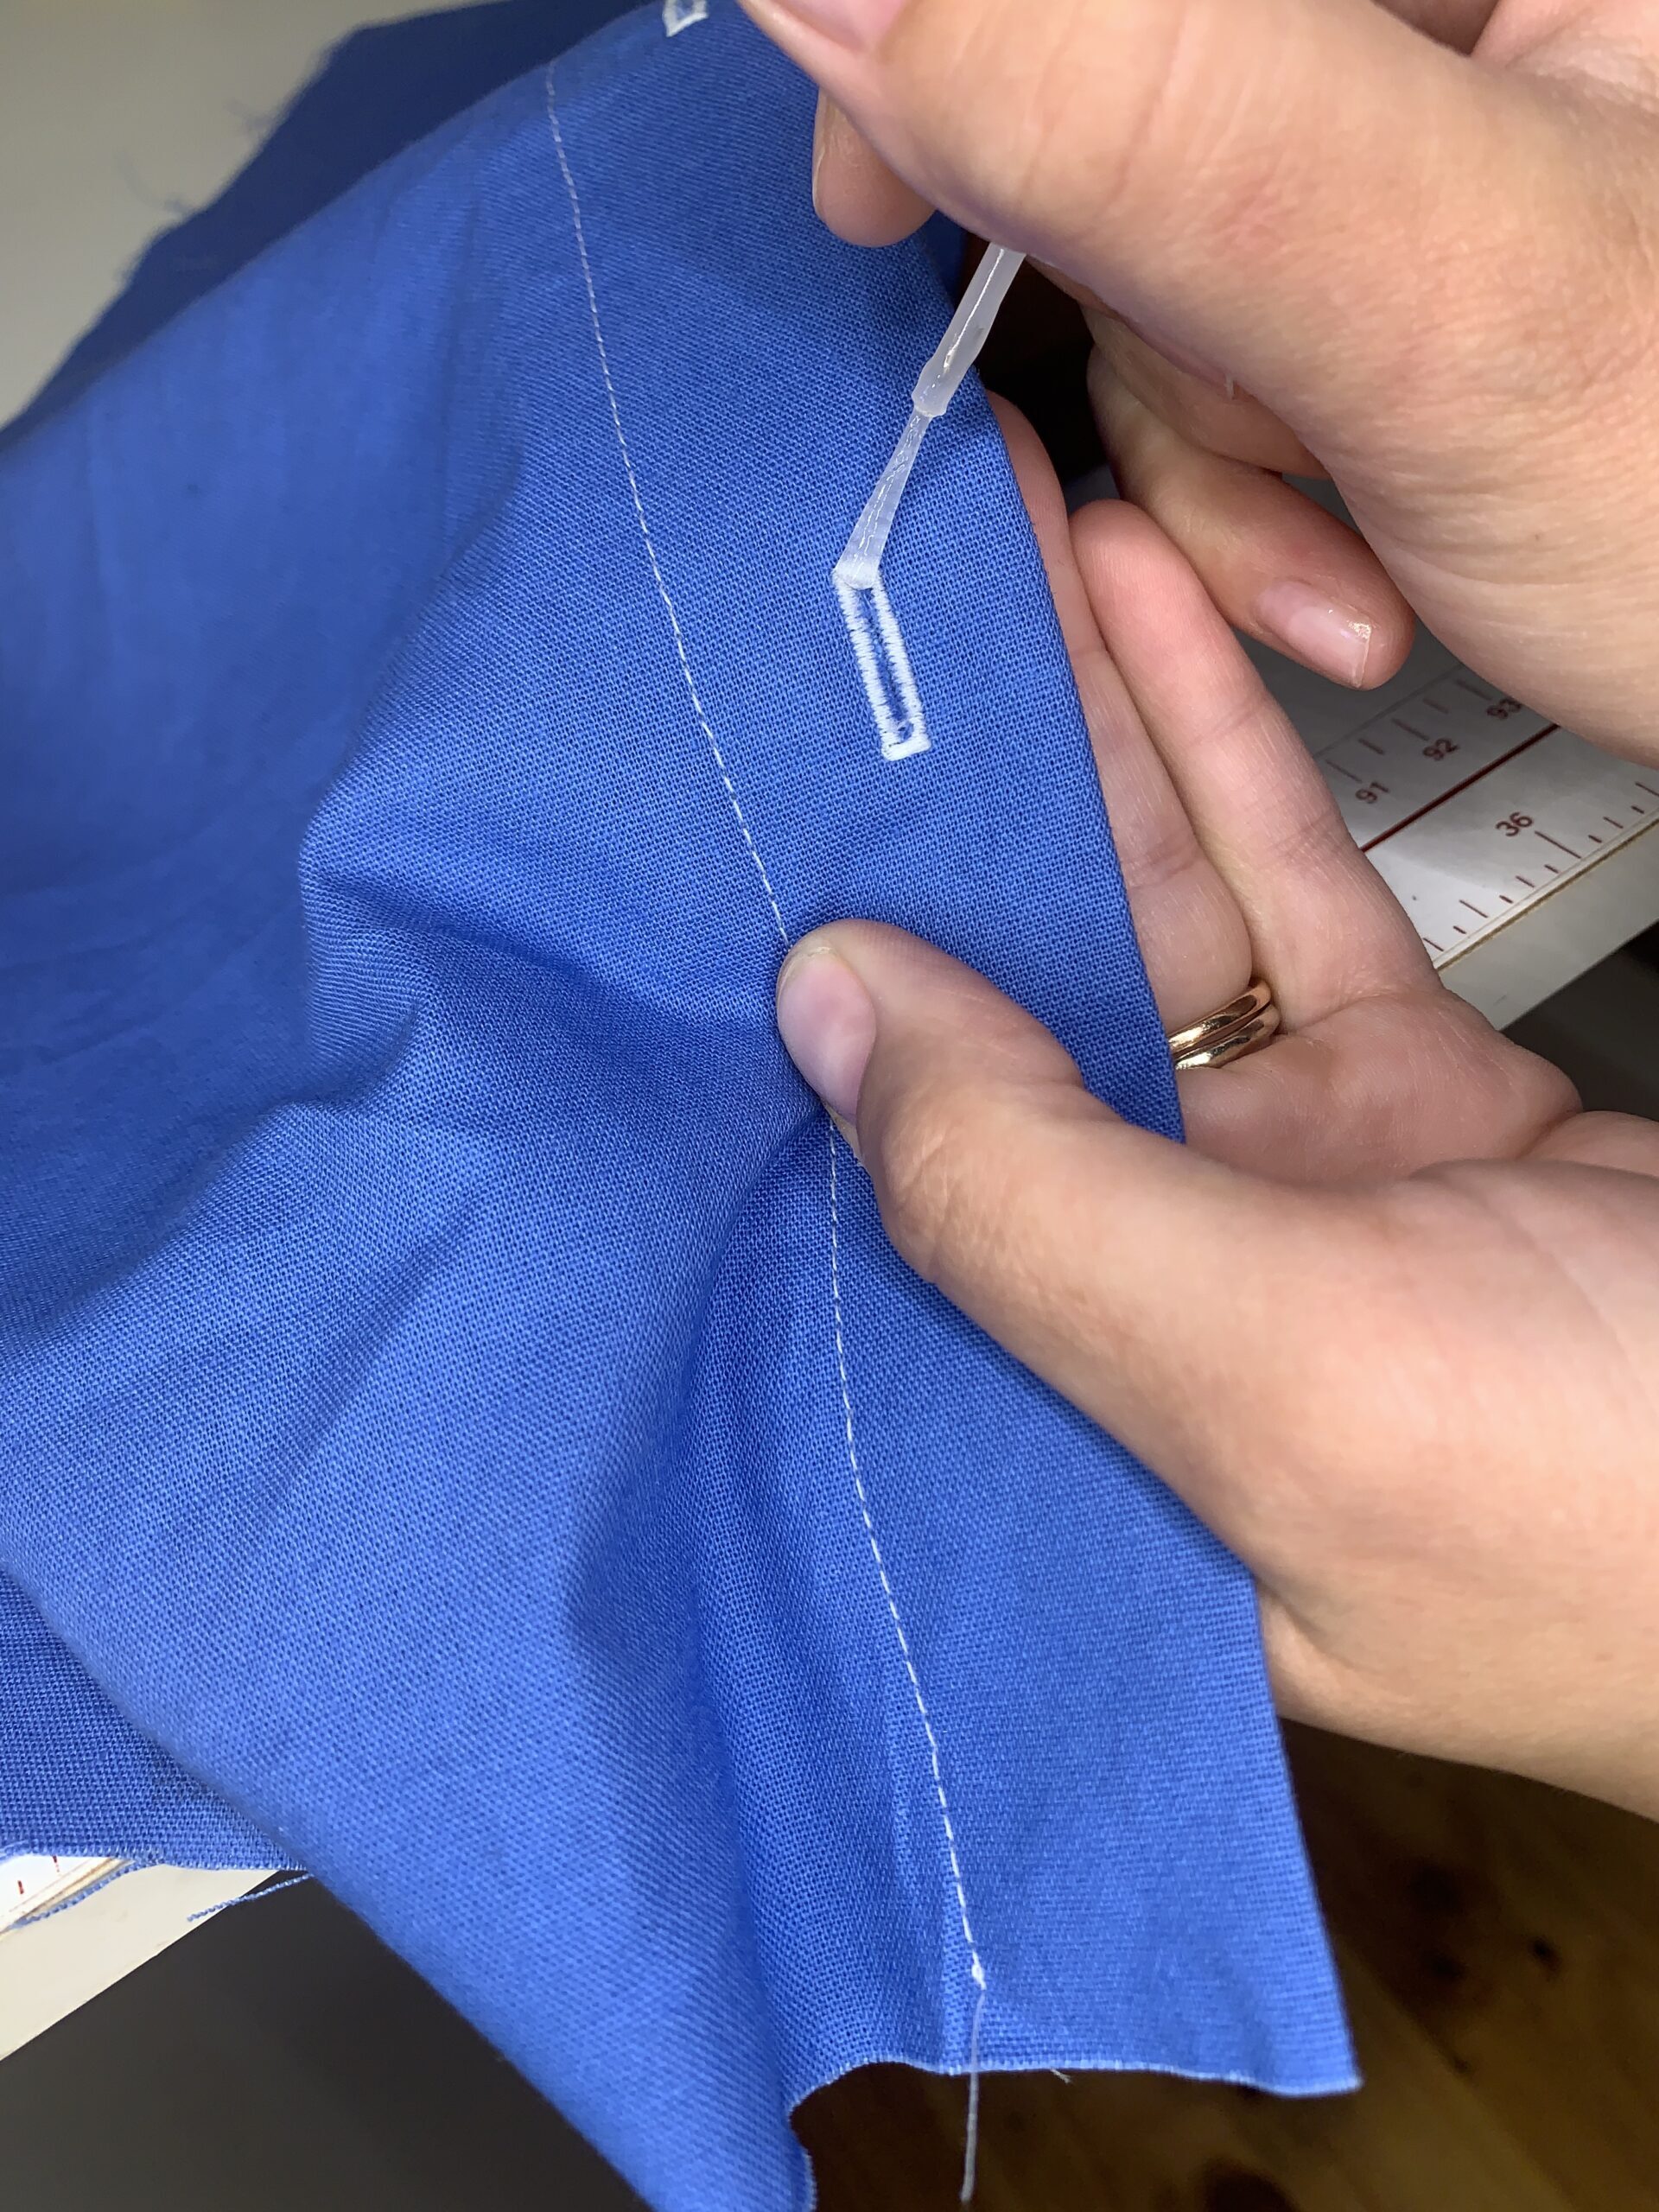
- Seal your buttonholes – carefully paint over your buttonholes with fray check or clear nail polish to secure loose fabric threads and minimize fraying. This step is optional but adds longevity to your buttonholes.
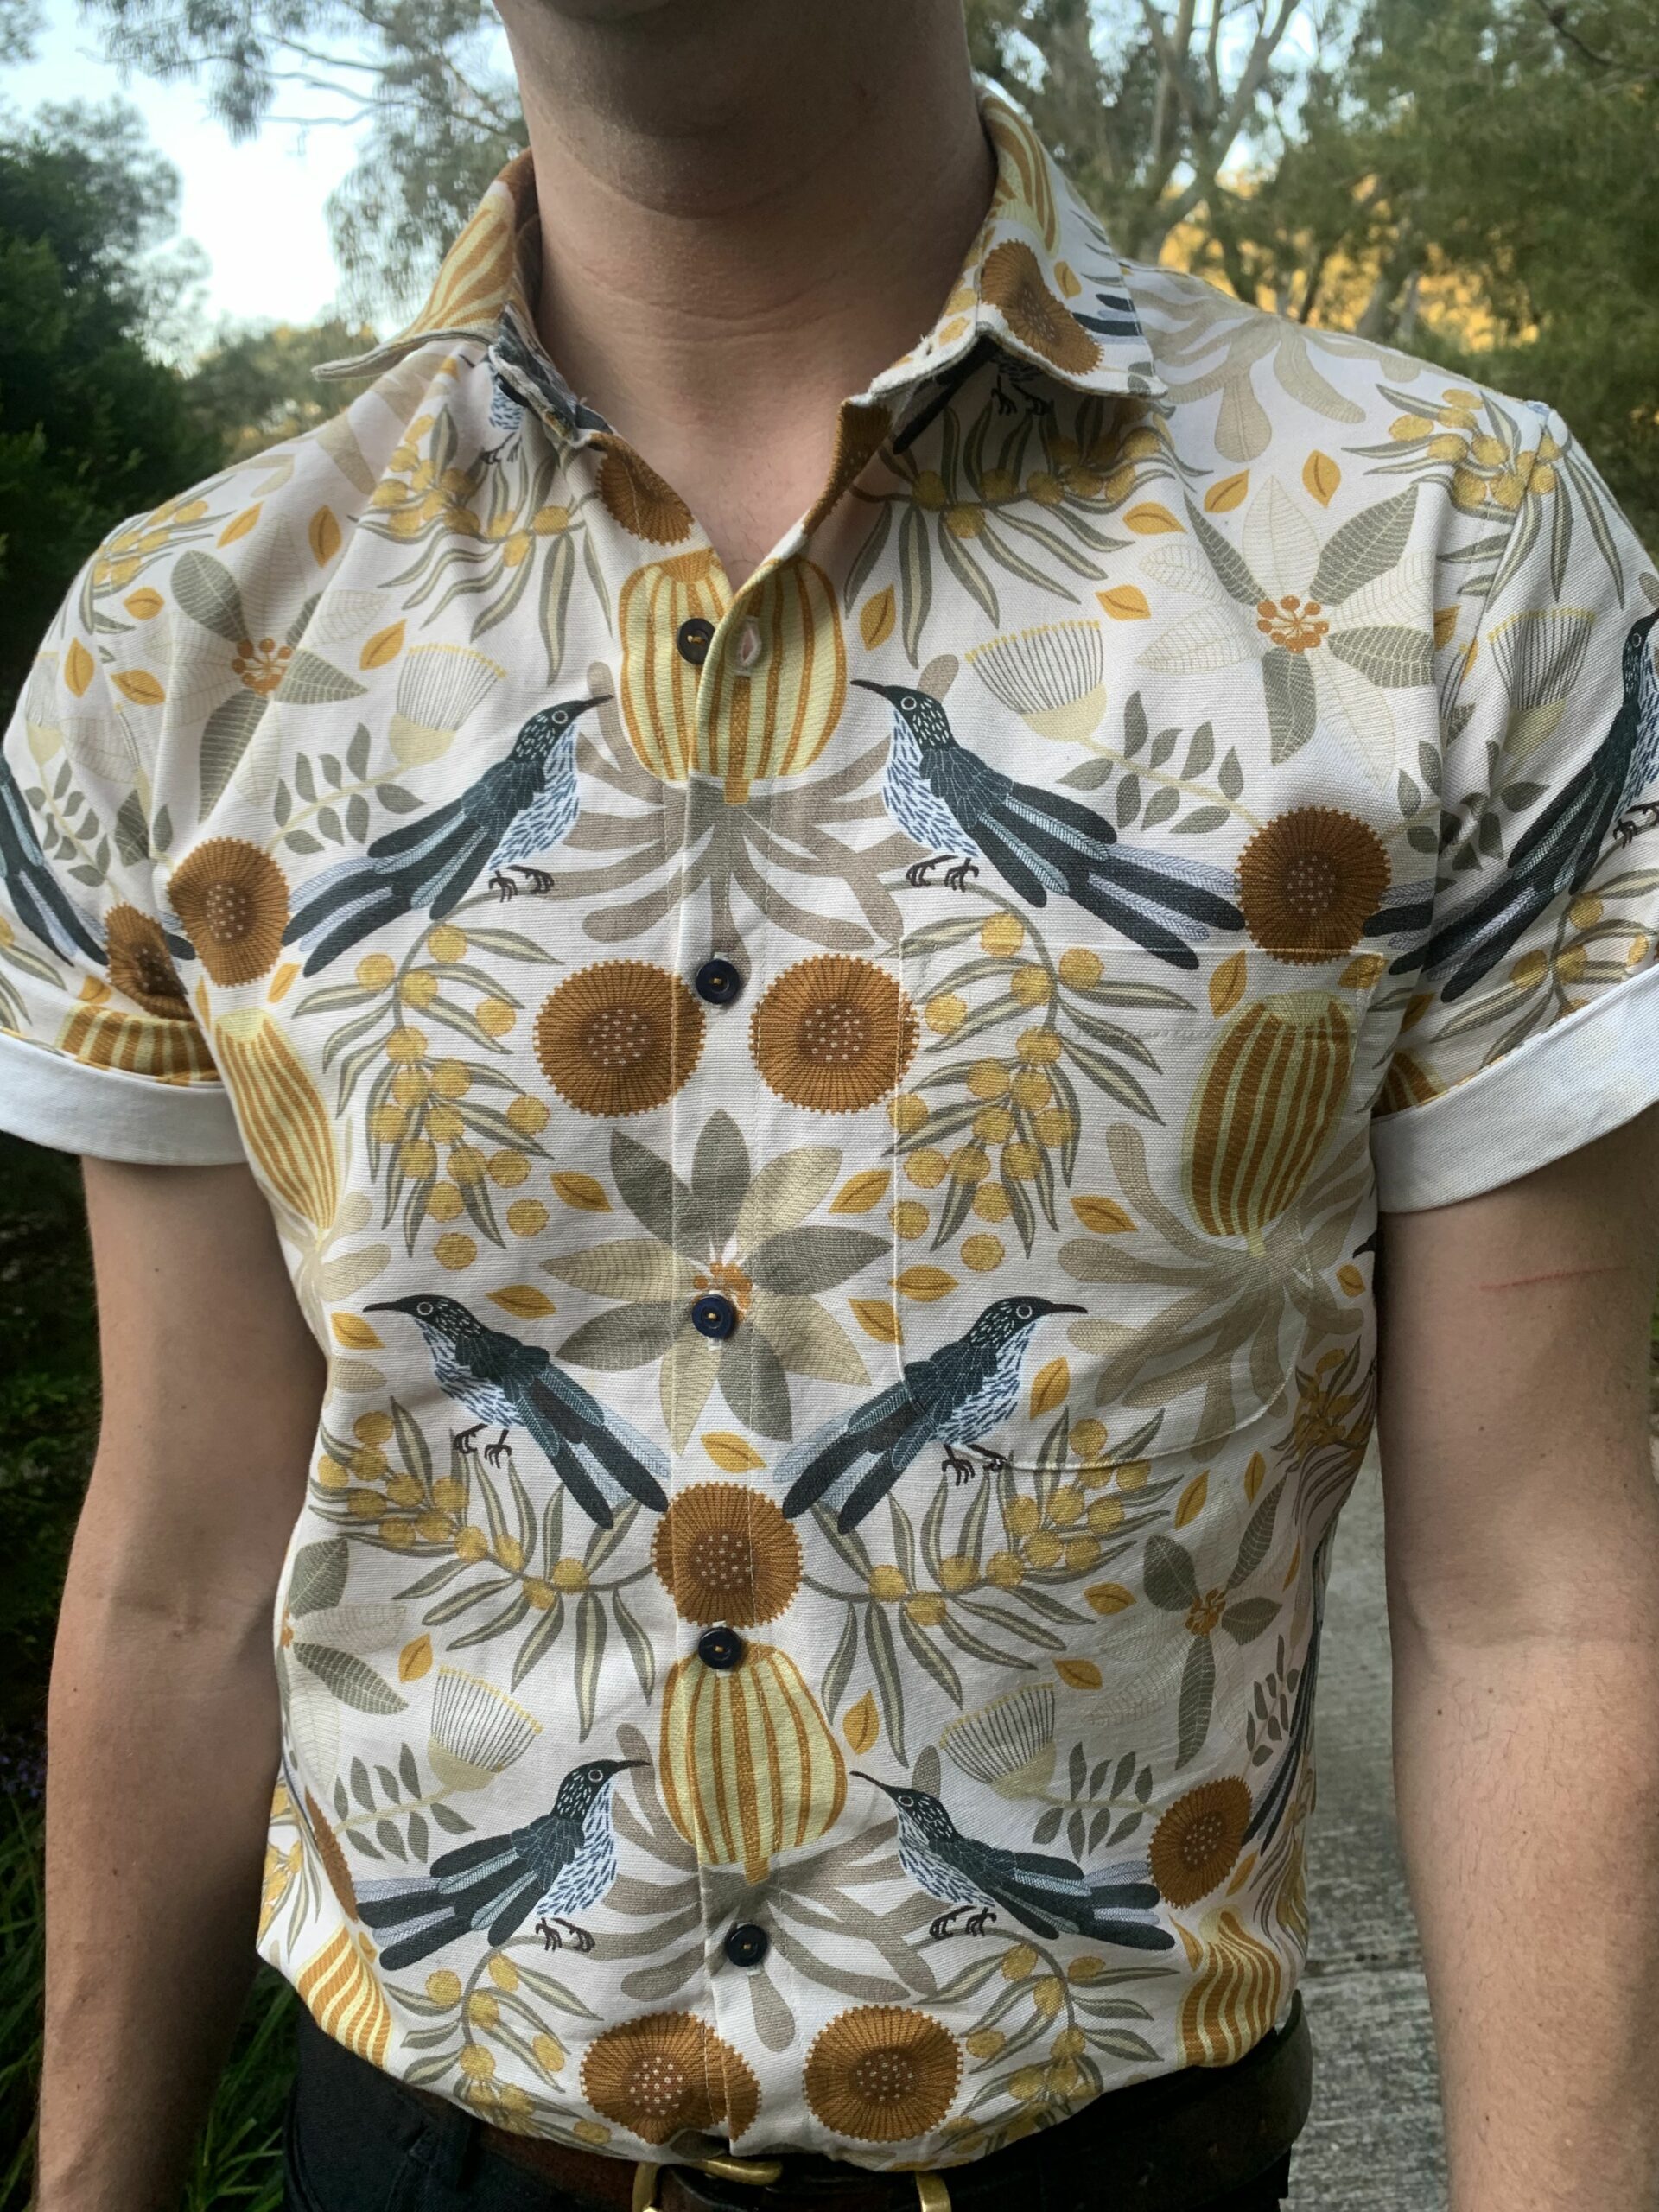
Tada! You have finished your beautiful buttonholes. All that’s left is sewing on your buttons and your project will be complete.