Description
Description
Machine Compatibility: admire™ air 7000, coverlock™ 4.0 and 3.0
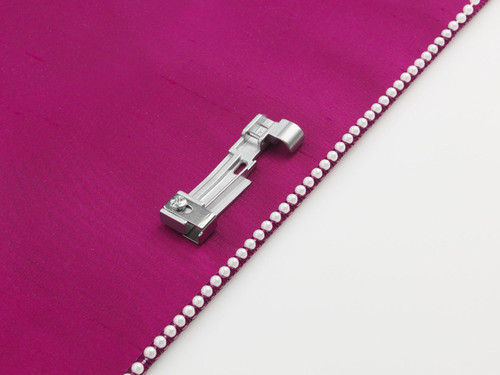
Create piping, corded tucks and decorative trims with the Piping Foot with Cording Guide.
How to insert piping:
- Set the machine for Chainstitch.
- Use the default stitch settings. Adjust if needed.
Note: Although the machine recommends needle D, you will use needle E for this technique instead. - Snap-on the Piping foot. (The cording guide is not used for this technique.)
- Place the cord in the groove on the bottom of the foot and pull the cord tail behind the foot about 2½” (5cm).
Note: ¼” – 5/8” (1.5 – 2.0mm) cord can be used. - Cut a strip of fabric on the bias, 1” (25mm) wide.
- Wrap the fabric around the cord in the front of the foot. Slide the fabric under the foot.
- Lower the presser foot and sew over the cord and fabric. (Hold the cord behind the foot as you begin to sew.)
How to create corded tucks:
Achieve a trapunto effect when a coverstitch is sewn over a cord in the guide.
- Set the machine for coverstitch, wide.
Note: Although the machine recommends needles C and E, you will use needles D and E for this technique instead. - Snap-on the Piping foot and attach the cording guide.
- Insert the cord into the round hole of the cording guide and position it in the groove on the bottom of the Piping foot.
- Lay the fabric right side up on top of the cord. Slide it under the foot until it is underneath the needles.
- Lower the needles into the fabric. Lower the presser foot and start to sew at a medium speed. (Hold the cord behind the foot as you begin to sew.)
How to sew decorative trim:
Use decorative thread and ribbons to create special effects and unique trims
- Set the machine for 3-thread ornamental flatlock stitch, wide with decorative thread in the loopers.
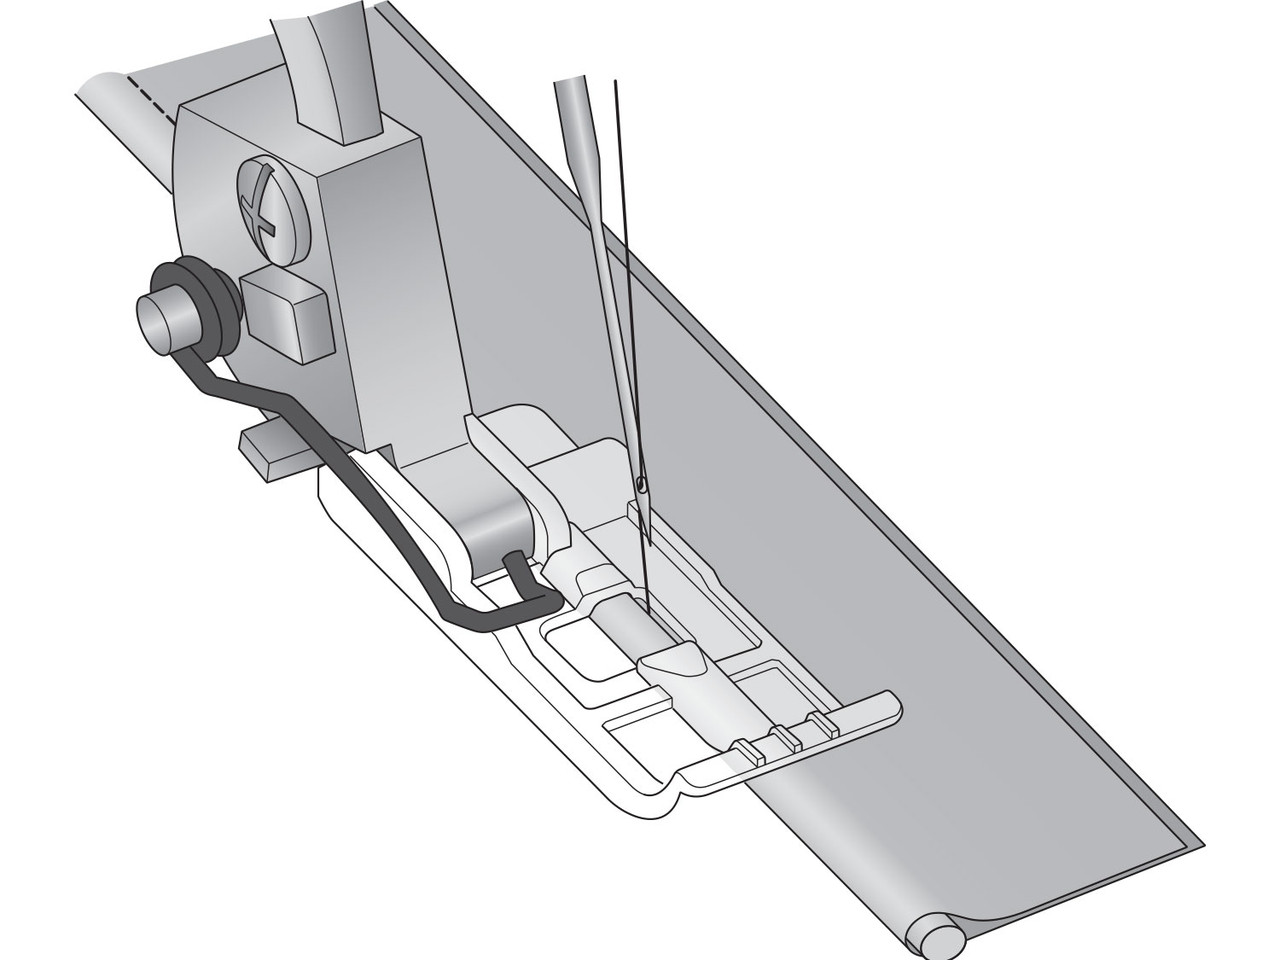
- Snap-on the standard presser foot and attach the cording guide.
- Insert a ribbon ¼” (6mm) wide right side down into the rectangular opening in the guide.
- Place the ribbon under the presser foot to the right side of the needle, leaving a 2”
(5cm) tail behind the foot. - The needle should go down into the machine just beyond, not into, the edge of the ribbon.
- Sew over the ribbon to make a decorative trim.
Tip: Make your decorated ribbon long enough to cut it in three pieces, then braid.
Additional information
| Weight | 0.100 kg |
|---|