Introduction:
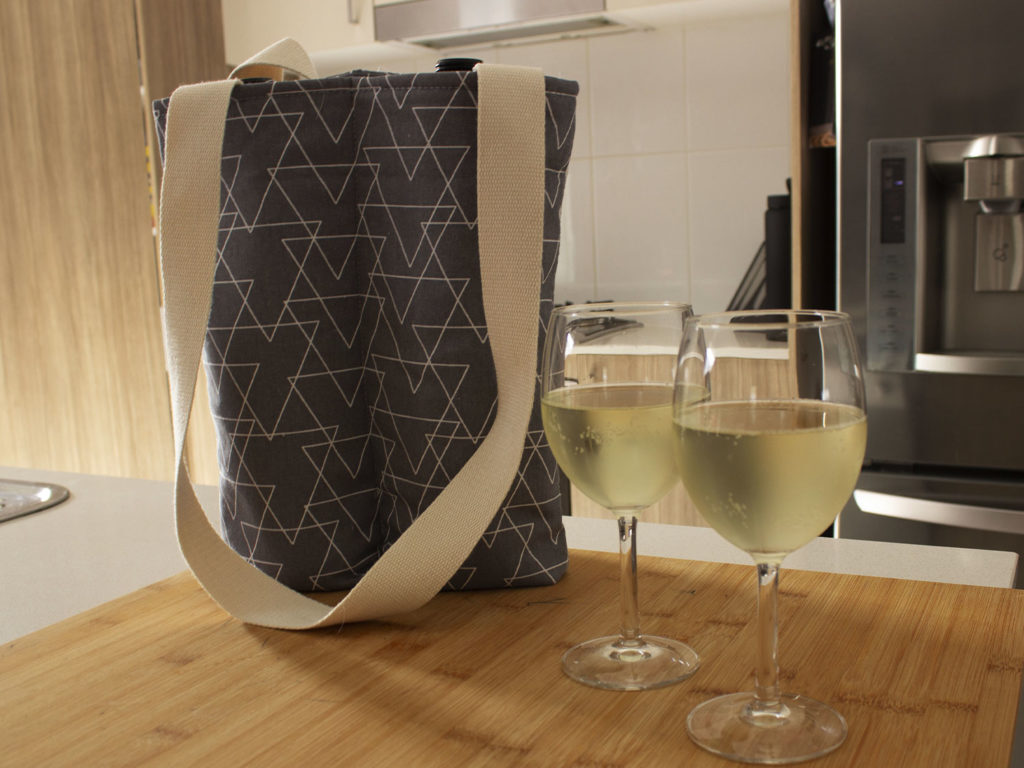
What’s better than a picnic? Having a picnic with friends and wine, of course!
With this 2-wine bottle tote bag tutorial, you’ll be able to carry your collection and keep the bottles cool all the time!
There is no limit to what you can put in this tote – it can hold almost anything you choose!
Let’s get started!
The requirements below will make you 1 x 2-bottle tote bag.
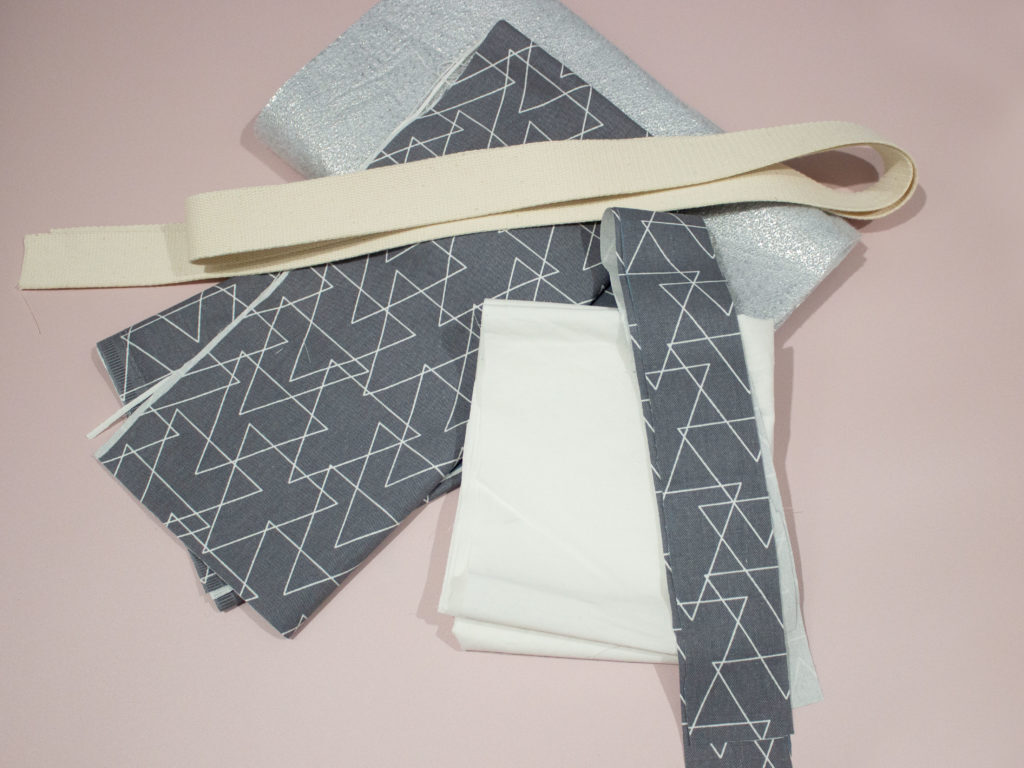
Requirements:
- 1/2 meter of heavy-weight fabric. We have chosen a cotton drill for ours!
- 1/2 meter cotton for lining.
- 1/2 meter of Insul-poly fleece
- 160cm of 38mm belting
- Co-ordinating thread
- Rotary cutter
- Cutting Mat
- PFAFF Sewing Machine
- Optional: Overlocker
- Iron
- General sewing equipment
Cutting:
- Cut x 1 rectangle 30cm x 73.5cm out of your heavy-weight cotton (outer fabric)
- Cut x 1 rectangle 30cm x 73.5cm out of lining
- Cut 1 x facing 62cm x 5.5cm
- Cut x 1 rectangle 30cm x 73.5cm out of your Insul-poly fleece
Construction:
Seams are 1cm unless otherwise specified.
1) Baste outer fabric and Insul-poly together.
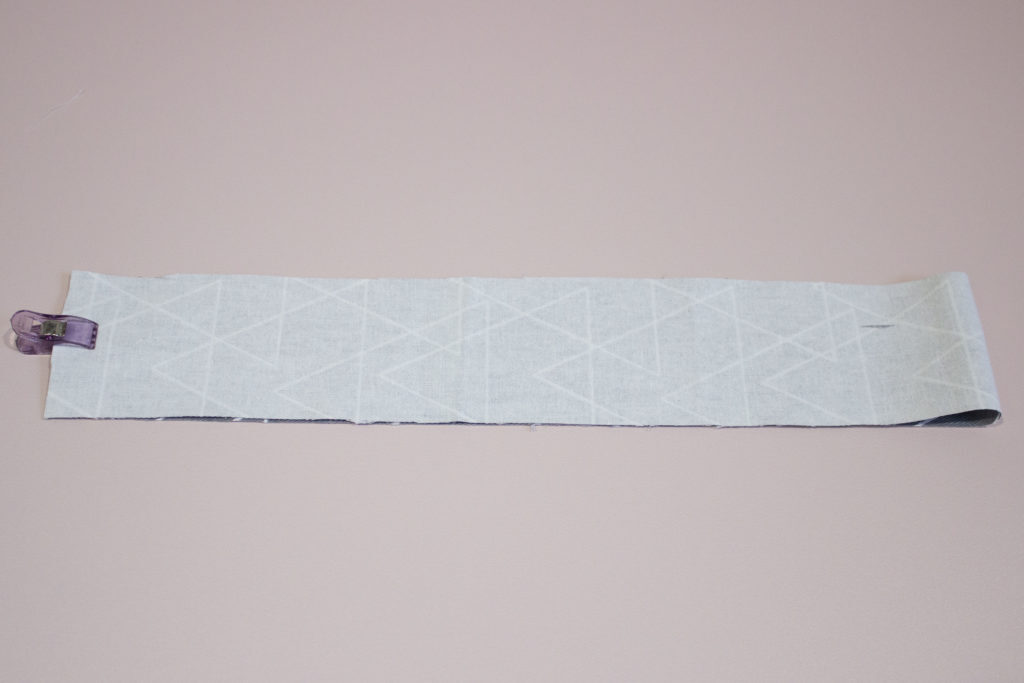
2) Fold in half right sides together. The Insul-poly should be visible.
3) Measure 3.75cm from the bottom. Fold up and clip or pin in place.
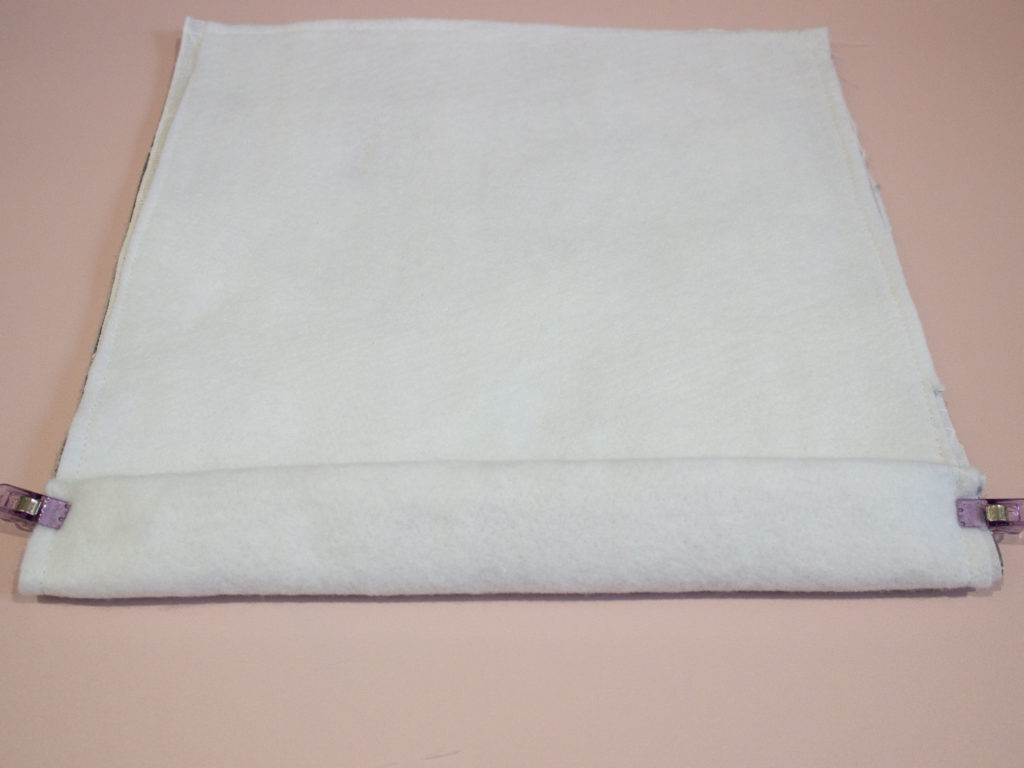
4) Sew down each side. Turn right way out.
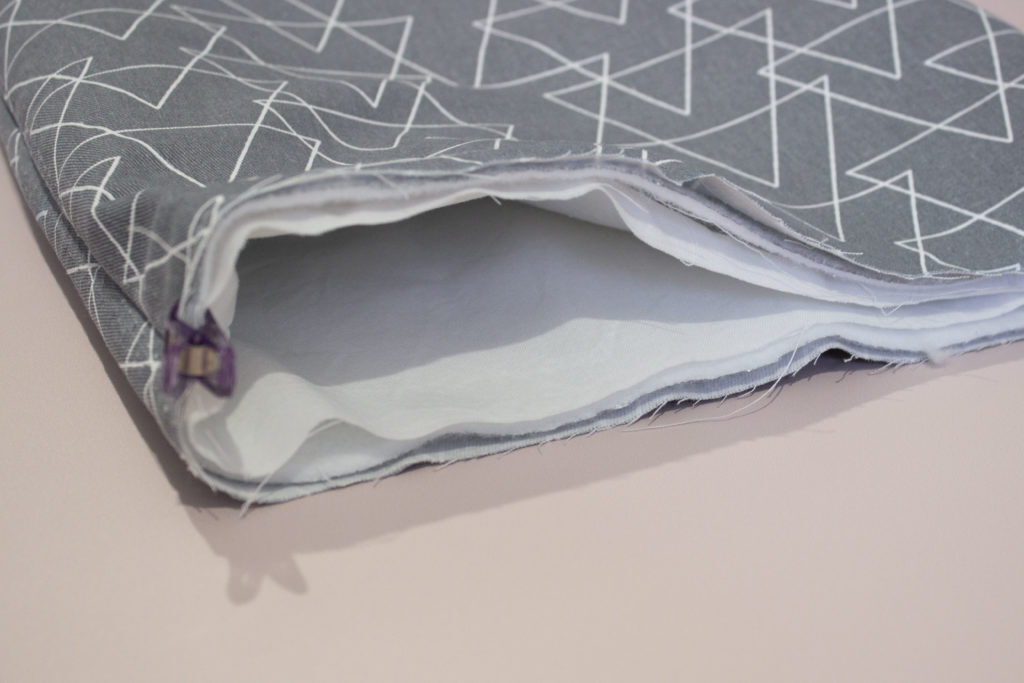
5) Repeat steps 2-3 for the lining piece without the Insul-poly. Insert the lining inside the outer piece and baste in place around the top.
6) Let’s add the handles, Cut your length of belting in half.
7) Measure 4.5cm in from each edge and pin one half of the belting to one side of the pouch. Sew in place.
8) Repeat for the otherside of the pouch.
9) Right sides together, sew the facing strip together.
10) Overlock or use an edge-finishing stitch on your machine one edge of the facing strip.
11) Pin raw edge right sides together, to the top of the pouch. Ensure your handles are down. Stitch in place.
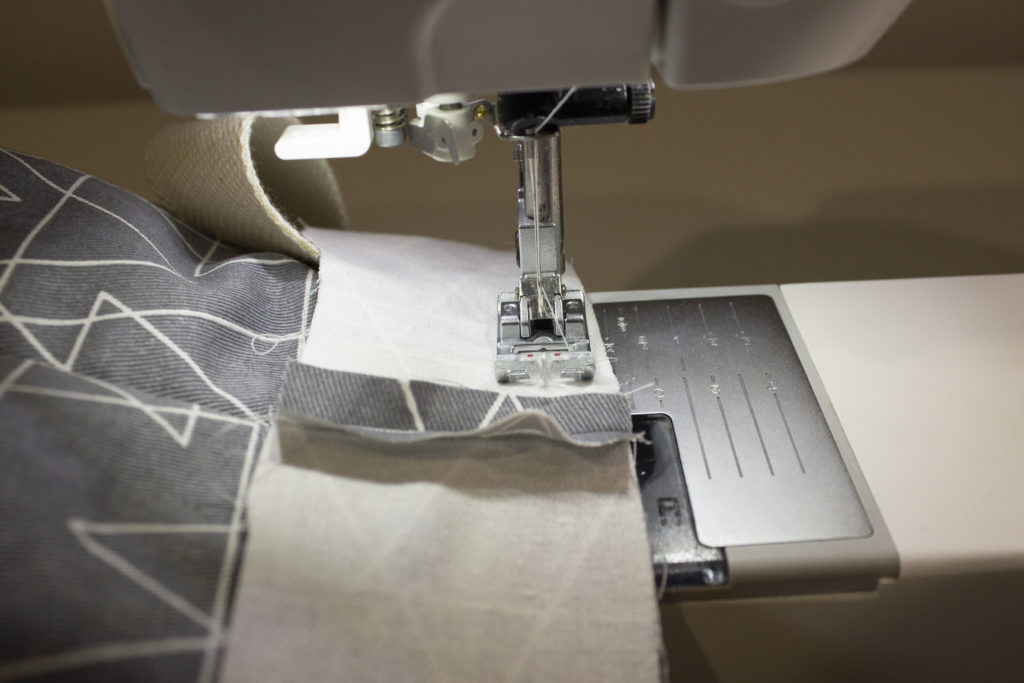
12) Fold toward inside, so handles are now coming from the top of the bag. Change your stitch length to 3.0 and top stitch around edge using the edge of the presser foot to secure the facing down.
13) Draw a straight line down the center of your pouch.
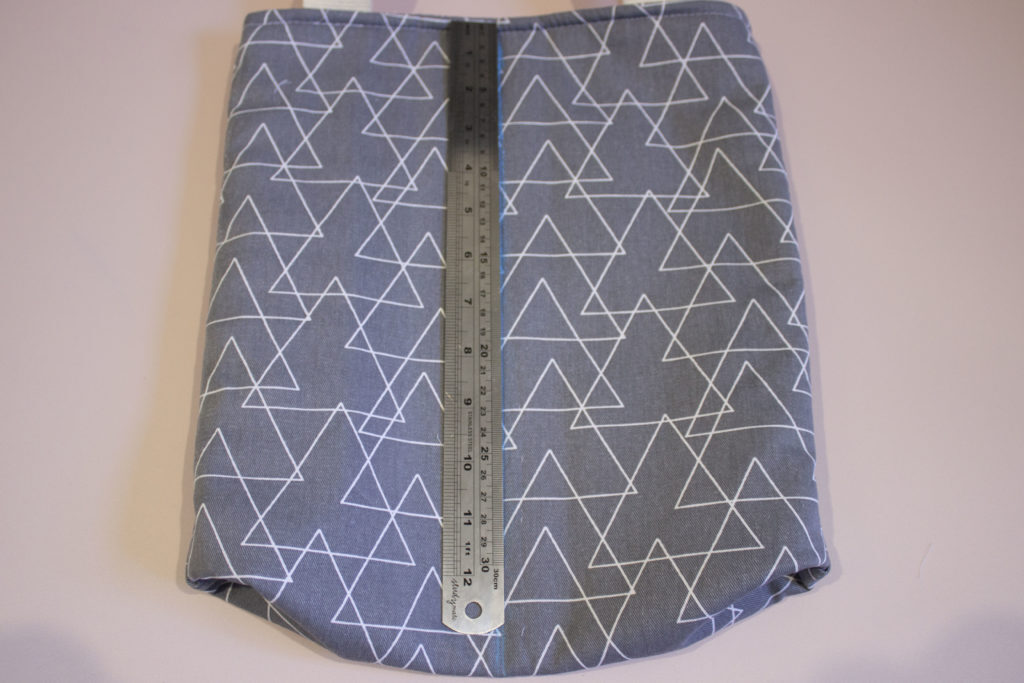
14) Stitch along this line, with your stitch length to 3.0 This will create the two separate pouches for each wine bottle.
Conclusion:
Now that you have made one tote, we are sure that you will be Easter to take it out to your next social outing whether it is a picnic, BBQ or any event that calls for some refreshing bottles of wine!
Want to personalise yours even more? Here are some ideas:
- Make up your rectangles for the outer and linings out of scraps.
- Embroider onto your outer fabric using a PFAFF sewing and embroidery machine.
- Quilt some find designs onto the outer fabric after you have basted the Insul-poly to it.
These totes also make a great gift for friends and family! With Christmas fast approaching why not whip up some as gifts, or even make some out of some Christmas fabric and use them as a great reusable gift bag.
Don’t forget to share your creations with us, we always love to see what all the PFAFF-sionistas are making.
Tag us at @pfaffsewingaus on Instagram and use hashtag #pfaffsewing, so we can see your wonderful creations.