

Warmer weather has arrived, and you know what that means: it’s time for the perfect breezy summer dress tutorial! ☀️
This pattern uses basic rectangle shapes and elastic, making it super easy to draft right to your measurements.
You can make this dress out of cotton or linen—either one will keep you cool during the spring and summer months.
Requirements:
Tip: refer to the Preparation section to work out the dimensions of your pieces before purchasing your fabric.
- Linen or linen fabric (Quantity needed will depend on your measurements and the size of your pattern pieces)
- 1-2cm wide elastic for your wrist bands. (Length will depend on your wrist measurement)
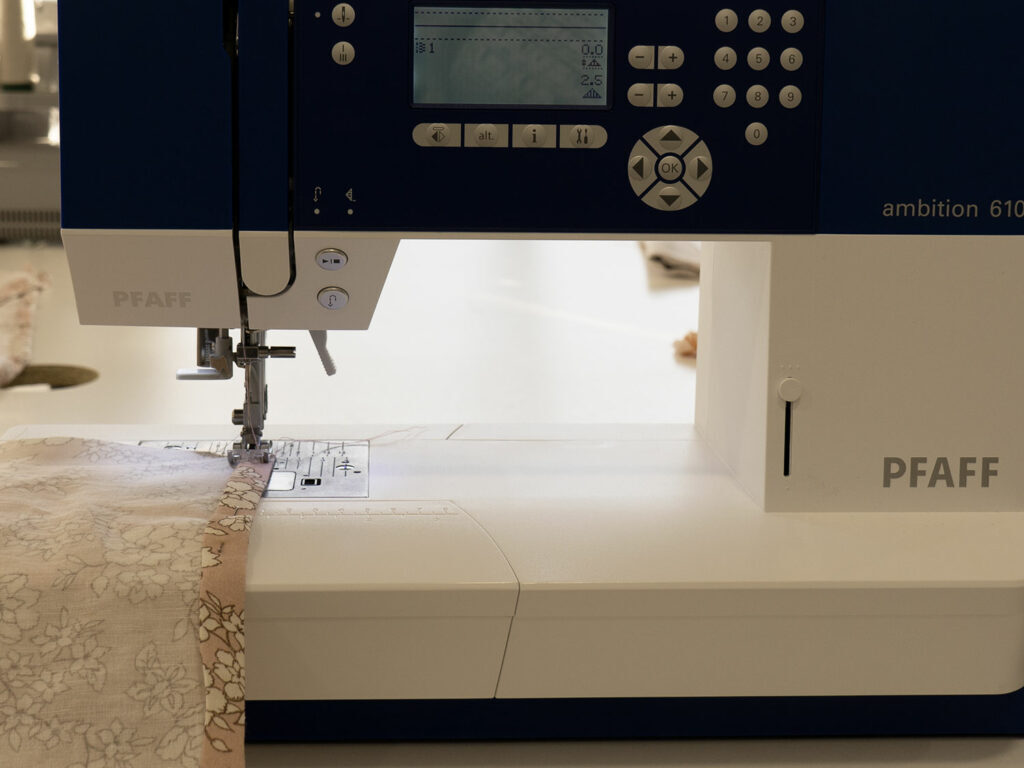
- PFAFF Sewing Machine (we used the ambition 610)
- OPTIONAL: PFAFF overlocker (you can also finish your seams using a zig-zag stitch, or overcasting stitch.)
- Fabric marker
- Co-ordinating thread
- Ruler
- Scissors
- Cutting mat
- Rotary Cutter
Preparation:
To get started on this summer dress tutorial, we need to first take our measurements (Tip: it may be helpful to get a friend to assist). Once you have your measurements draft up your pieces following the guide below:
- Bodice (Cut 2):
- Width = Full bust + 10cm + 2cm
- Height = High bust to belly button (includes seam allowance)
- Sleeves (Cut 2):
- Width = Top of shoulder to under bust x 2 + 2cm
- Height = Edge of shoulder to wrist + 2cm
- Skirt (Cut 2):
- Width = Bodice width x 1.5 + 2cm
- Height = Belly button to desired length + 2cm. (We made ours to mid-shin)
- Elastic (Cut 2):
- Length = circumference of wrist +2cm
Once you have drafted up your pieces, cut them out using the cutting mat and rotary cutter.
Construction:
To complete the perfect summer dress tutorial, you’ll need to create the bodice, skirt and wristband casing by following the instructions below.
Bodice:
- Hem the top edges of the bodice rectangles with a 1cm double fold hem.
- Hem the three edges of your sleeve rectangles, starting with the sides and followed by the top edge, with a 1cm double fold hem.
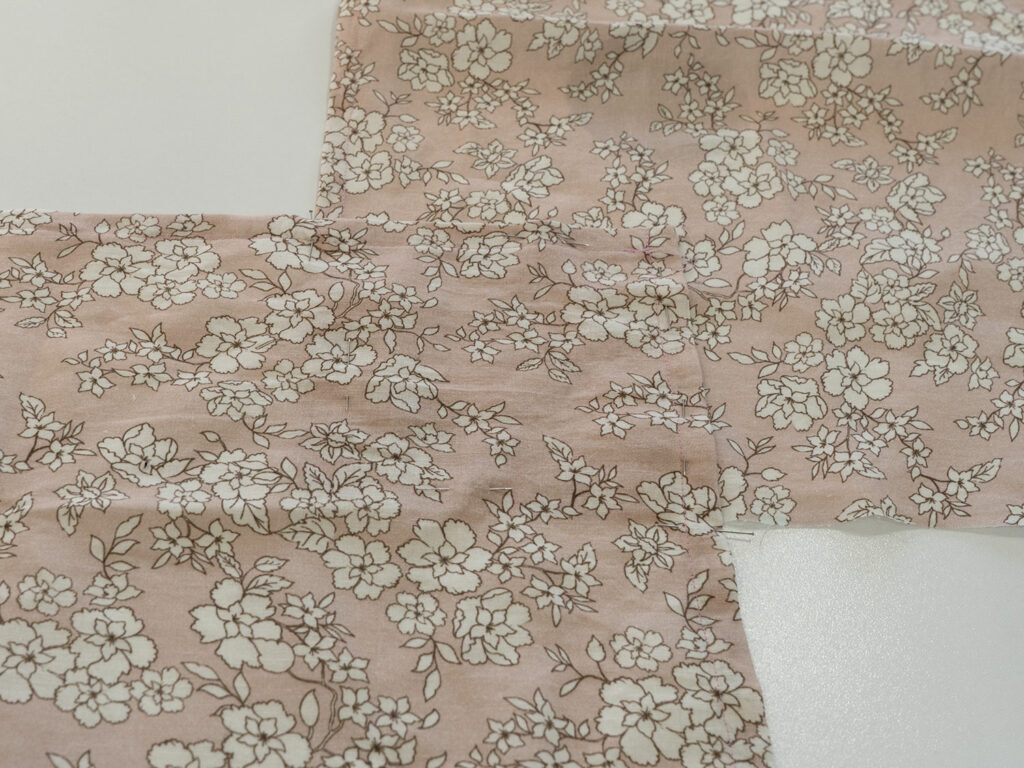
- Mark a square on the top left corner of each of the bodice rectangles that begins 15cm from the top and 15cm from the side on the right side of the fabric. Repeat on the top right corner of both top rectangles.
- With right sides facing up, align a top corner of one of your prepared sleeves with the square marked on the front top rectangle. Pin in place and repeat on the other side of the top rectangle. Repeat for both sleeves with the back top rectangle.
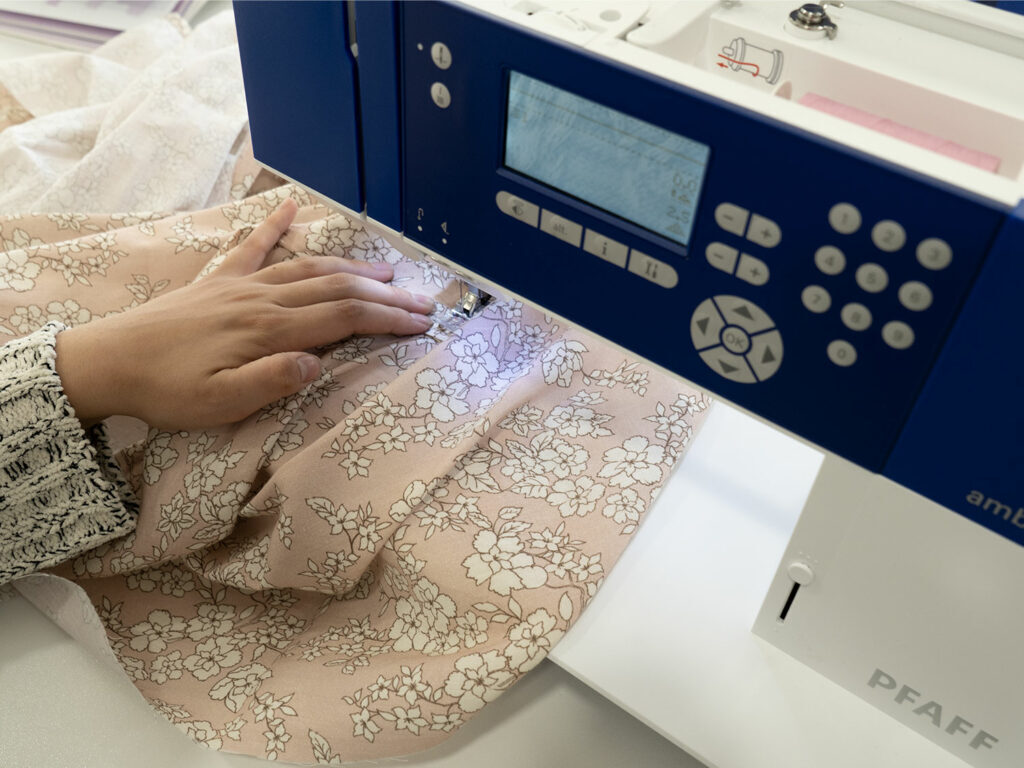
- Try on the bodice and adjust the placement of the sleeves to suit you. Make the adjustments required and ensure everything is even. Once you are happy with the placement change your stitch-length to 3.0 and top-stitch the sleeves in place.
- Fold the bodice right sides together and sew the side seams of the top and sleeves. Clip the seams under the arms to reduce bulk in the seams.
Skirt:
- Place the skirt rectangles together with the right sides facing and sew the side seams to create a loop.
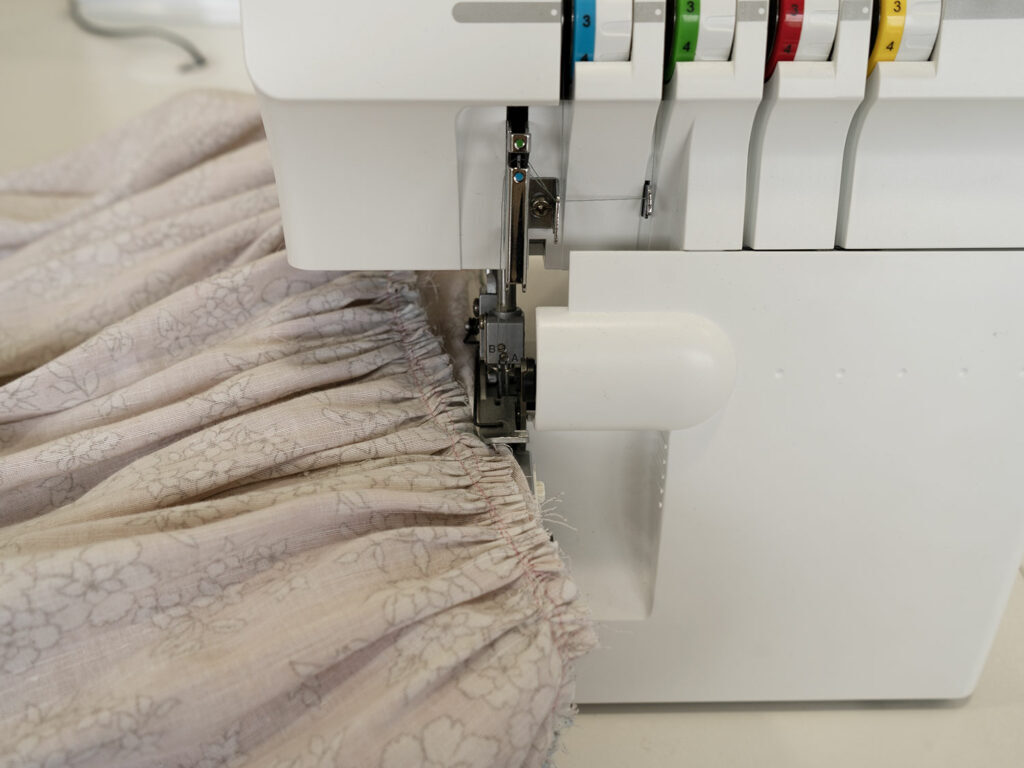
- Mark the centre front and centre back of the skirt loop. Gather the top edge of the skirt loop. Run a long stitch around the top of the skirt, leave the tread tails long. Pull on the tails to gather the skirt to the same size as the bodice.
- With right sides together, align the centre marks on the skirt with the marks on the bodice and pin. Align the side seams and pin. Spread the gathers evenly and tighten or loosen as required until the circumference of the skirt loop is the same as the bodice. Pin and then sew a straight stitch to attach the gathered side of the skirt loop to the bodice. Zig-zag or overlock this seam.
- Overlock or zig-zag the bottom edge of your skirt.
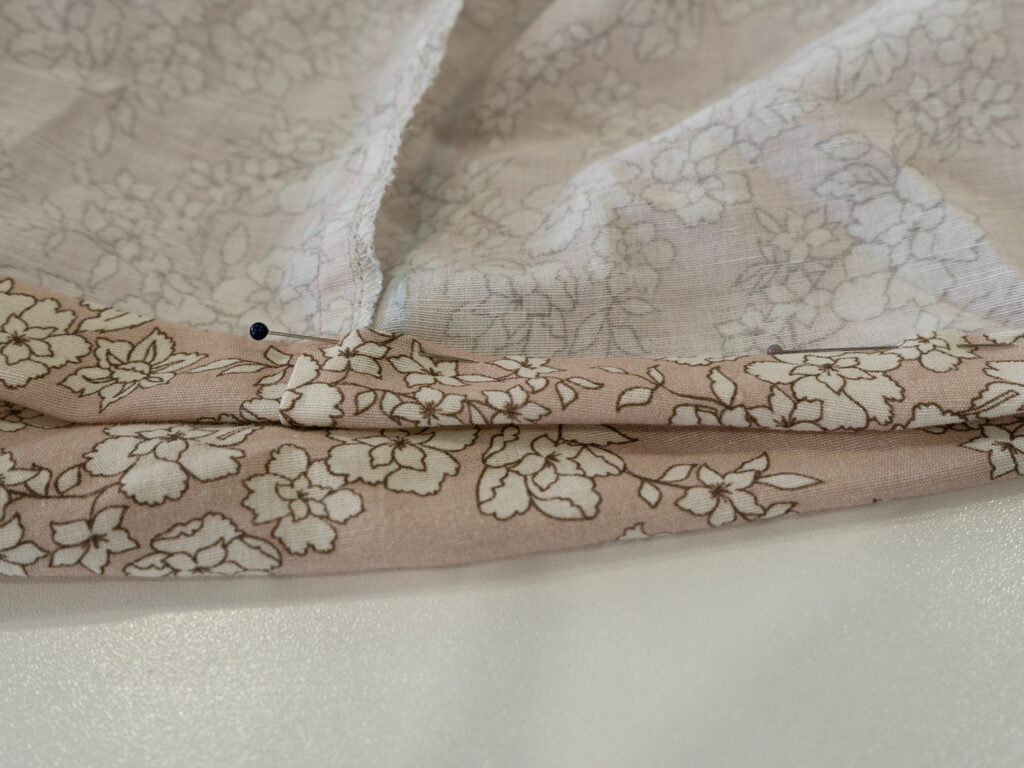
- Fold up to the hem by 2cm and pin in place. With your stitch length at 3.0 top stitch the hem down.
Wristband casings:
A casing is a tunnel sewn into a garment to enclose elastic or a drawstring.
- Fold the sleeve edge over by 5mm to the wrong side and press. On the wrong side of the fabric measure 3cm and mark this around the circumference.
- Fold the top edge to the line you marked and pin. Press in place for a more secure crease.
- Sew a straight stitch along the casing edge, leaving a gap about approximately 5cm to allow for fabric insertion.
- Attach a large safety pin to one end of your elastic and insert it through the hole. Feed the elastic through the casing while holding onto the other end so it doesn’t get pulled all the way through.
- Overlap the ends of the elastic by about 2cm and pin with the safety pin. Make sure the elastic isn’t twisted inside the casing before securing the elastic ends via a zig-zag stitch.
- Push the elastic inside the casing. Increase your stitch length to 3.0 and top-stitch around the bottom of the casing and this will enclose the opening the elastic was inserted in.
- Snip your loose threads.
Closing:
Now you have completed the perfect summer dress tutorial and have a light and breezy new dress to wear during the warmer months.
Since you’ve already made one dress, why not make more in different colours and prints, try different sleeve and skirt lengths and more! This way you will have a great go-to spring/summer wardrobe that will leave you feeling comfortable and cute.
If you’ve loved this perfect breezy summer dress tutorial, don’t forget to share your creations with us. We always love to see what all the PFAFF-sionistas are making!
Tag us at @pfaffsewingaus on Instagram and use the hashtag #pfaffsewing, so we can see your wonderful creations.