Often when we think of the materials required to make a wired bra, we think of a lace edging. A wide lace trim that has a finished scallop edge, which forms the upper edge of the cup. Whilst these are beautiful, once you open yourself up to the idea of using fabric as the cups the possibilities are endless!
I’ve made some lovely bras with soft, tana lawn, silk, lace, and satin. The thing you will need to keep in mind here is how you’re going to finish the upper edge of the cup. There are a few options…
Option 1: Stitch your sheer cup lining to your outer fabric right sides together and turn the seam to the inside (this is what I’ve done in this wired bra tutorial.)
Option 2: Bind the top of the cup with fold-over elastic. This works well and offers a little support to the cup and encourages it to sit snug against your body.
Option 3: Use a narrow trim or picot elastic to finish the edge.
When sewing lingerie, you will find most patterns have a 6mm seam allowance. A little tip to keep your seams accurate is to place a strip of washi tape on the machine bed at 6mm to line up the edge of your fabric with. The bright-coloured designs make it really easy to see. I always use the standard machine foot when bra-making with the IDT engaged. It’s more than likely you’ll be working with fine fabrics and I find the IDT helps a great deal to keep the fabric feeding through smoothly and not puckering, particularly at the start of seams.
Another thing to keep in mind when working with such delicate fabrics is the foot pressure. You may find your fabrics slipping, which means you need to increase the foot pressure. You can adjust the presser foot pressure by tapping the tool icon, then heading to sewing settings. There you will see the option to increase or decrease the foot pressure. I haven’t felt the need to change the foot pressure with the creative 3.0 as it handles these fine fabrics really well, especially with the IDT engaged, but it’s something to keep in mind when working with delicate fabrics.
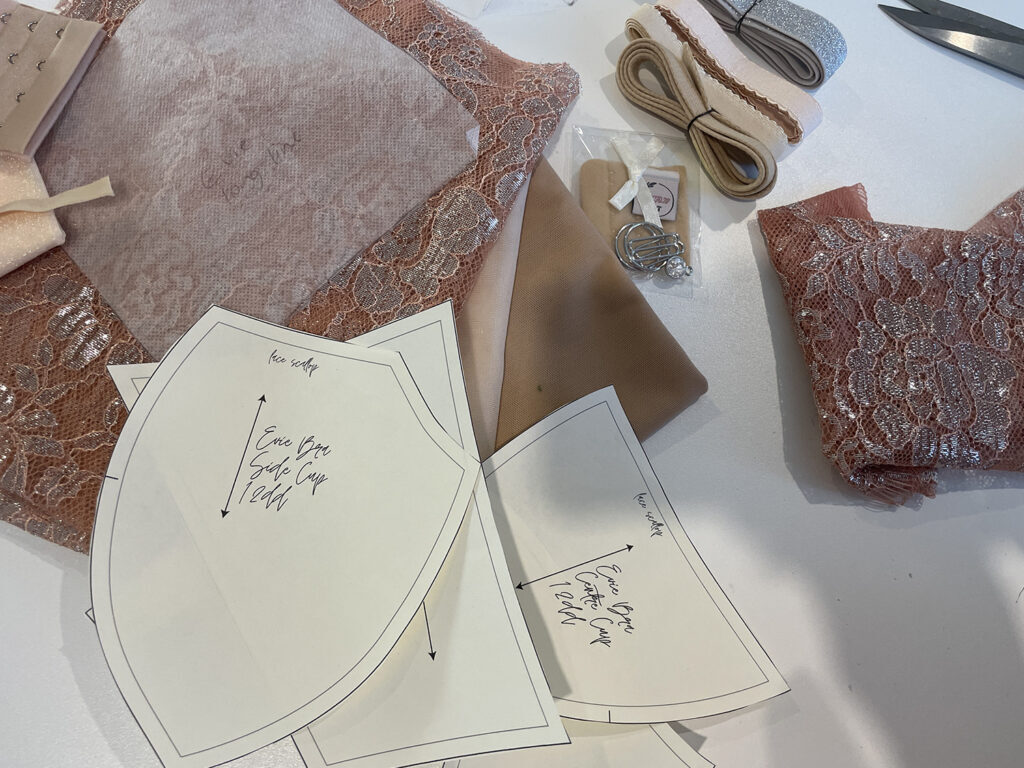
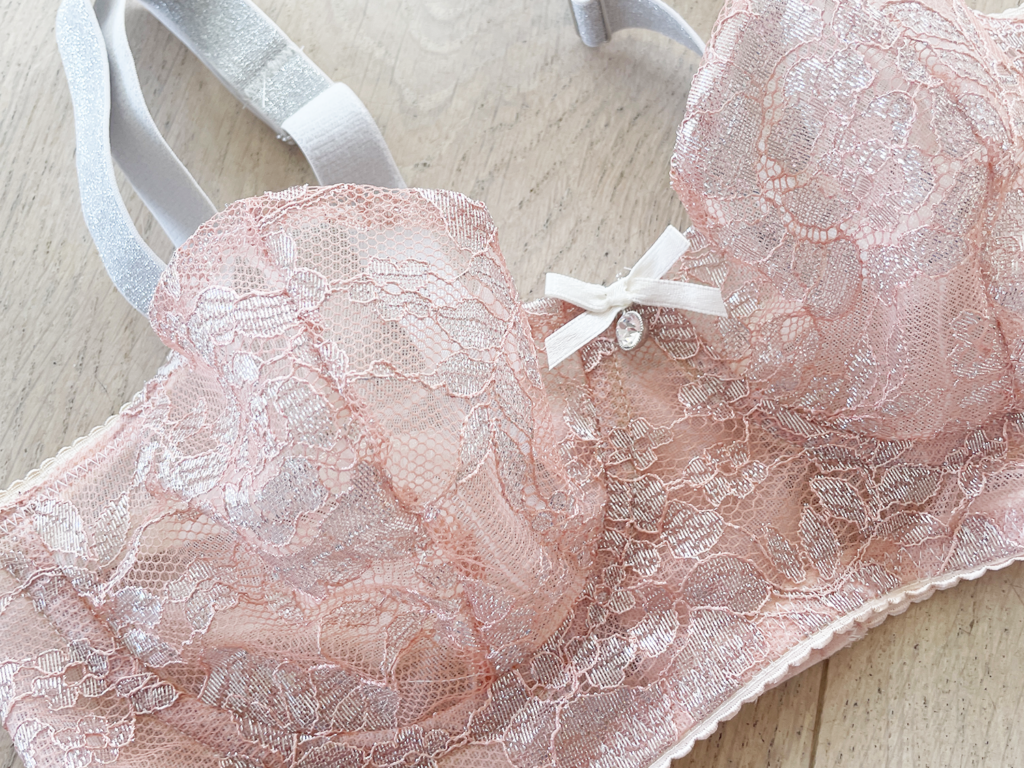
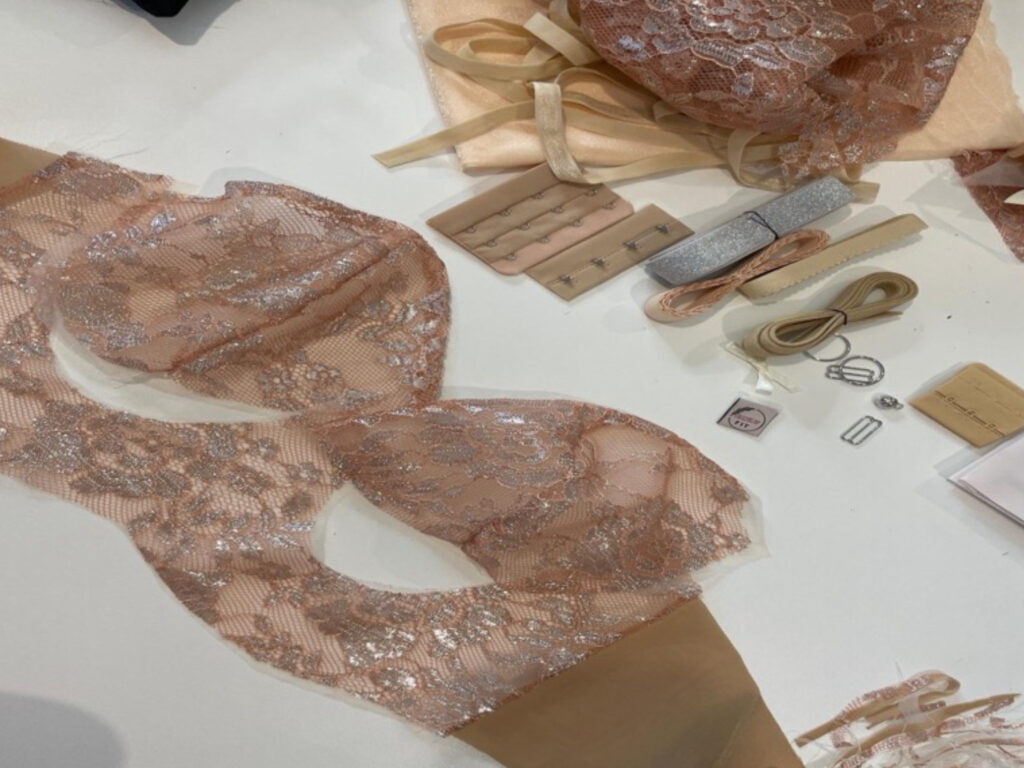
I had a beautiful peach tea wired bra kit from Pitt Trading to work with on this project, you’ll find it here The lace is an all-over lace with a scalloped edge.
The scallop is a little big for this project so I’m not going to cut my pieces using the scallop, but rather run with the grain of the fabric.
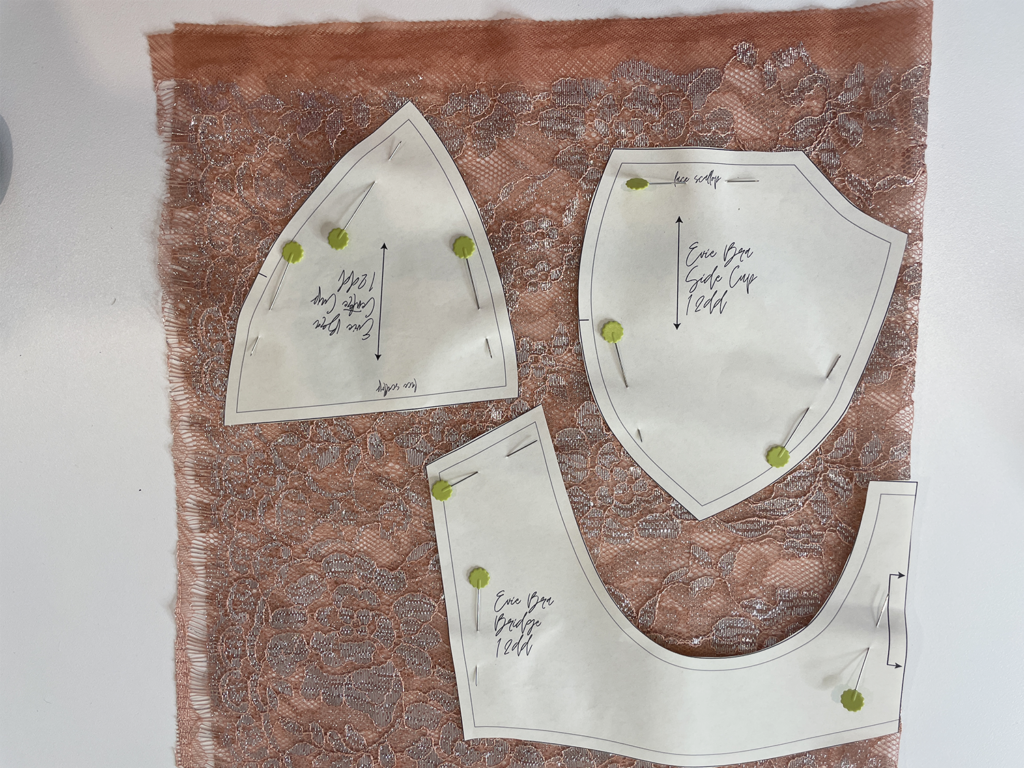
Depending on the design of your fabric, you can place your pieces in the best spot to optimise the design. The lace I have chosen for my bra is a repetitive design, so placement wasn’t crucial.
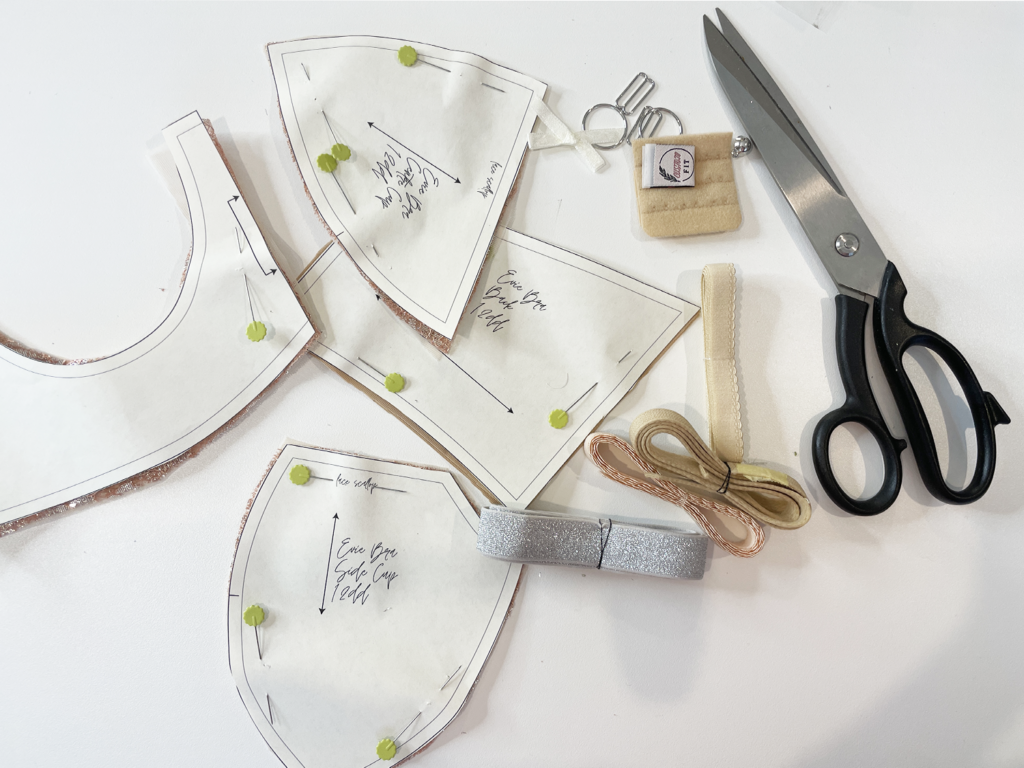
Once you have cut all your pieces it’s time to get sewing your wired bra with lace fabric!
I made the Evie bra from the lingerie society. You can find the pattern here
There is a sew-along that I filmed for this bra on youtube that will walk you through all the steps of construction.
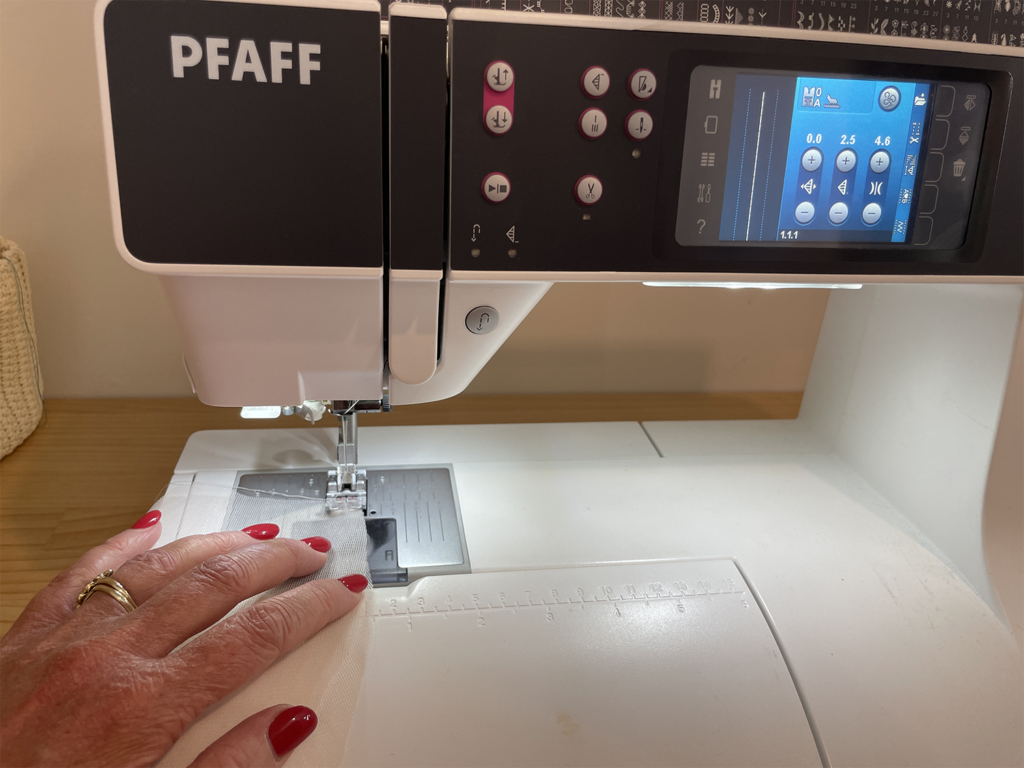
The fine fabrics and stretch trims handle beautifully on the PFAFF creative 3.0 Sewing and Embroidery Machine.
There are only a handful of basic stitches used in bra making.
1: A straight stitch, typically 2.5mm.
2: A standard zig-zag, the length, and width of this will need to be adjusted for some steps, such as stitching the straps and bra back on, but most of the time I use a 4mm x 3mm zigzag.
3: A three-step zig-zag stitch. This stitch is used to sew the picot elastic on the bottom of the bra. Typically I use a 6mm x 5mm stitch, but you may like to increase the stitch length and width if you are using an elastic wider than 15mm.
You can see after sewing the centre cup seam on both the outer and lining fabrics, I have placed the two right sides together, matching the seams and stitched along the top of the cup. I find I don’t need any extra stabilising on the seam, but you might like to stitch some clear elastic to the inside if you feel you need it.
Then go ahead and flip your lining to the inside, encasing all your seams.
All of this work is done using a 2.5mm straight stitch.