Machine Compatibility: B, C, D, E, F, G, J, K, L
Not sure which group your machine belongs to? Check out the Machine Compatibility Chart
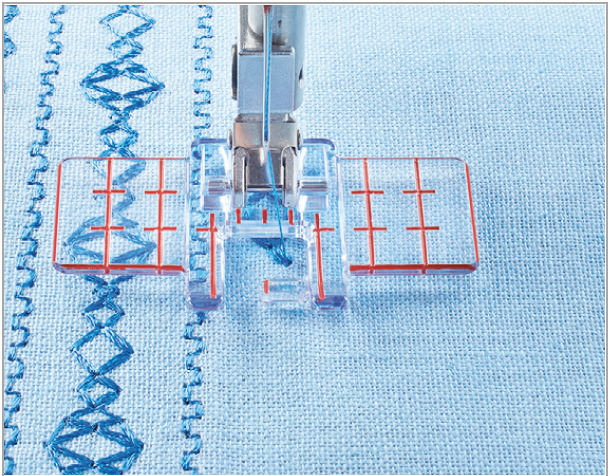
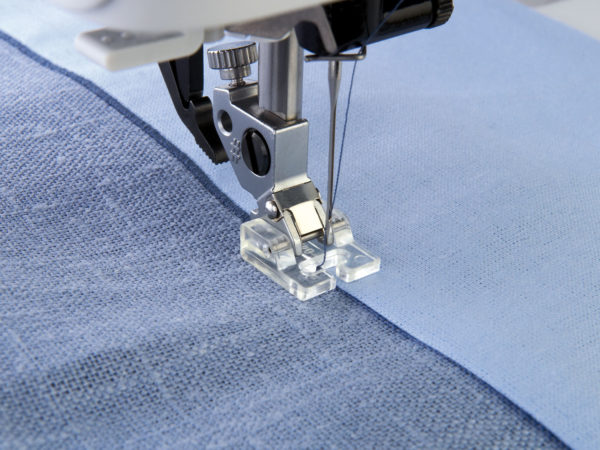
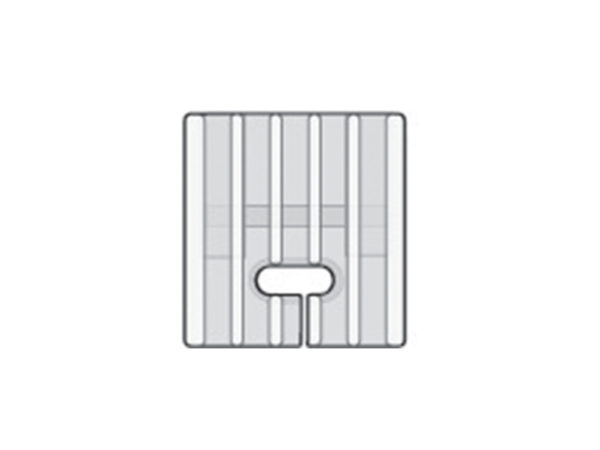
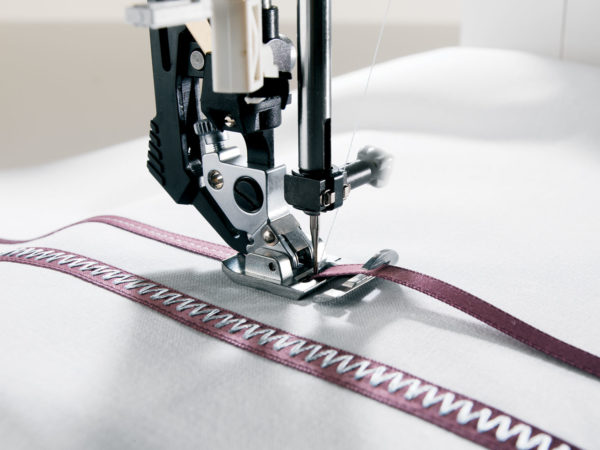
The Multi-line Decorative Foot is designed to help you create parallel rows of decorative stitches that are evenly spaced. The clear view through the foot gives greater visibility and helps to precisely align the rows of stitching.
Use the vertical guidelines to evenly space your rows and the horizontal guidelines to match your starting points and accurately turn corners at ¼” (6mm) or ½” (12mm) intervals. The Multi-line Decorative Foot can also be used as a guide when sewing Maxi stitches.
How to use to create decorative boarders:
- Disengage the IDT™ system.
- Snap on the Multi-line Decorative Foot.
- Select a decorative stitch.
- Mark a line on the fabric where the centre of the stitching will be.
- Place Tear-Away stabiliser under the fabric.
- Place the fabric under the presser foot, aligning the red centre mark on the foot with the line on your fabric.
- Sew the first row of decorative stitching.
- Choose another decorative stitch or continue on with the same stitch.
- Move your fabric to the left. Decide the distance you’d like to have between the rows.
- Use the red horizontal lines to match up the starting point of each row.
- Sew the new line of stitching using the red vertical lines on the foot as a guide while sewing.
- Move the fabric and sew another row of decorative stitching to the left of centre.
- Continue with more stitches as desired to create a wider border.
- Remove the stabiliser.
How to use Maxi Stitches:
- Disengage the IDT™ system.
- Snap on the Multi-line Decorative Foot.
- Select a Maxi stitch.
- To ensure a straight line of stitching draw a line on the fabric where the centre of the stitching will be. Continue to mark one or two lines on each side of the centre line.
- Place Tear-Away stabiliser under the fabric.
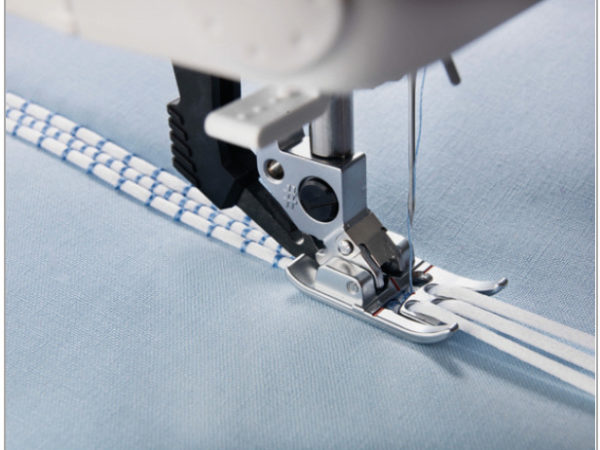
- Sew carefully, letting the machine control the feeding.
- Keep the marked lines and the vertical red lines on both sides of the presser foot parallel to each other when sewing.
- Remove the stabiliser.

Reviews
There are no reviews yet.